.png?width=140&height=37&name=BLAZE-Logo-Blue%20(2).png)
Banner Image file size should be no larger than 500 KB.
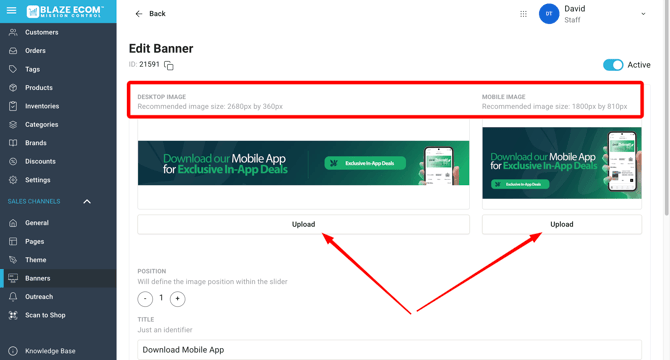
Recommended image size: 2680px by 360px for Desktop Browsers
Recommended image size: 1800px by 810px for Mobile Browsers
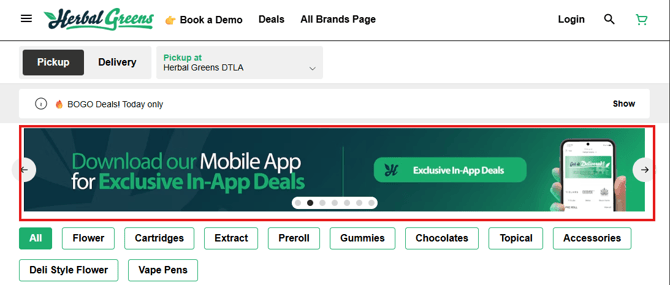
Create Banners
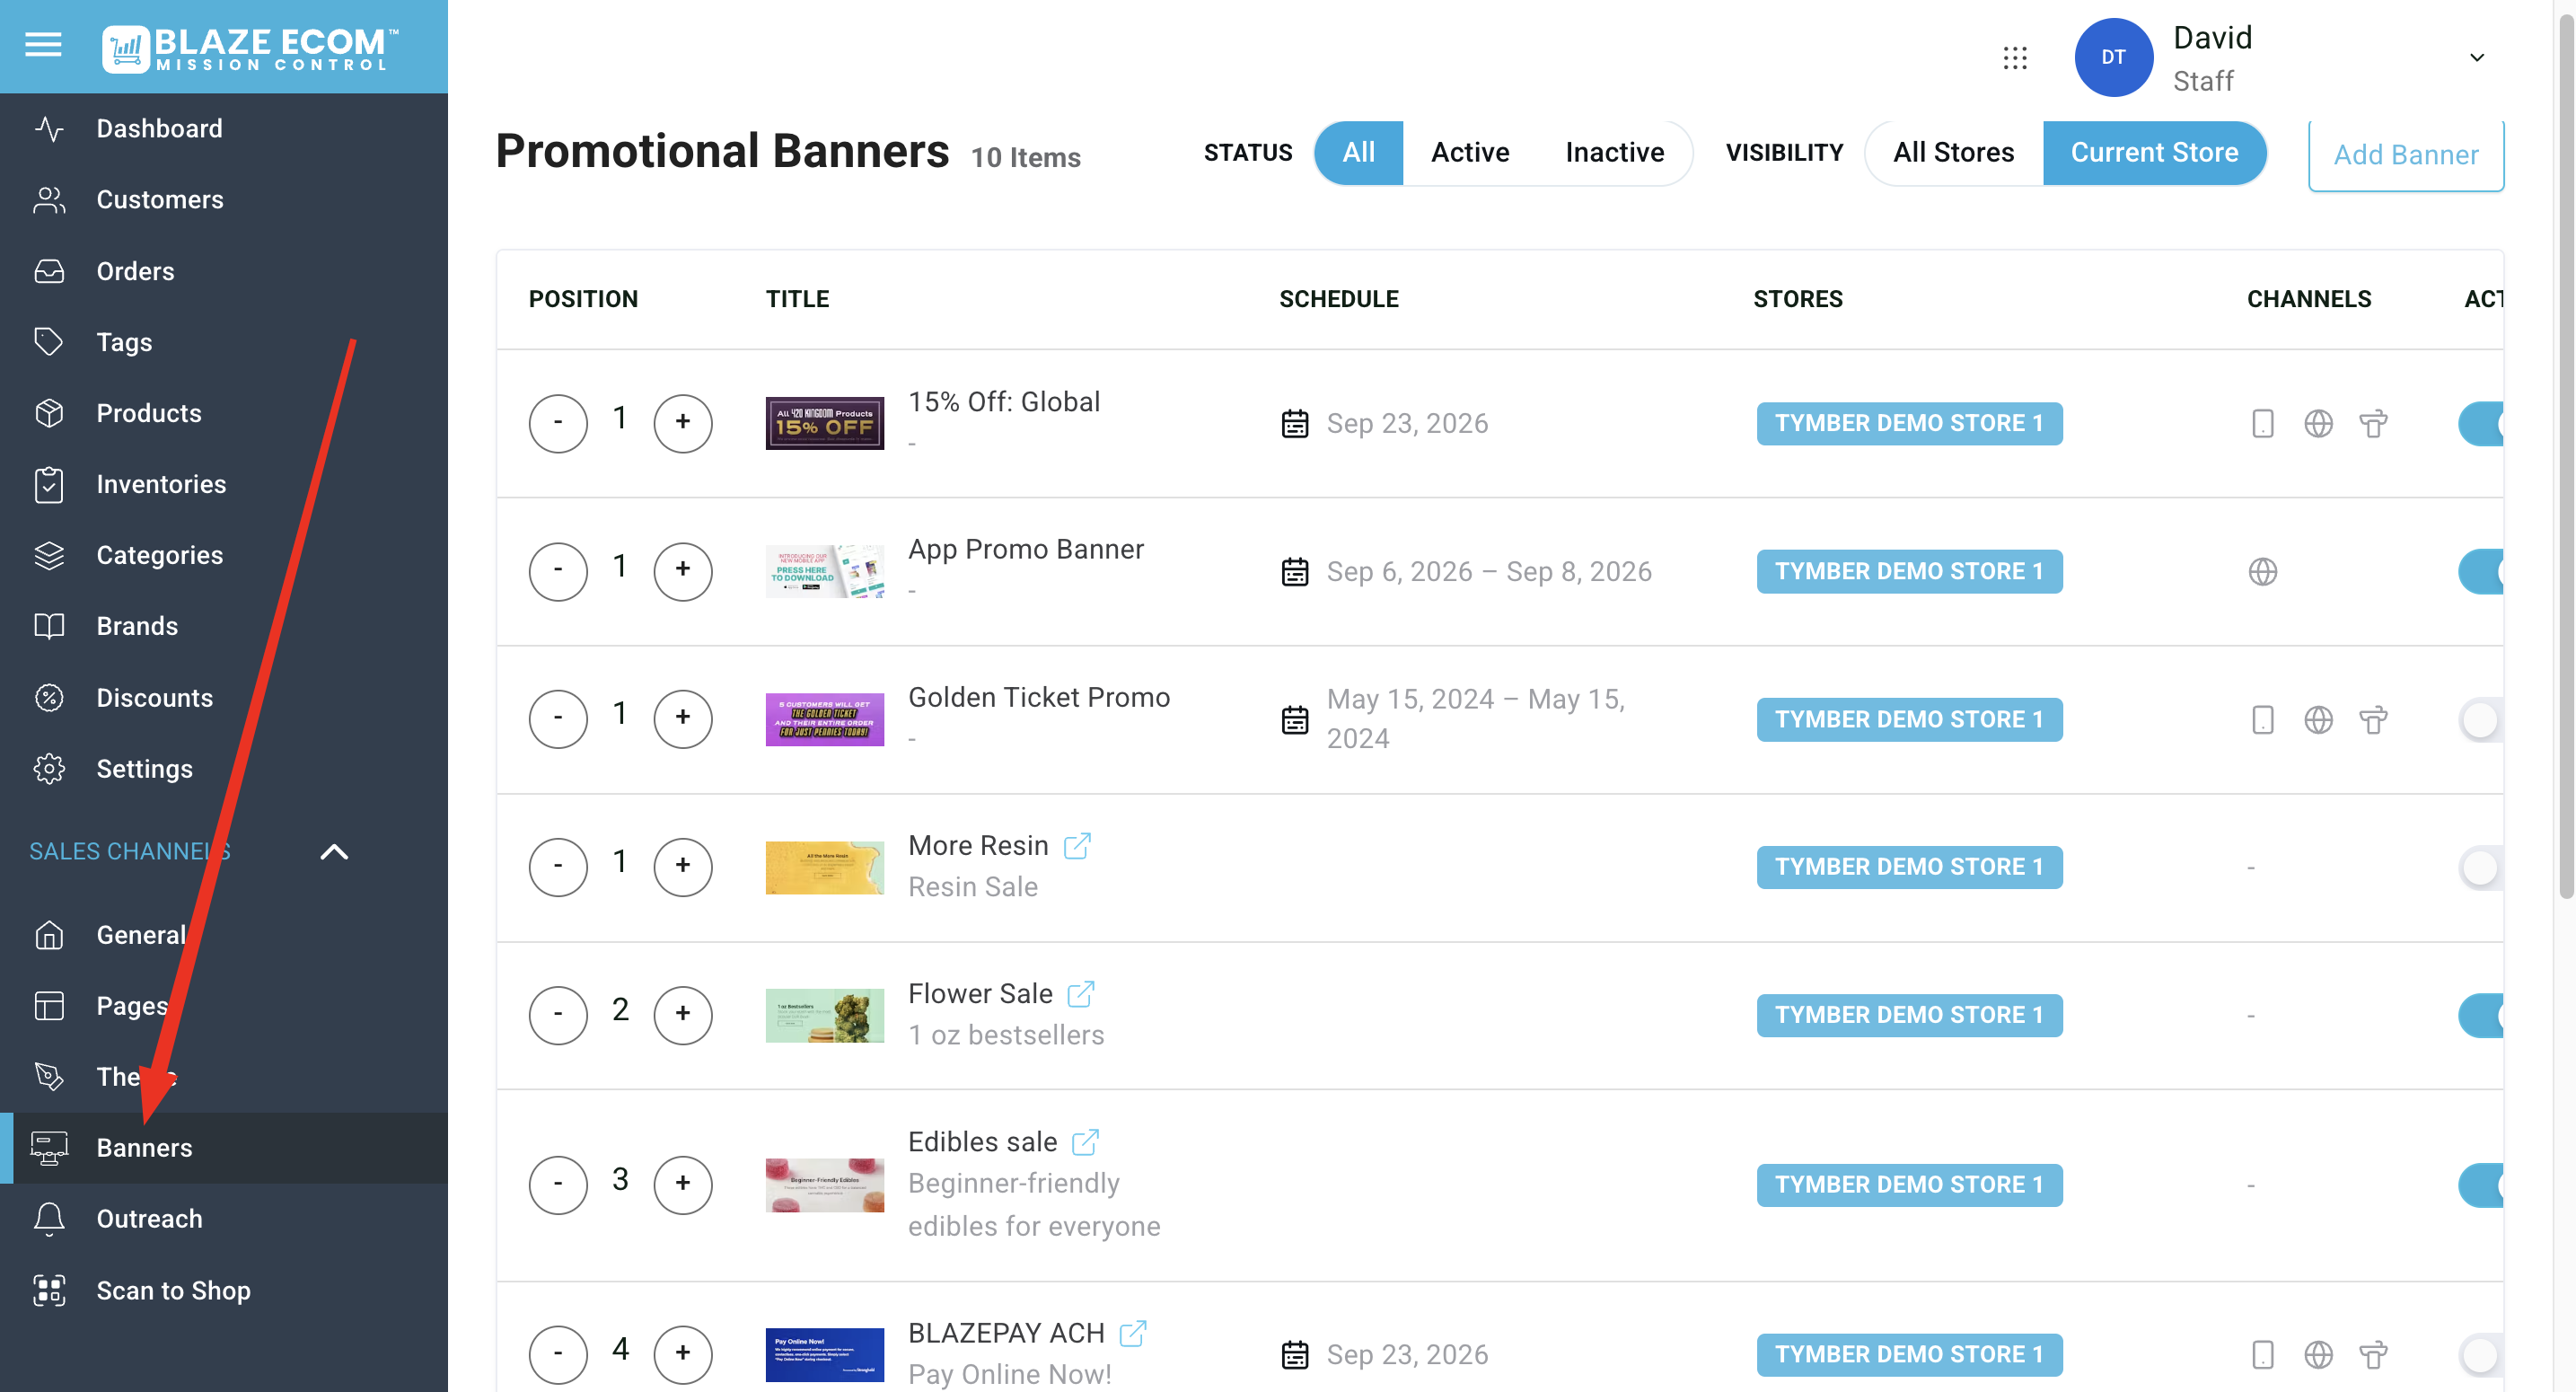
1) Log into ECOM Mission Control via ecom.blaze.me and click on Banners in the bottom left
2) Click "Add Banner" and add a separate banner image for desktop and mobile users.
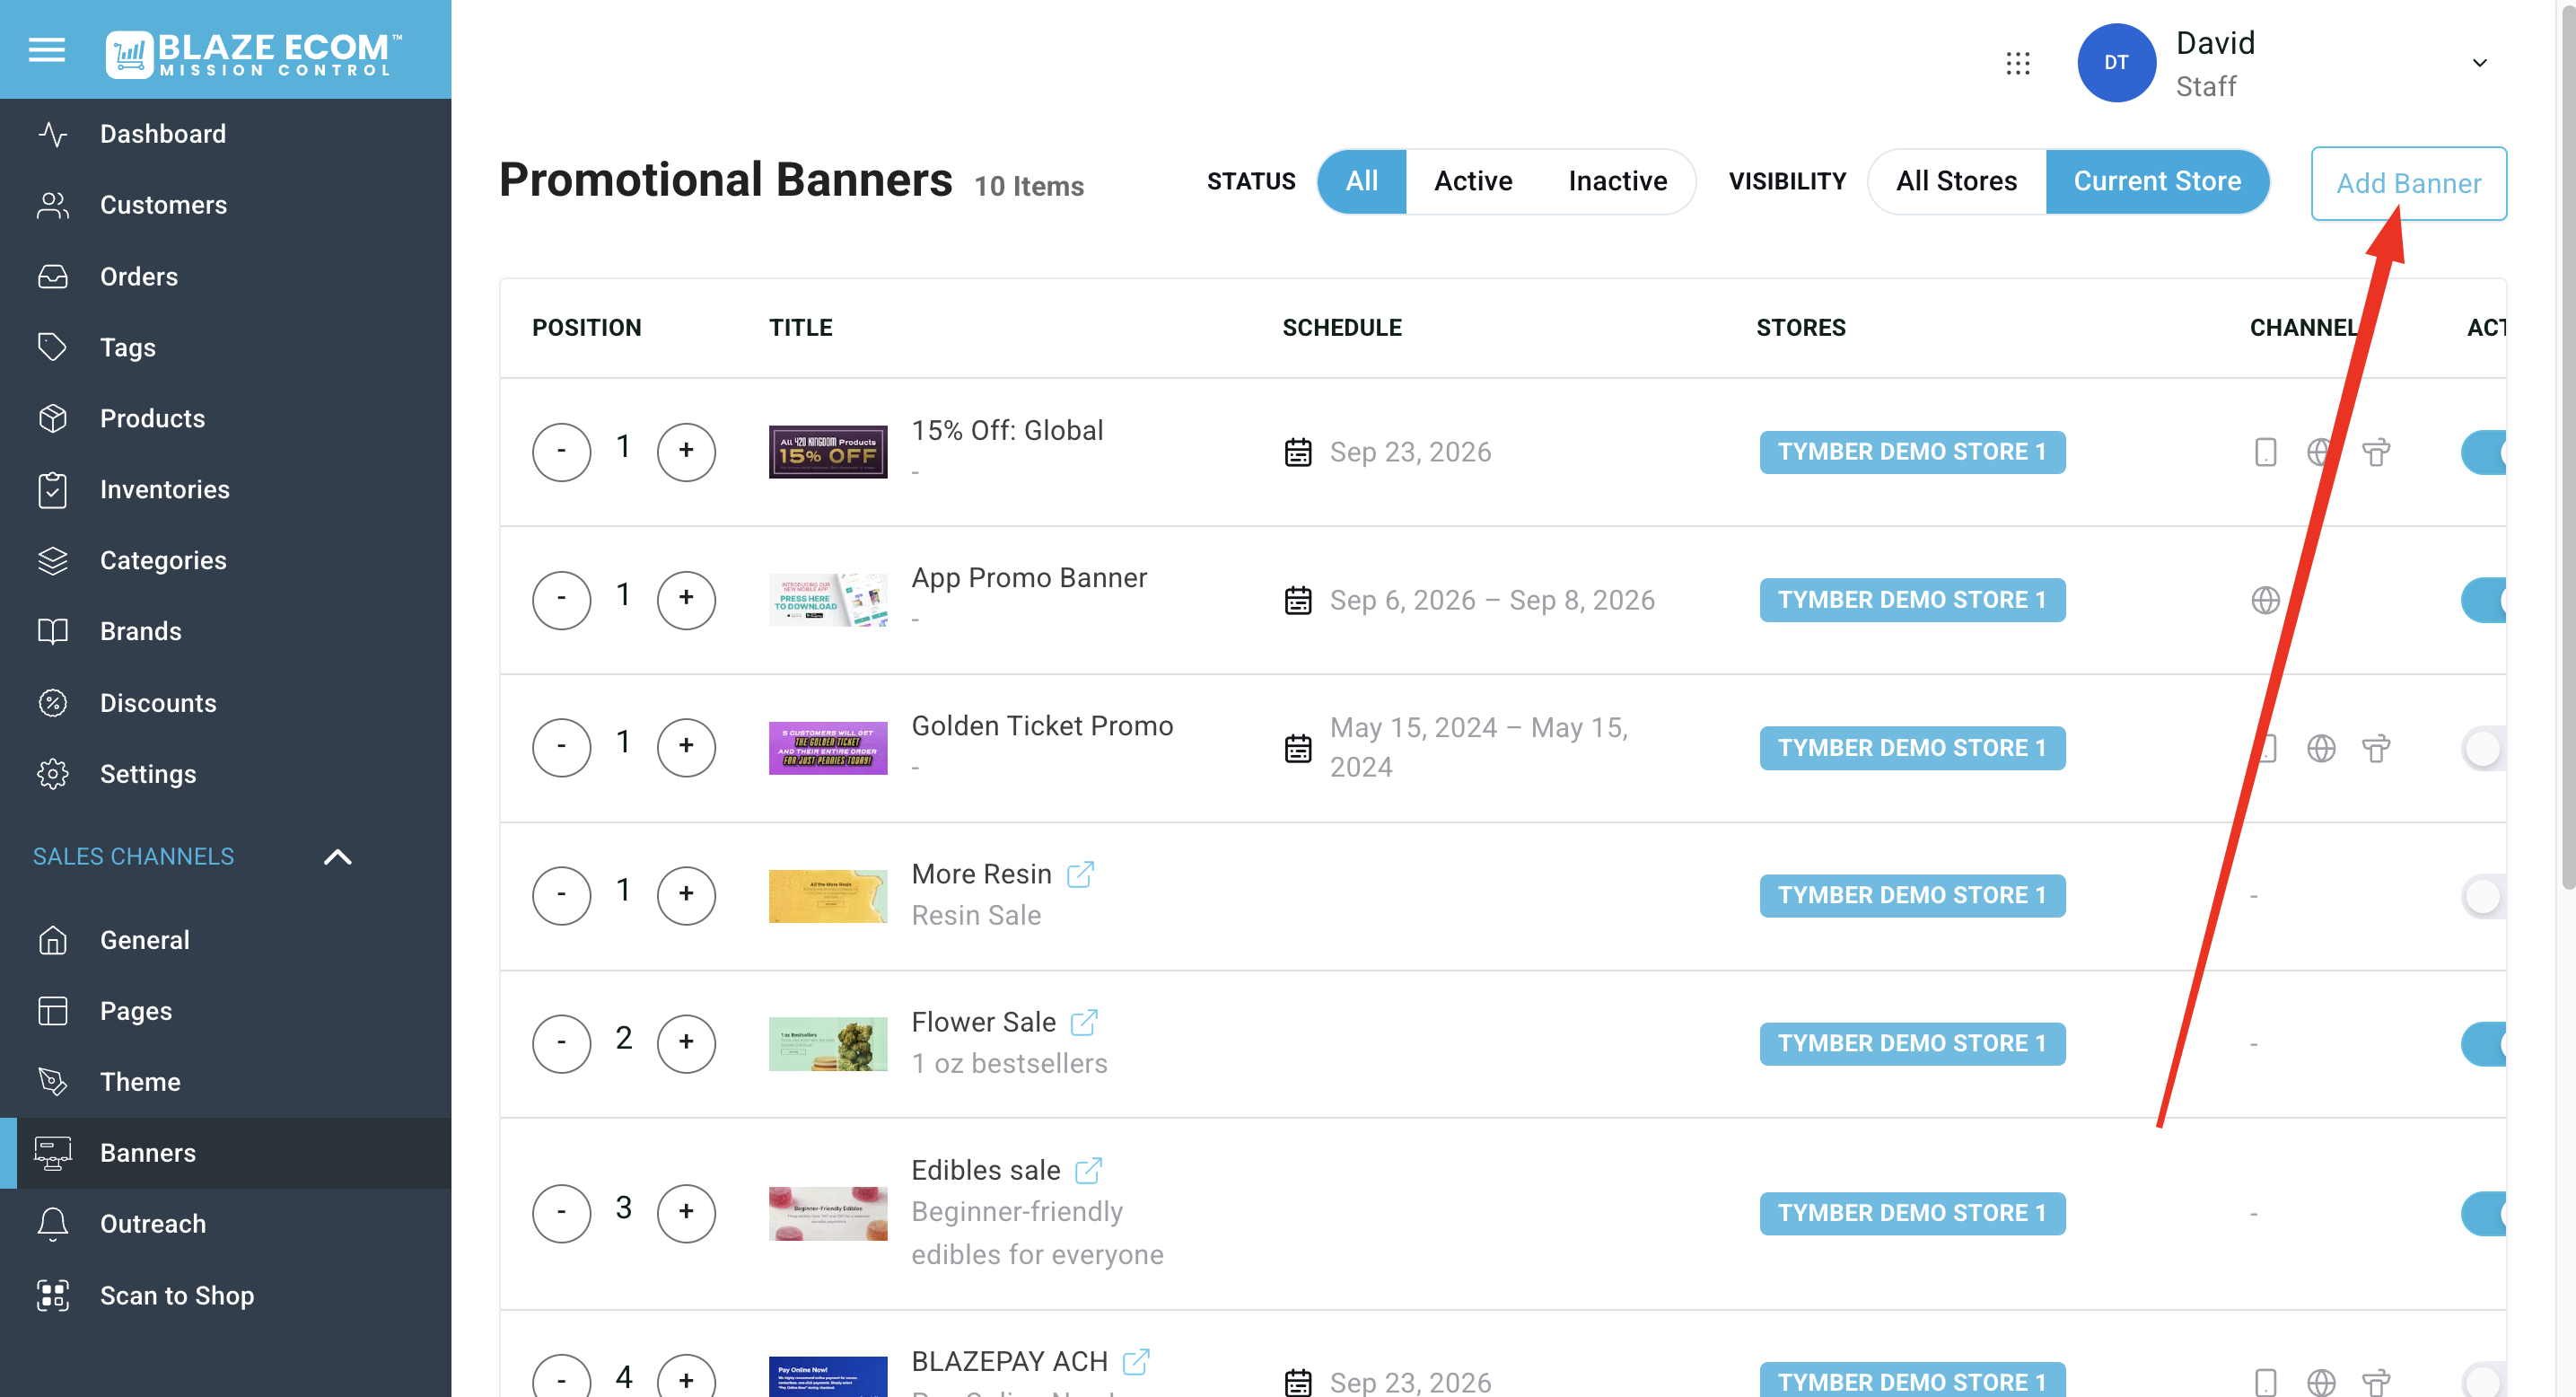
💡You can filter your banners at the top of the page:
- Filter by status (Active/Inactive)
- Filter by store location (All Stores/Current Store)
Edit Banner Content
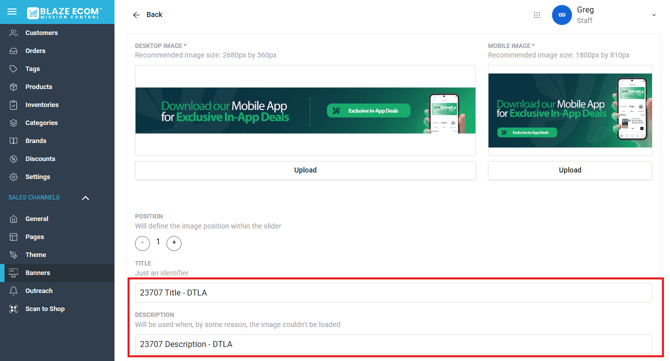
3) Upload a desktop image and mobile image to ensure a banner image populates on both browser types. The recommended image dimensions are shown on the upload screen.
4) Set up a Title and Description to label your banners for your team's view in Mission Control
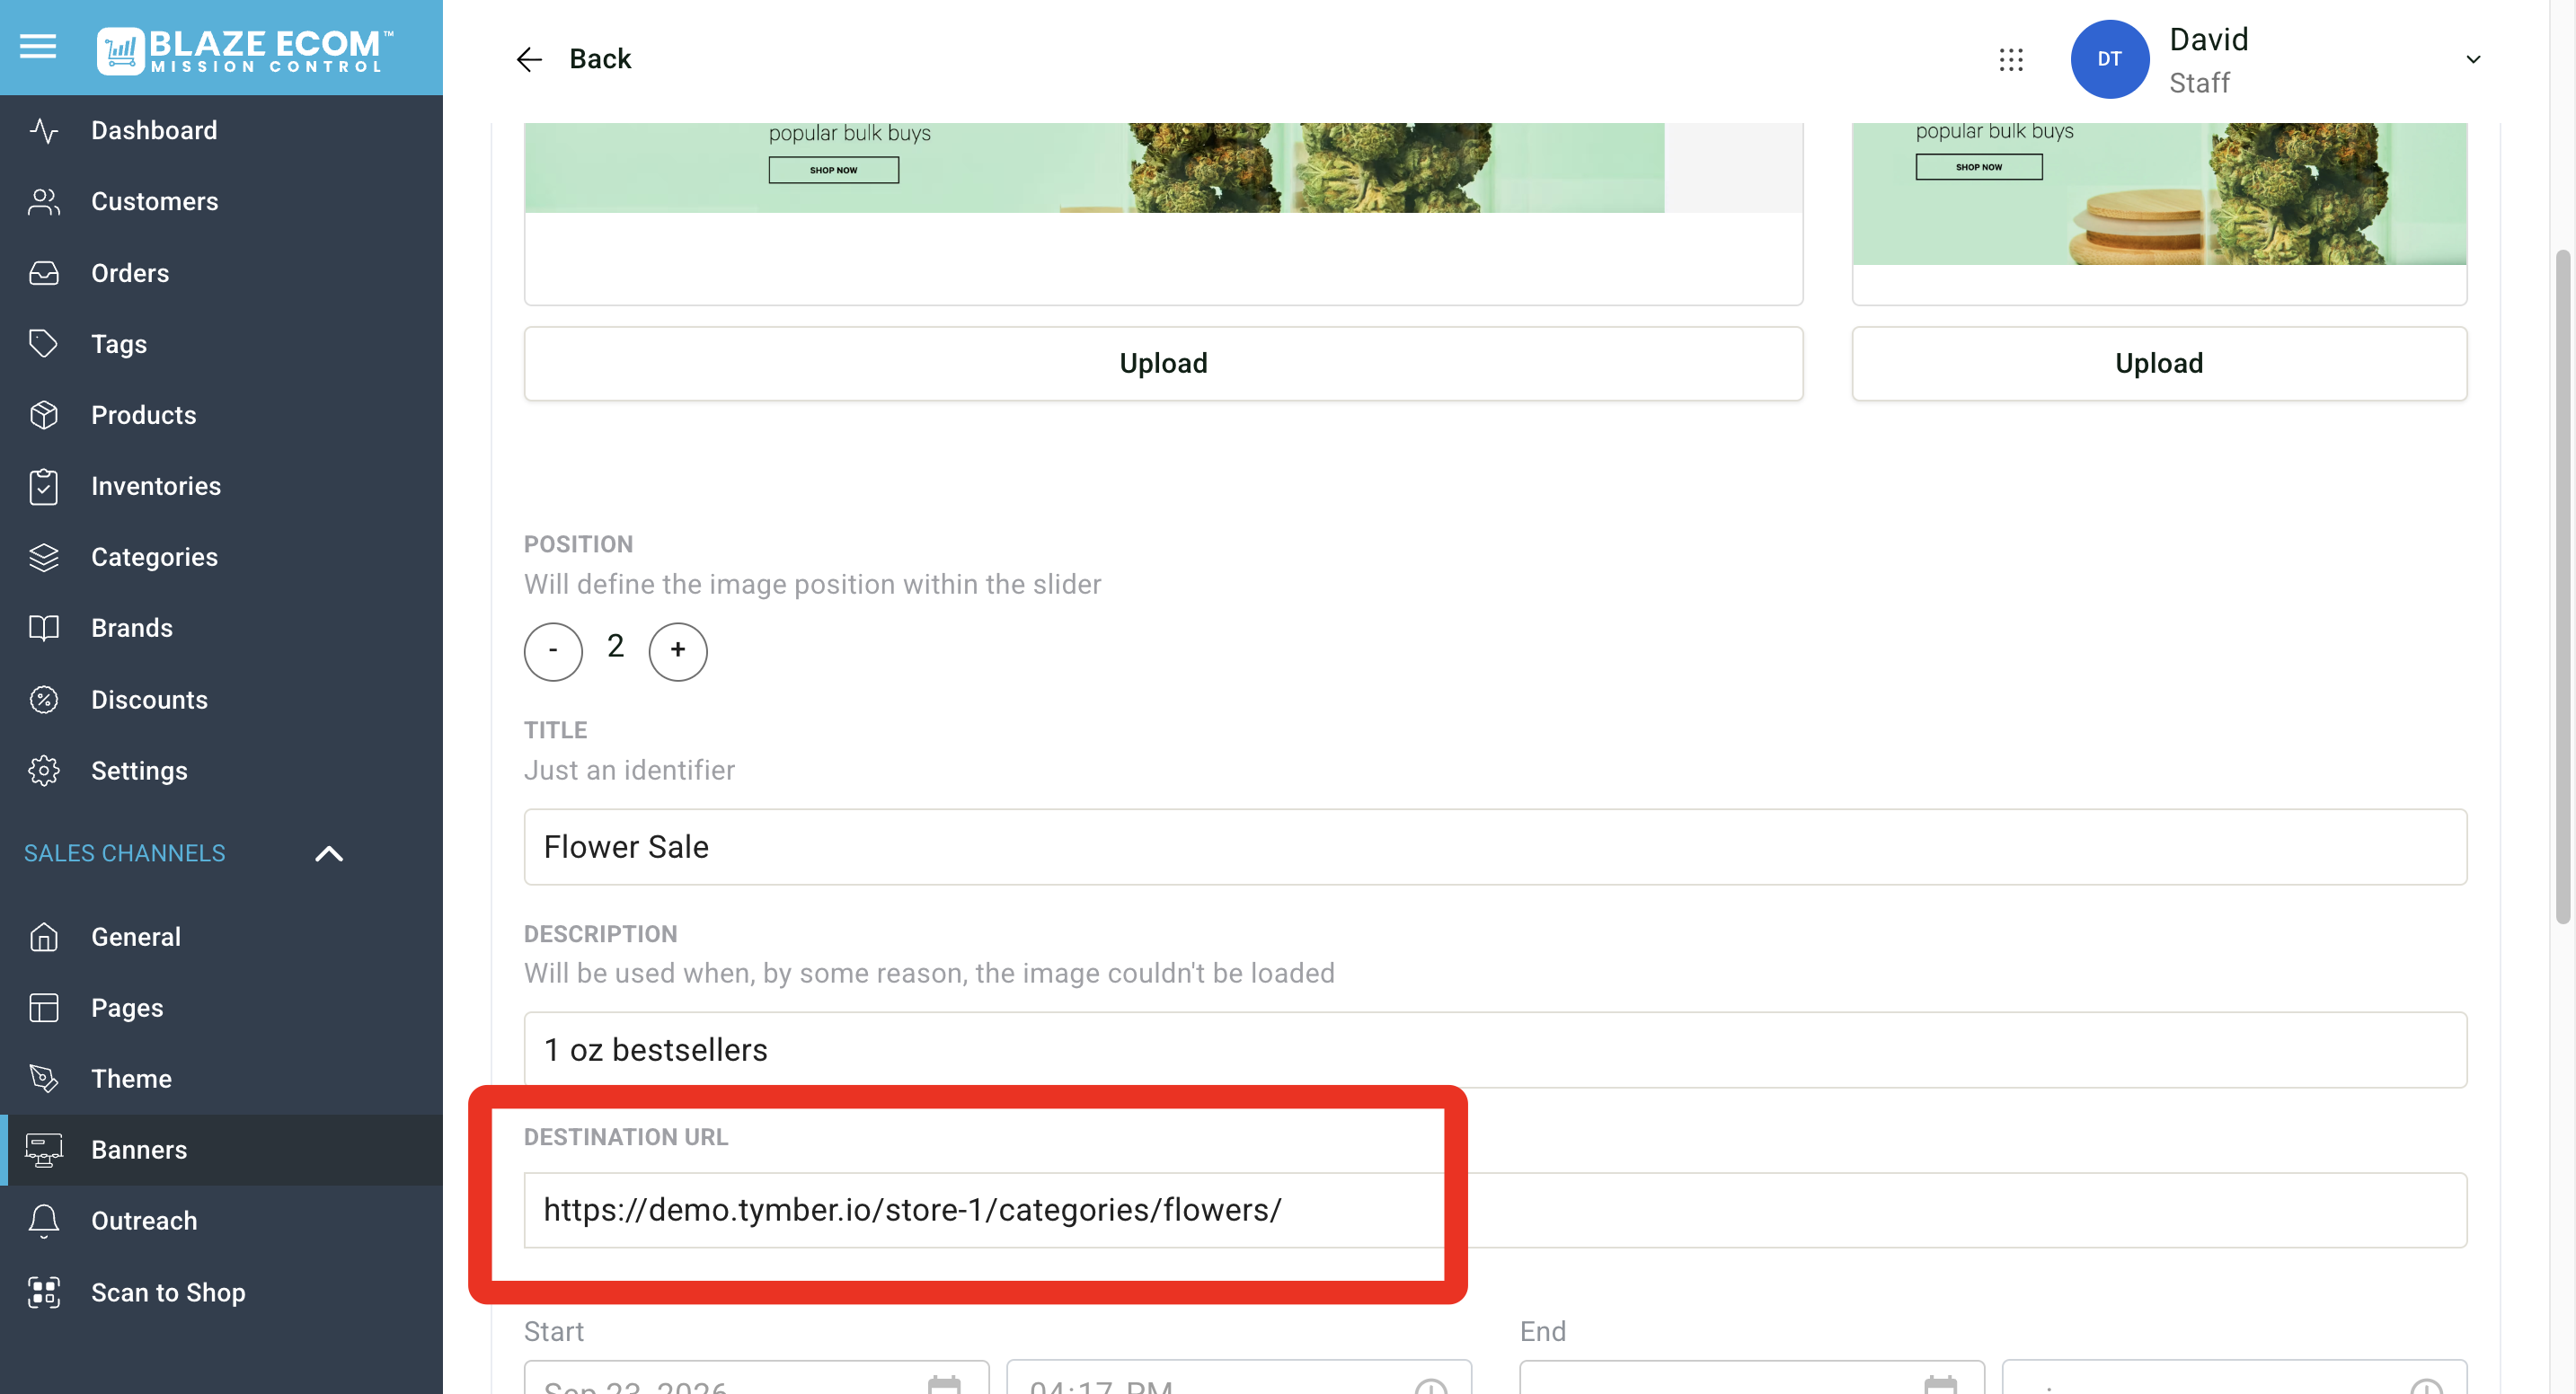
5) Destination URLs allow you to paste a URL that customers will be directed to when they click/tap on the banner
- We recommend using these to direct customers to relevant menu pages that align with the products you are promoting
- You can also direct customers to your mobile-app menu pages using the menu pages outlined in our guide here
Scheduling Your Banners
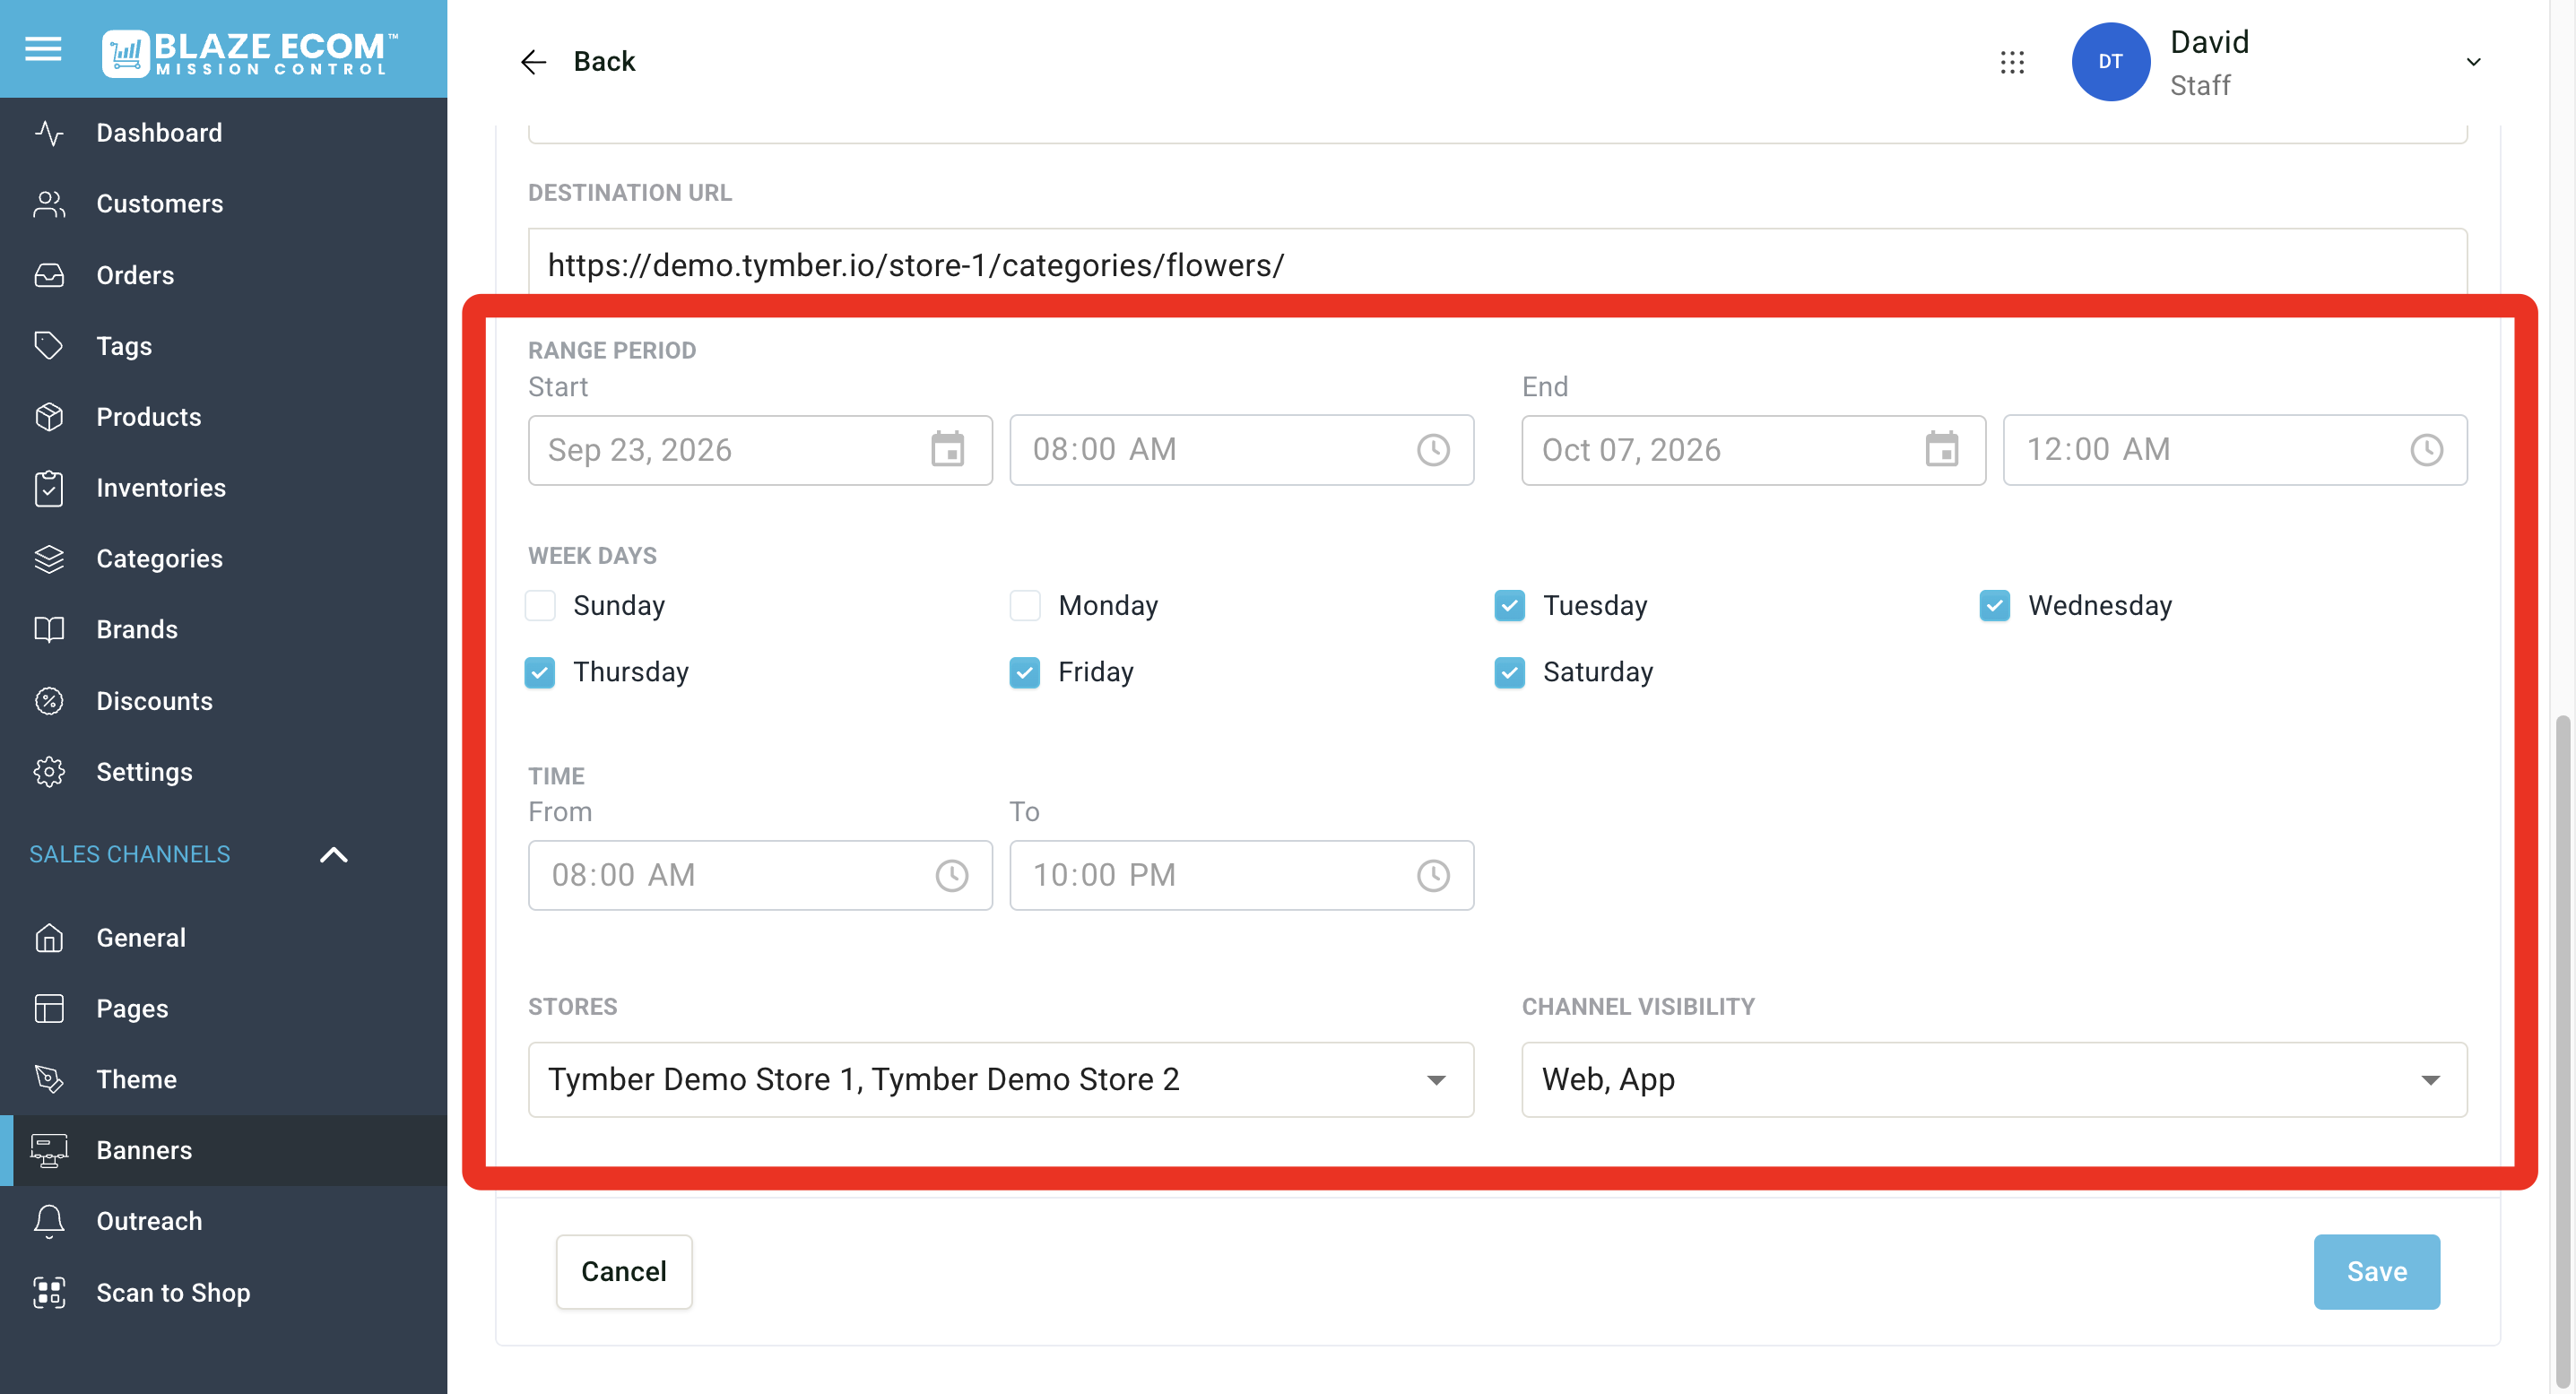
6) Use the "Range Period" to define the date range for your banner
- Banners with no end date will run until you disable them
7) Use the "Week Days" selector to check which days of the week your banner should run
8) Use the "Time" section to define a start and end time the banner should run each day
- The banner will run 24 hrs on the selected day(s) if no time is specified
- Choose a start and end time or leave this section blank
9) Use the "Stores" drop down to select a specific store to display a banner
- This option allows the banner to be displayed on a single location, or as many as you assign.
- This is great for location specific deals, or messaging you want to get to your customers.
10) Use channel visibility to specialize banners for your website, app, or kiosk
- Set your channel to ensure the banner only appears on the ECOM service you select
- Can limit your banner to your website, mobile app, or kiosk
- By default all services will be selected, so the banner will be visible everywhere