It's simple to manage your customers from your Tymber Mission Control panel.
Learn:
- Where to find your customer view
- Sort features & search
- Understanding the customer tab
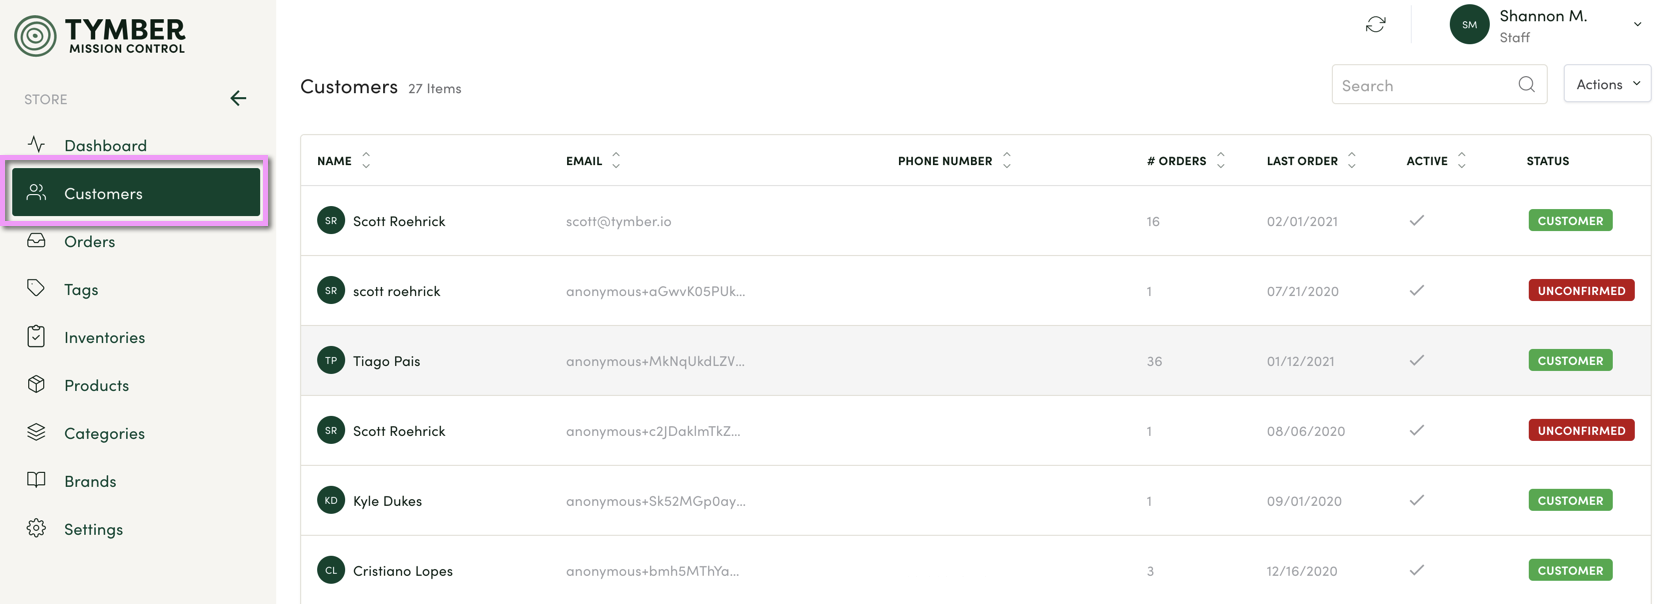
- Once you're logged in to your Tymber Mission Control at admin.tymber.io notice the left column. This is where you will find your customer view.
- Click on Customers and the window to the right will populate with your customer list.
🔎Pro Tip: The search function is a great way to find a customer quickly.
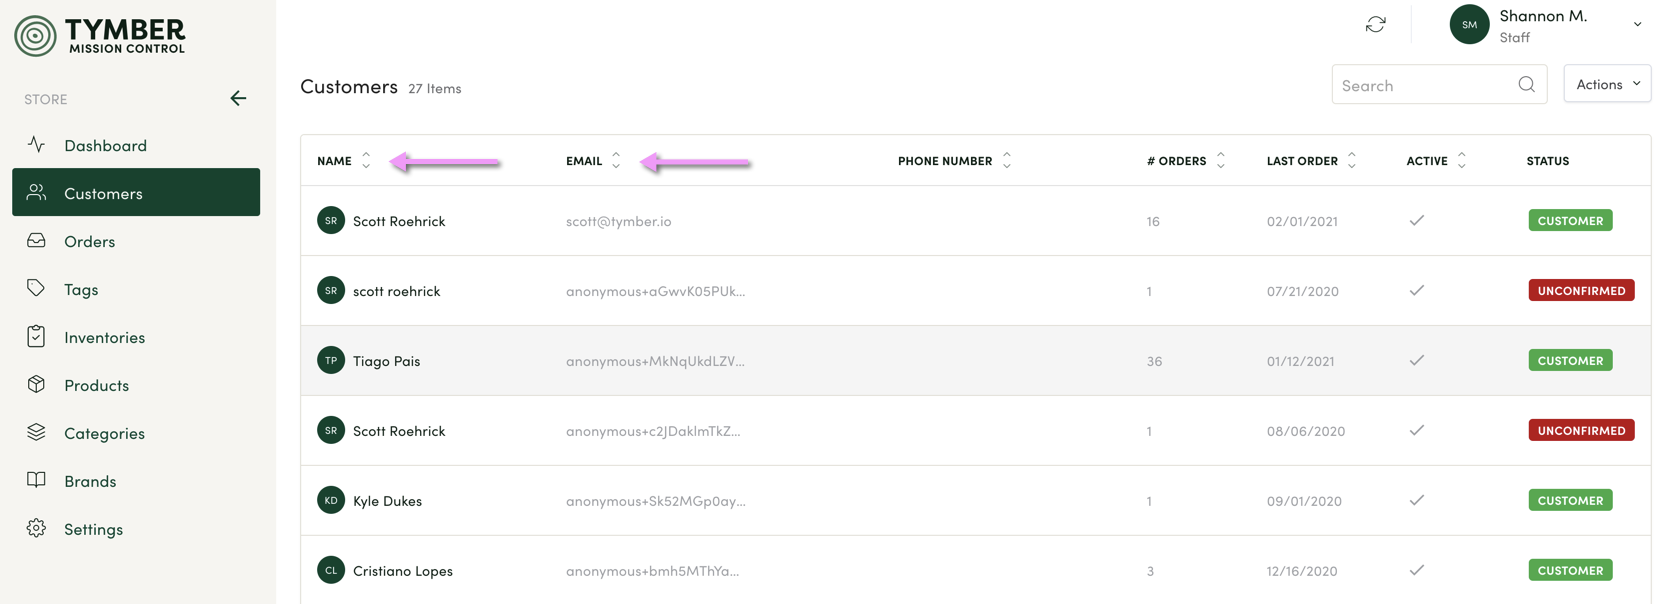
3. Search alphabetically by clicking on the column header for Name or Email.
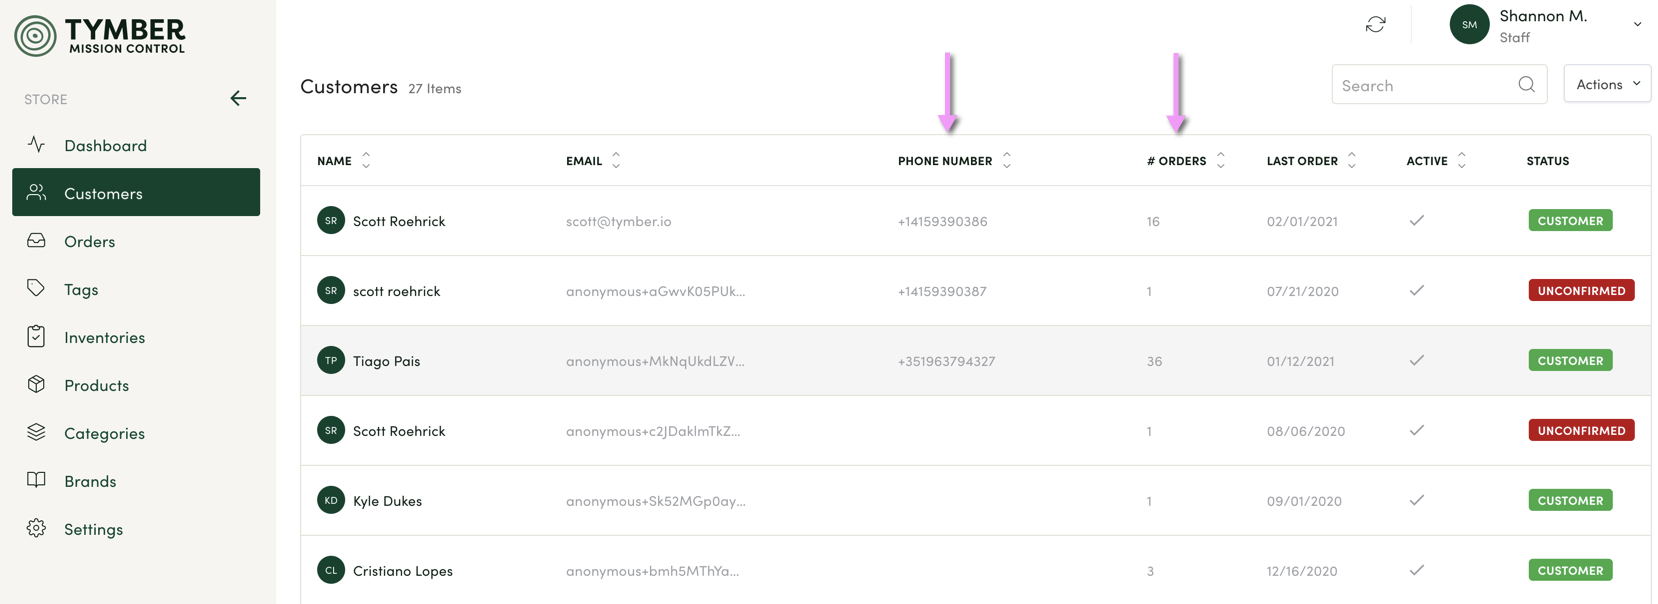
4. Search numerically by phone number or number of orders. It's also possible to search for the last order date and whether the customer is active or inactive.
Drill into customer information by clicking on their name to enter their customer window.
5. Click the customer name to open up their window. There you'll see the About tab where you have access to their full name, DOB, marketing consent for email and SMS, what type of user they are (adult-use or medical). Their sign up email, reward points info, and last delivery address on file.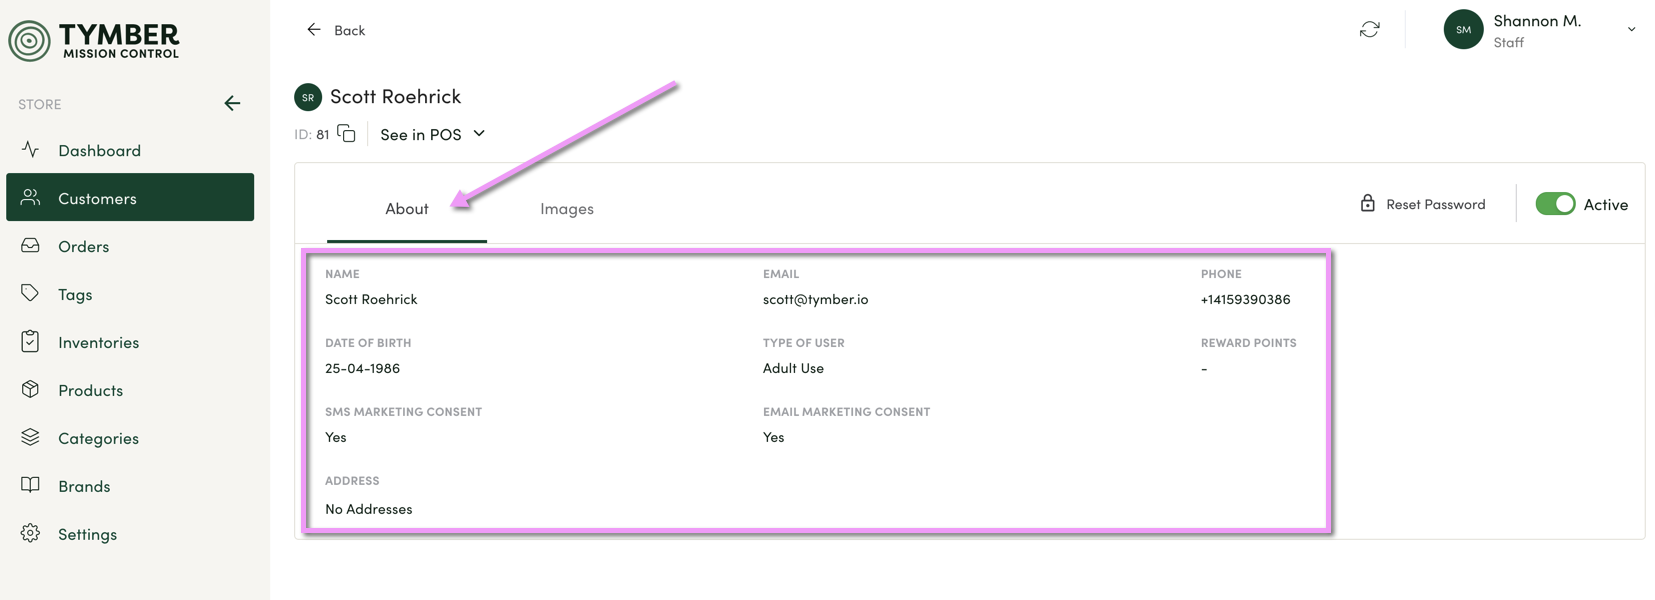
🏌️Pro Tip: You can Activate or Deactivate a customer in this view. You can also reset their password. *Note: Tymber does not notify customers of new passwords, you will need to send your customer an email with their new password.
6. To edit or change a customer Phone number, click the edit icon, enter their new phone number and Save. 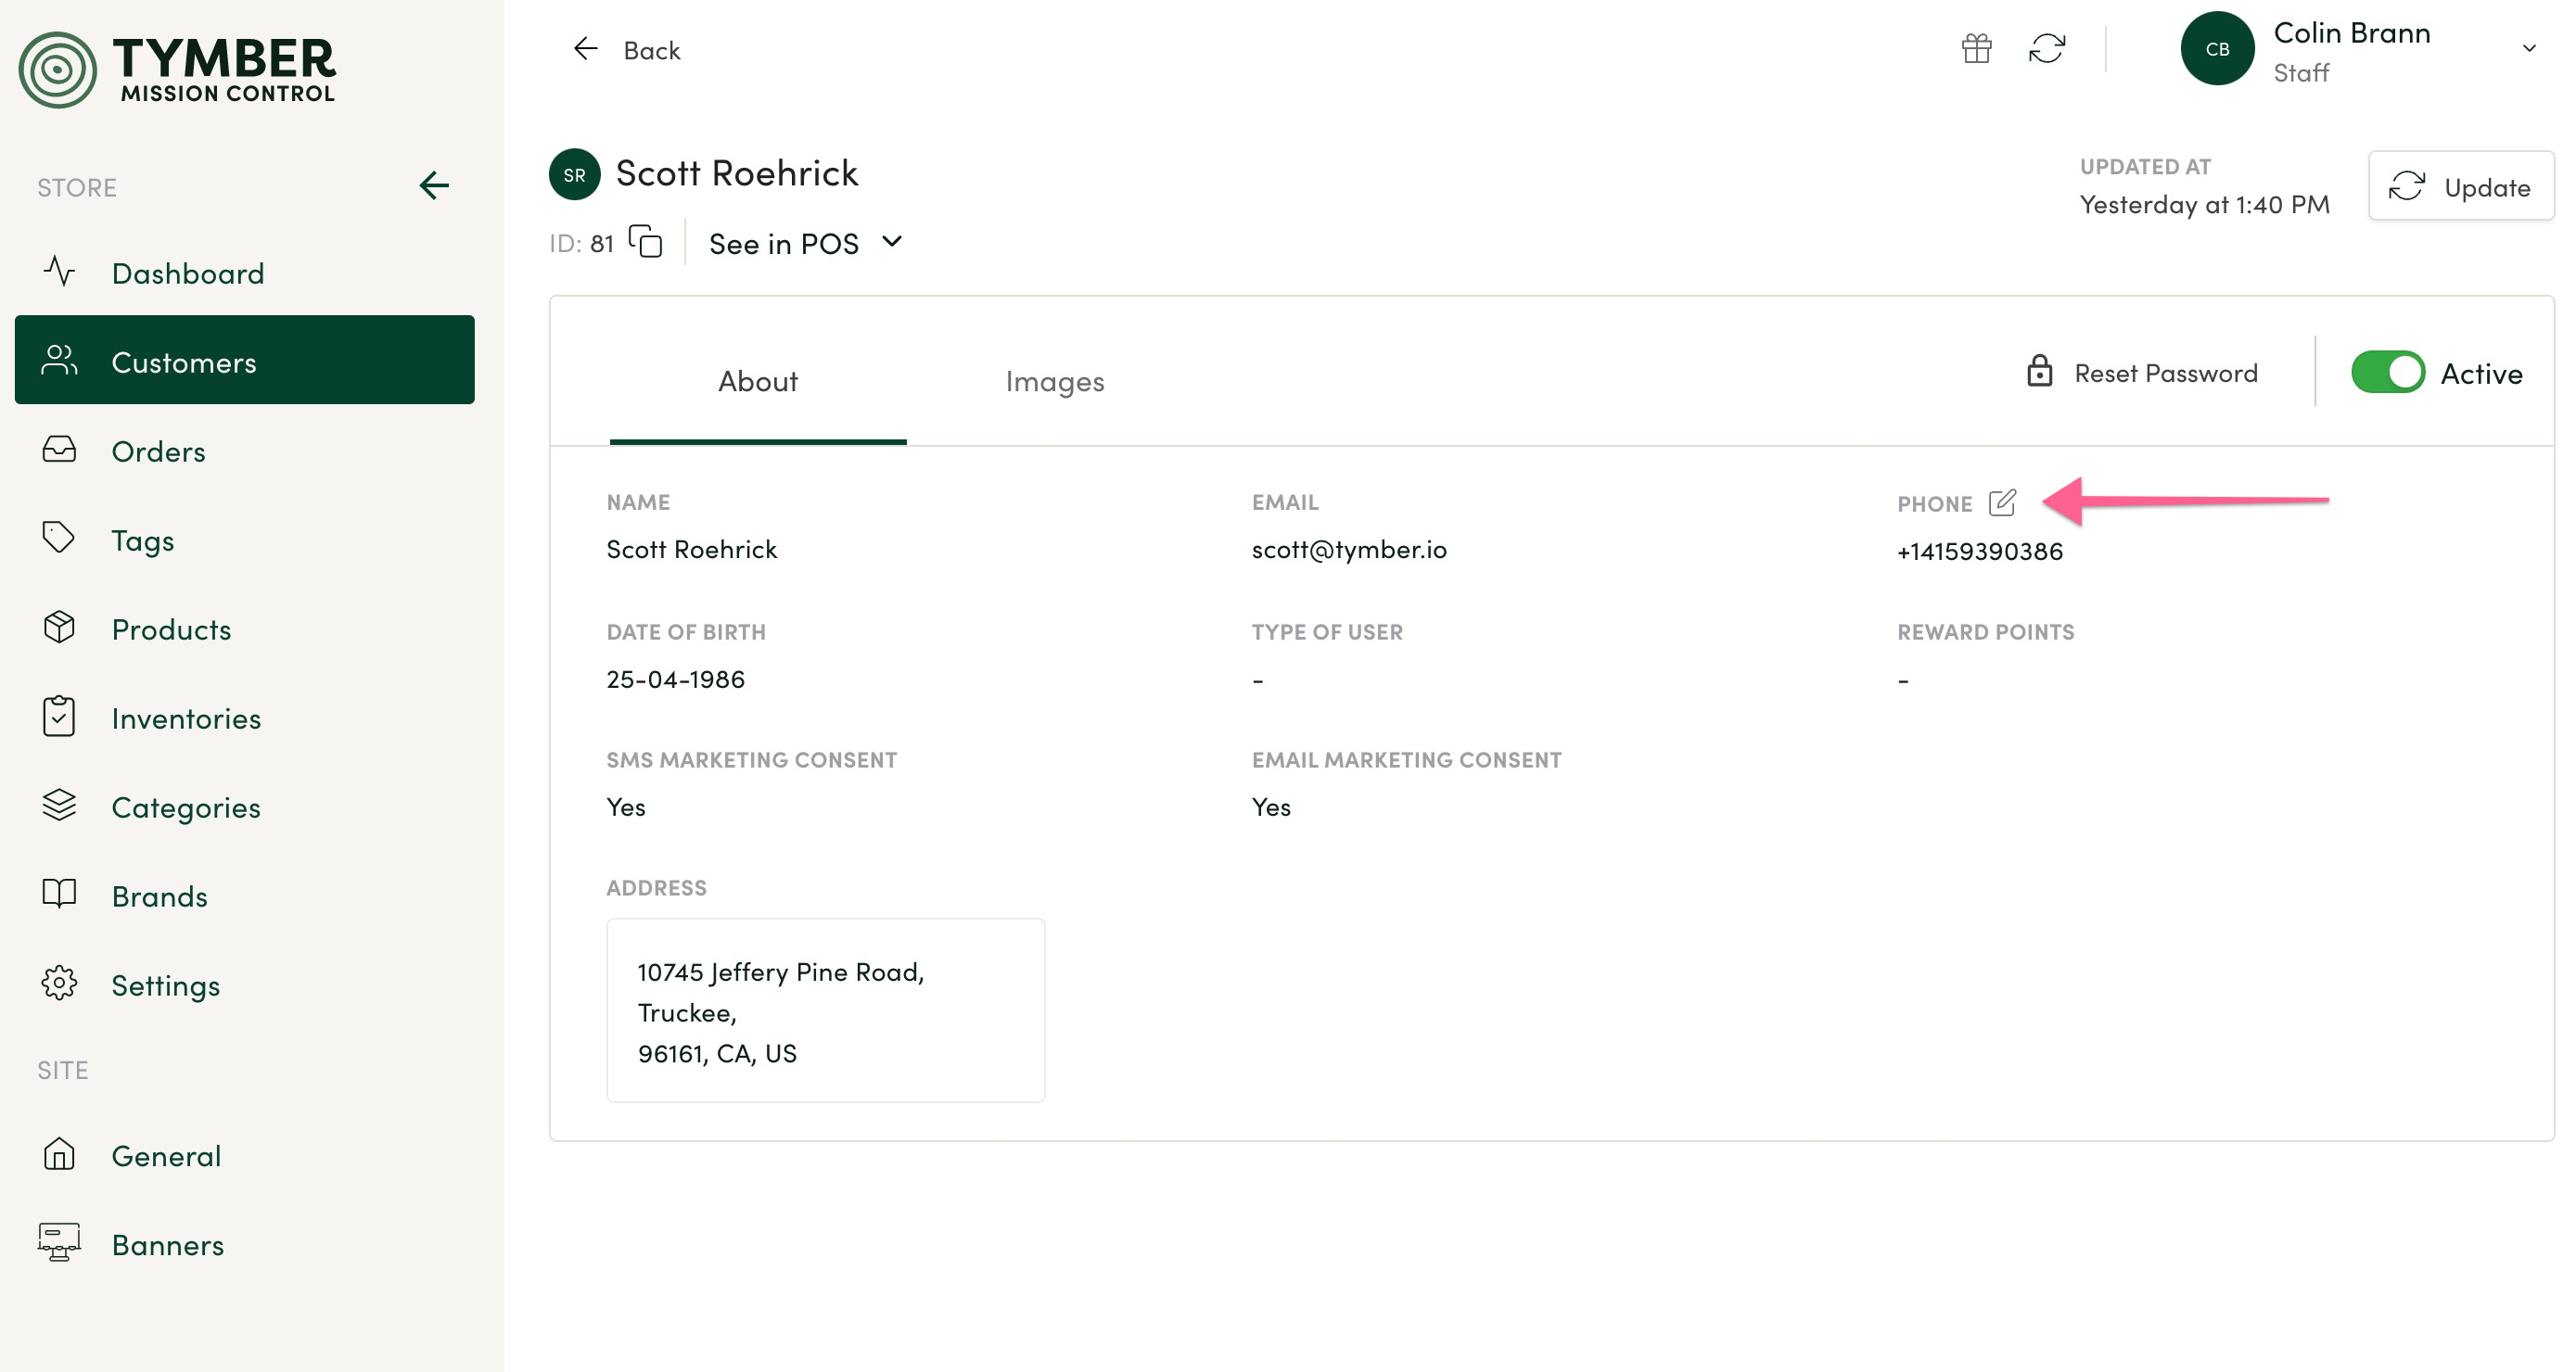
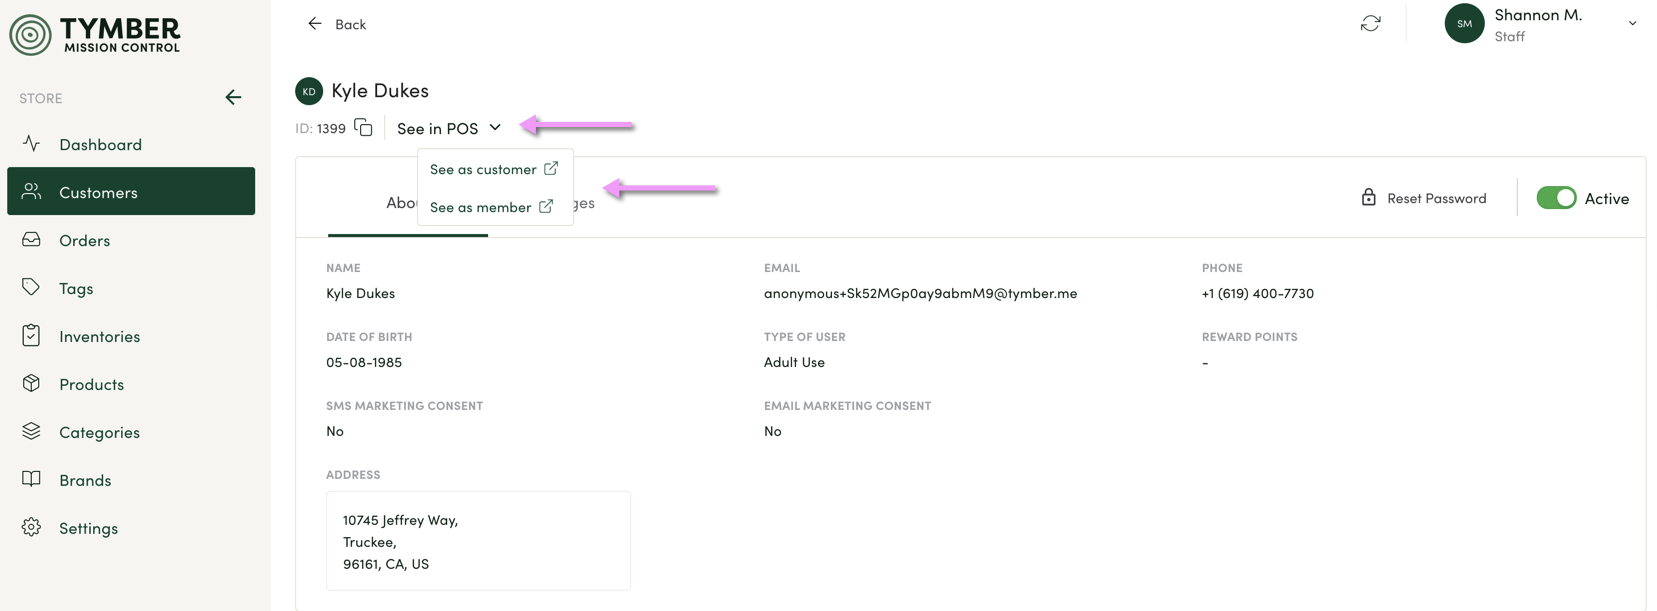
7. In the About tab you can see your customer in the POS. Simply click the drop-down menu next to POS to view "as customer" or "as member".
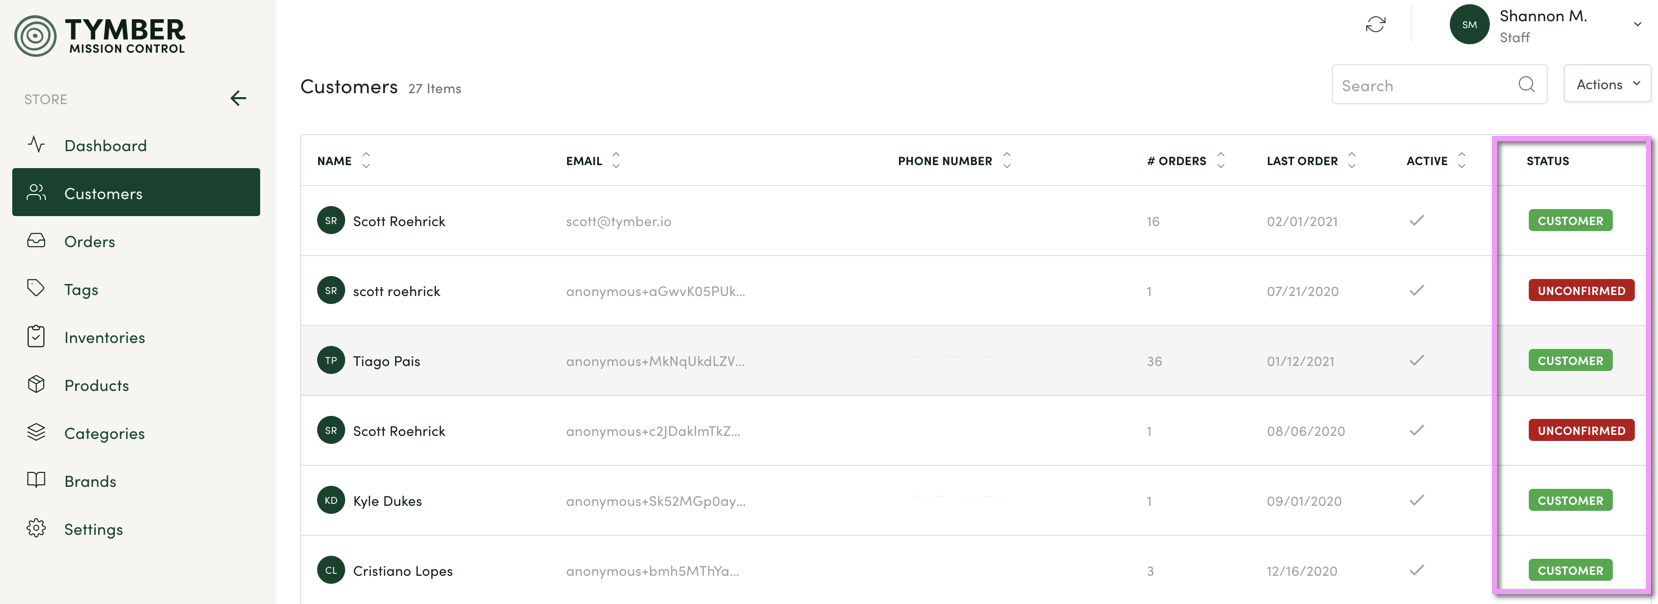
8. Confirm the status of your customer in the status column. Confirmed means that they have completed the sign-up process and unconfirmed means that they have not finished onboarding (not yet entered the verification code that was sent to them).
9. Manually reset your customer's password. This can be useful to do if they are having trouble using the reset password function through their account management options.
Pro Tip: If you have an unconfirmed customer struggling to log in- you can manually reset their password to confirm them.

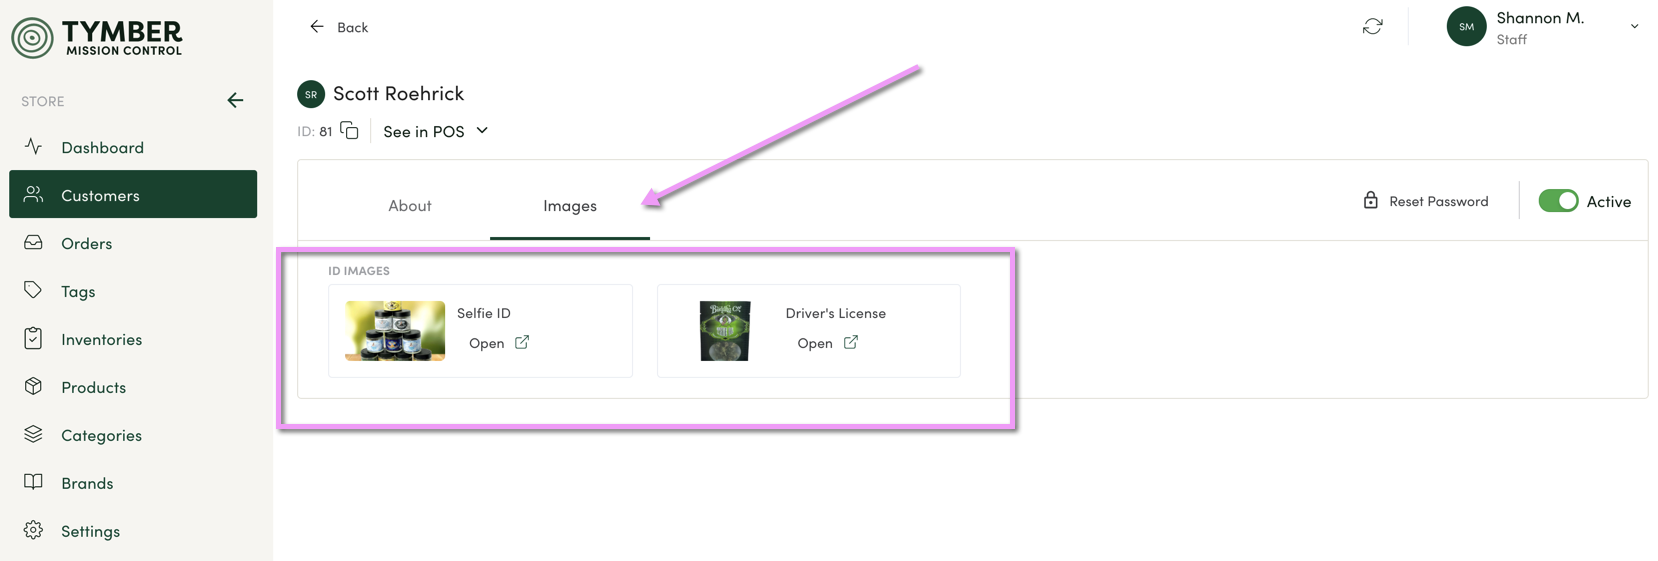
10. When you click over to the Images tab you have access to any images that have been uploaded. You'll find a selfie, a driver's license, and a medical recommendation if available. *Note: Customer can only be considered medical if they have a medical recommendation on file.
For articles about managing customers in Blaze, please see below:
For an article about managing customers in Treez, please see below:

