We have redesigned the Dispatch function outside Retail Web by allowing a centralized interface that includes an auto-assign process for delivery orders.
Want to see DispatchPro in action. Watch this Webinar DispatchPro Webinar.
Overview
- Configurations
- Log In
- Accept Incoming Order
- Create New Orders
- Today Orders
- Orders Section
- Drivers
- Members
- Reporting
- Region
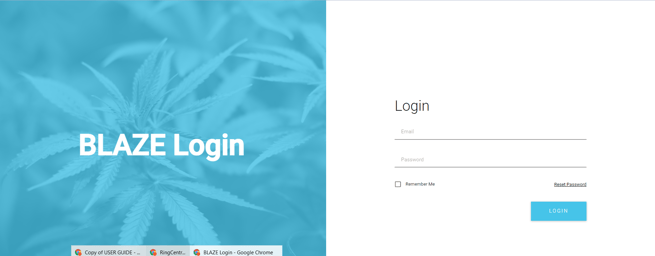
Log In
Once configurations are complete, you can log into DispatchPro.
- Go to the Login Page and enter your credentials
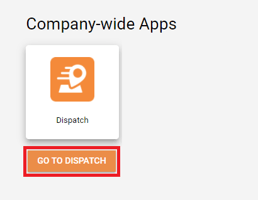
- Scroll down to Company Wide Apps and click on the DispatchPro Icon
Incoming Section
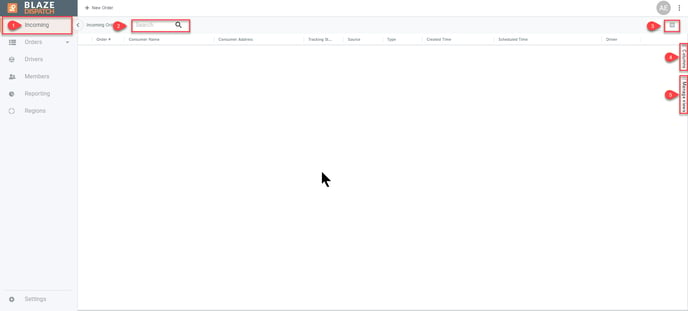
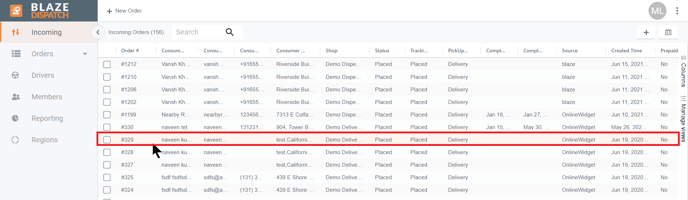
1. Incoming Tab: View the list of incoming orders
2. Search: on any field for Incoming orders
3. Grid View Filter: change between custom views

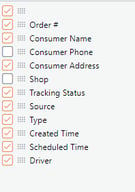
4. Columns: Click on the checkbox to select which fields you would like displayed on the view
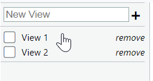
5. Manage Views: This allows you to name and save the columns selected in the view. Type in the name of the view and click on the plus sign
Accept Incoming Order
- Click on any order in the view to see the Incoming Order details
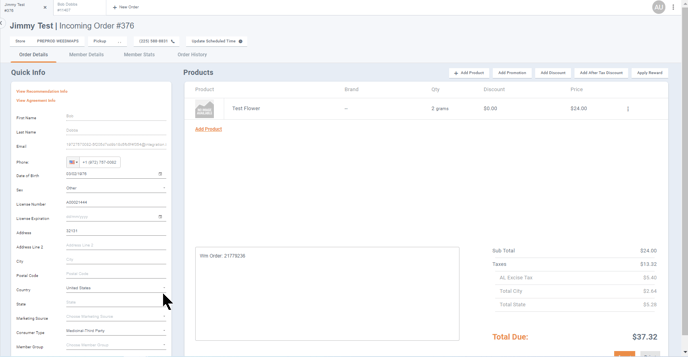
- You can verify or update the member information in the order as needed
- Add Product.
- You can also edit, remove or discount line items using the 3 dots to the right of the product.
- Apply Promotions, Discounts, or Rewards
NOTE: You can only use a promotion or a discount. Both cannot be used at the same time.
- Add notes
- Accept or Reject the order. Accepting the order will make it a regular order (Transaction), and close the tab. The new transaction can then be found in the Orders tab. Rejecting the order will close the tab also and move the incoming order to rejected status.
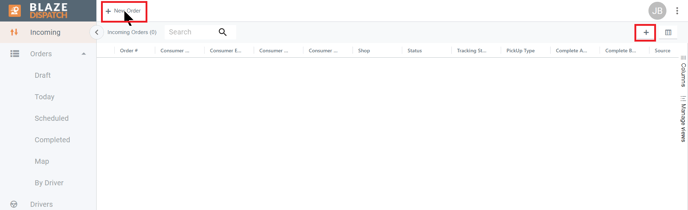
New Orders
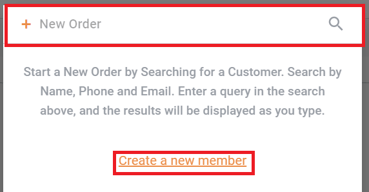
- There are two ways to create a new order. The New Order button at the top of the view, or the + sign at the top of the view.
- You will have the option to search for a Member by Name, Phone, or email or you can create a new Member.
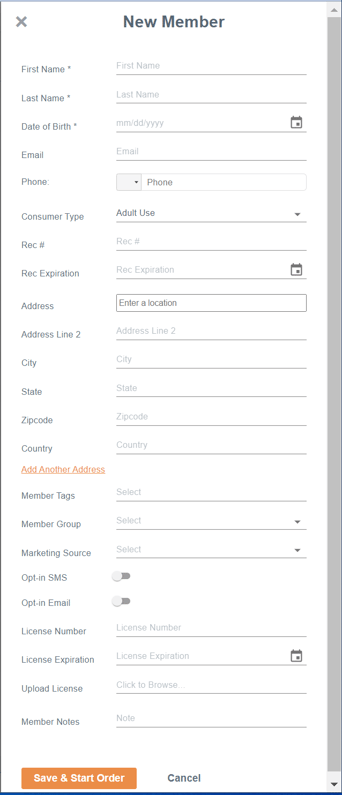
- Continue with the order creation
- First Name, Last Name, and Date of Birth are required fields
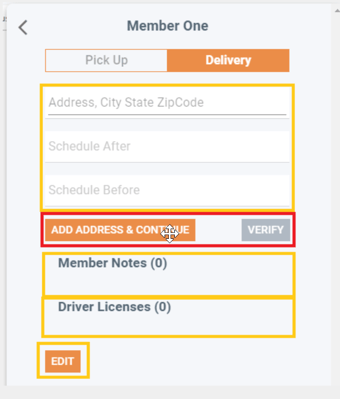
Auto Assign Enabled For Delivery Orders
If Auto Assign is enabled, the order will be assigned to a region and driver based on the address in the order.
- Enter the following information or verify
- Address: (mandatory) will load the registered address for the member or you can enter a new one
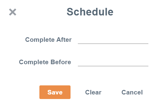
- Schedule After and Schedule Before: (optional) enter the dates and times for preferred delivery
- Verify: when selecting an existing address, this option will be active. After clicking on Verify, it will create the order.
- Add Address & Continue: If a new address was entered this option will be active. This will save the address in the member info and create the order.
- Member Notes: will show previously registered notes registered for the member
- Driver Licenses: will show previously registered driver licenses for the member
- Edit: will redirect to the Member Details view to update the member's information
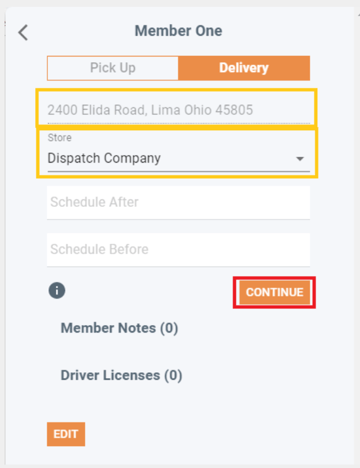
Auto Assign Disabled For Delivery Orders
If Auto Assign is disabled, the dispatcher must manually choose a store from the ones he/she has permissions in. The created order will go to Unassigned.
- Enter the following information
- Address: (locked) show the current members address
- Shop: select the shop for the order to be created in
- Schedule After and Schedule Before: (optional) enter the dates and times that the order should be delivered
- CONTINUE: will create the order
- Member Notes: will show the previously register notes registered for the member
- Driver Licenses: will show the previously registered driver's licenses for the member
- Edit: will redirect you to the Member Details view to update the member's information
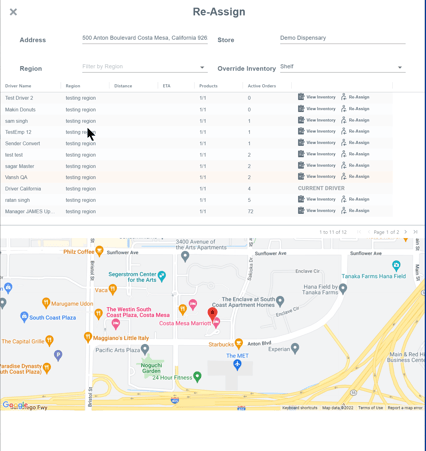
- The top of the new order will give you the following options

- Re-Assign: You can select the Region and the inventory. A list of drivers will display and you can re-assign the driver if needed. Press the "X" to close this window once completed
- Packed By: This will allow you to select who packed the order
- More Actions: There are several options to choose from
- Send to Onfleet
- Update Delivery Address
- Update Scheduled Time
- Update Tracking Status
- Claim
- Mark as Paid
- Lock Transaction
- Add/Edit Tags
- Print Transaction
- Unassign Transaction
- Remove from Queue
- Click in the address to update the delivery address
- Click Update Scheduled Time to change the delivery time
- You can click on the different tabs to view and / or update information
- Order Details: The details of this order
- Member Details: Update the Member information
- Member Stats: View the member's stats
- Order History: View the member's previous transactions
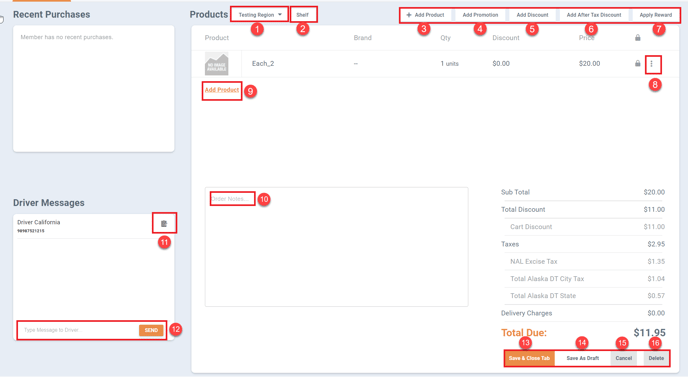
- Region: You can select a different region
- Inventory: You can select a different inventory
- Add Product: You can add product to your order
- Add Promotion: You can add a promotion to your order
- Add Discount: You can add a discount to your order
- Add After-Tax Discount: Add a after-tax discount
- Apply Reward: add a reward from your loyalty program
- 3 dots: You can Edit, Remove, or Discount a line item
- Add Product: another option to add product to your order
- Order Notes: add notes for this order
- View Inventory: you can view the driver's inventory
- Type Message to Driver: You can message the driver. As long as you stay on this view, you will be able to see the driver's response if they send one.
- Save & Close Tab: saves this order
- Save As Draft: will save this order as a draft
- Cancel: cancel this order
- Delete: delete this order
NOTE: You can only use a promotion or a discount. Both cannot be used at the same time.
Today Orders
In the Today view, you can update a single order or bulk update orders
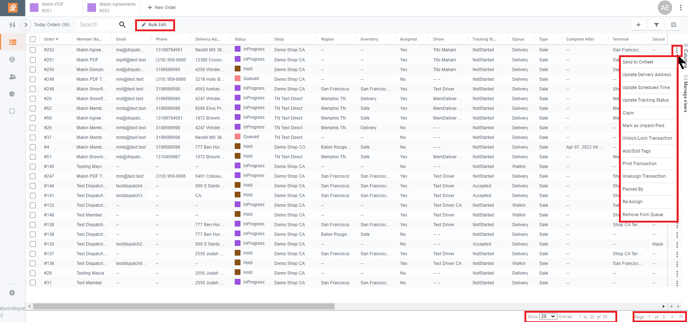
- Bulk Update: select the order to update by placing a check in the box to the left of the orders
- Send to Onfleet
- Update Delivery Address
- Update Tracking Status
- Lock
- Unlock
- Packed By
- Mark as Paid
- Mark as Unpaid
- Finalize
- Unfinalize
- Remove from Queue
- 3 Dots on each order: these updates will only apply to the order you are on
- Send to Onfleet
- Update Delivery Address
- Update Scheduled Time
- Update Tracking Status
- Claim
- Mark as Unpaid/Paid
- Unlock/Lock Transaction
- Add/Edit Tags
- Print Transaction
- Unassign Transaction
- Packed By
- Re-Assign
- Remove from Queue
NOTE: Colorado (CO) shops will have the option to Create Metrc Delivery and Delete Metrc Delivery.
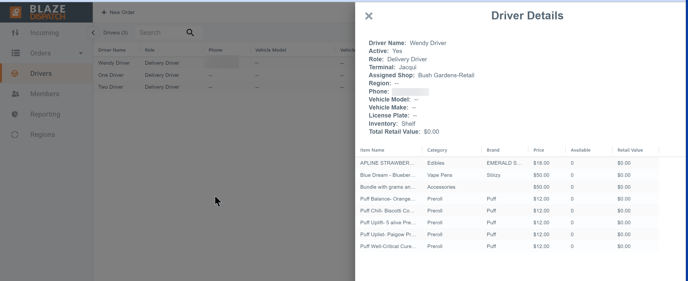
Drivers
- The Drivers view will display basic information about each driver
- Select the Driver you would like more information on and the view will show the driver details and inventory
Members
- The Members view will display all of your members
- Select a Member to view or edit their information
- Search for a member
- + will allow you to create a new member

Reporting
- The Reporting view will display a list of reports that can be easily accessed
Region
The Region view will give you a quick look at your regions and allow the region information to be updated.
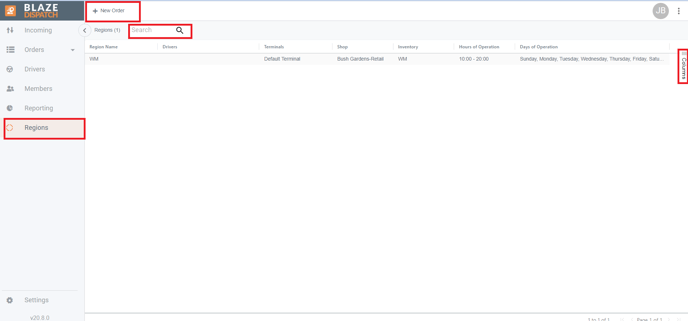
- Dispatch Pro > Regions
- +New Order Button: Create a new order
- Search: Search for a region
- Columns: Select the columns you want to display in the Region view
- Region Name
- Drivers
- Terminals
- Shop
- Inventory
- Hours of Operation
- Days of Operation
- Click on a Region to update the Region information
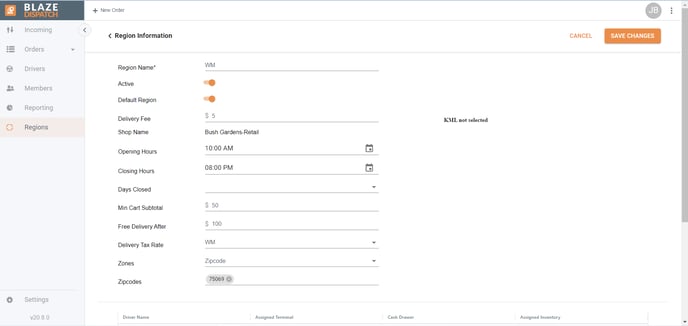
- Click the Edit Button to update Region information
- Region Name: Required. Name of the region
- Active: Toggle the status to be Active or Inactive
- Default Region: Toggle the status to be the default region
- Delivery Fee: Enter the delivery fee
- Shop Name: Displays the name of the shops that are assigned to this region
- Opening Hours: Enter or select the Opening Hours for this region
- Closing Hours: Enter or select the Closing Hours for this region
- Days Closed: Select the days this region is closed
- Min Cart Subtotal: Enter the dollar amount
- Free Delivery After: Enter the dollar amount
- Delivery Tax Rate: Select the Delivery tax rate or Inherit from shop
- Zones: Select if zip codes or a KML file will be used
- Zipcodes: Enter the zip codes for the Zone if zip code is selected
- If KML is selected, a button will appear to Upload the KML file
- Click the Save or Cancel button
- The bottom of the view will display information about the drivers assigned to this region
- Driver Name: Name of Driver
- Assigned Terminal: The Terminal that
- Cash Drawer: Open or Closed
- Assigned Inventory: Driver's inventory
If you have further questions, please reach out to us at support@blaze.me!