
See the flow for verifying customer IDs and automatically populating their ID information into your POS.
Want to see a live flow? Check out our demo videos below:
1) Treez Demo: Click here
2)Blaze Demo: Click here
Step 1: There are two ways a new customer can access the ID verification flow
a) Customer clicks on the account button and then selects their personal information.
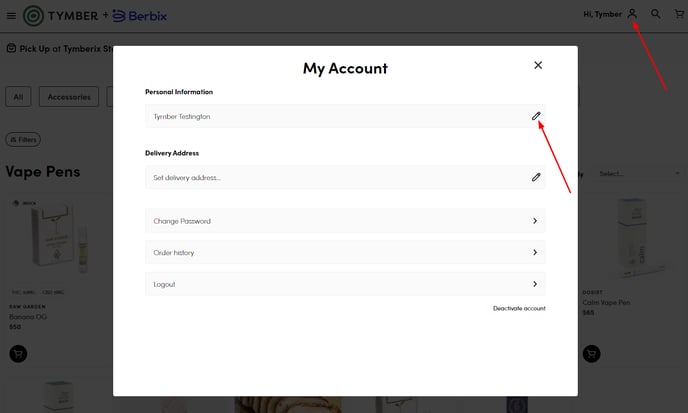
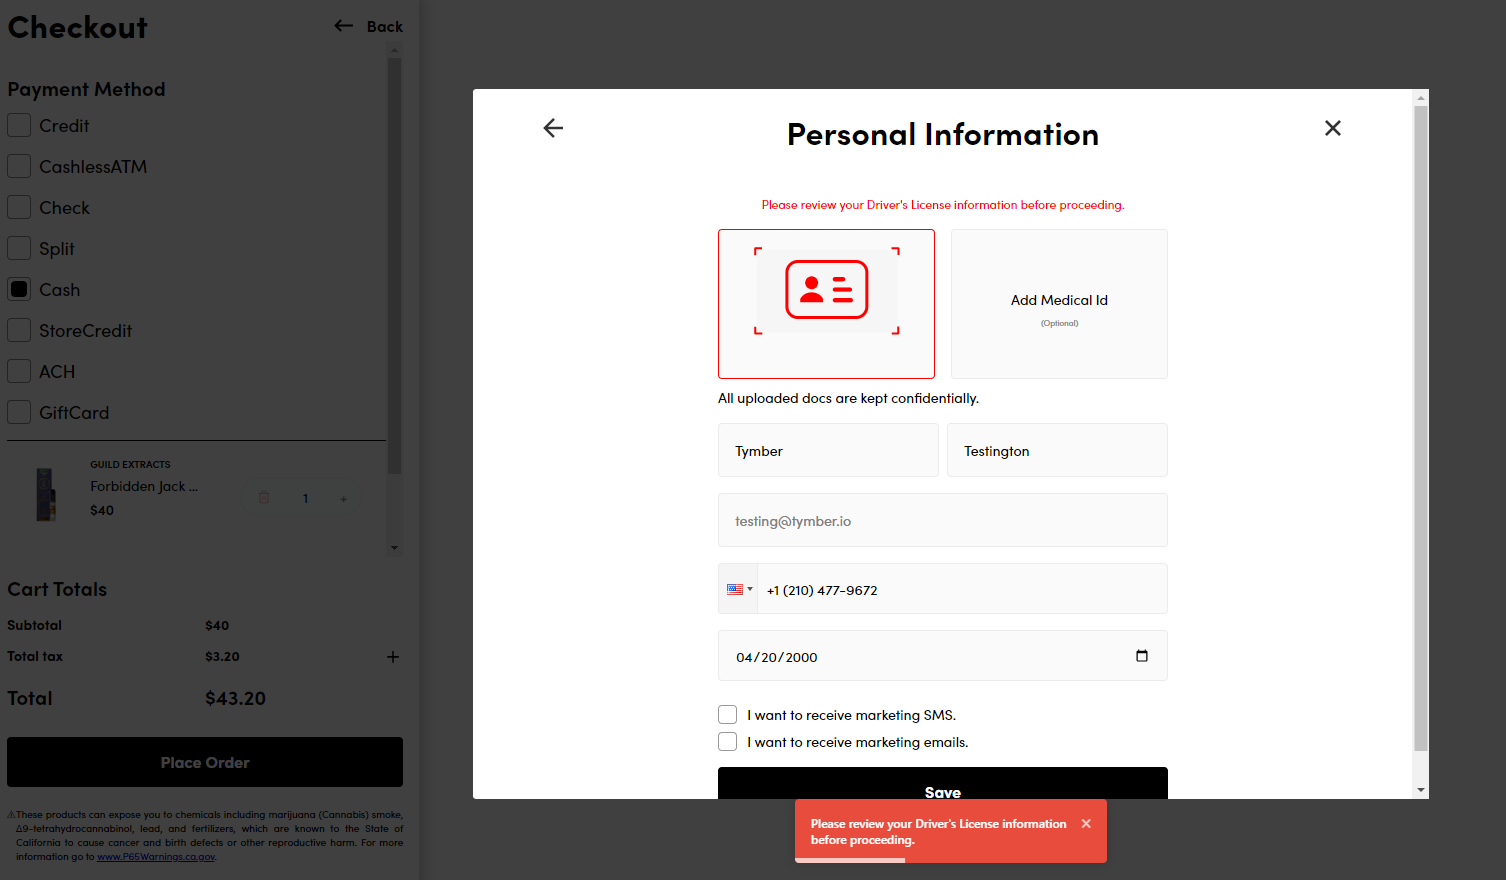
b) A new customer clicks checkout and is automatically directed to verify their ID before they can complete their order.
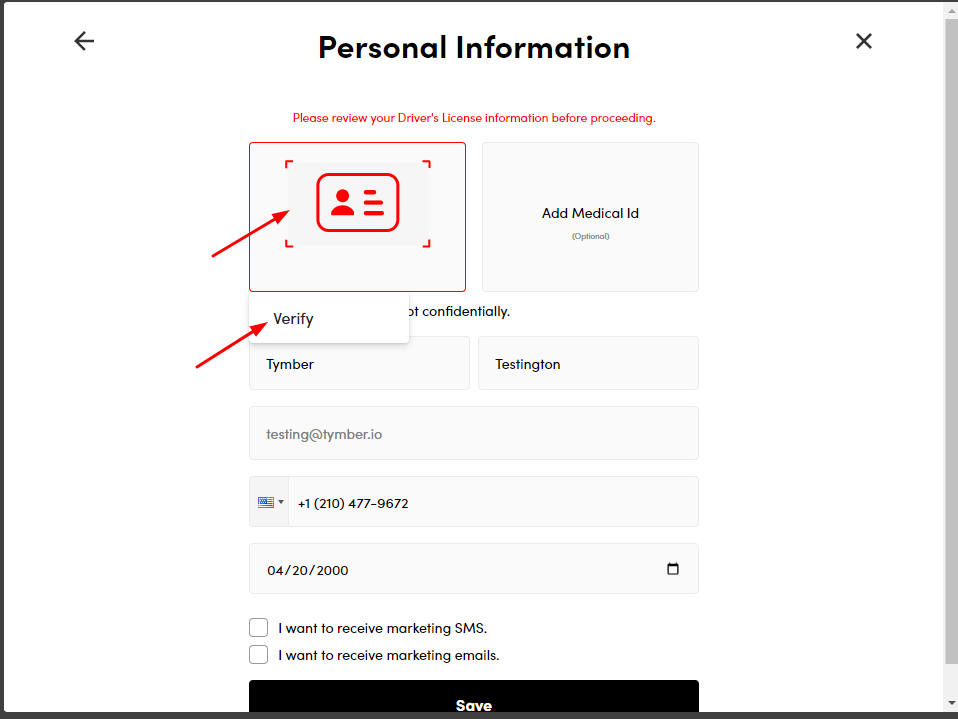
Step 2: To begin the verification process, a customer needs to click on the red box and then select 'Verify'
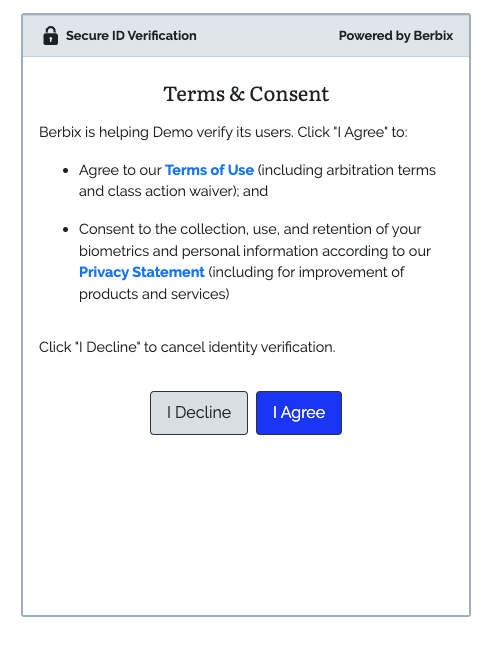
Step 3: The Berbix Verification window will appear as shown below. Press 'Continue"

Step 4: Customers will need to accept the terms of use of their information and facial recognition for identify verification purpose to proceed
Step 5: Customers will need a mobile device to take a picture of their ID and scan their face during the verification process. This can be sent to a mobile number or email.
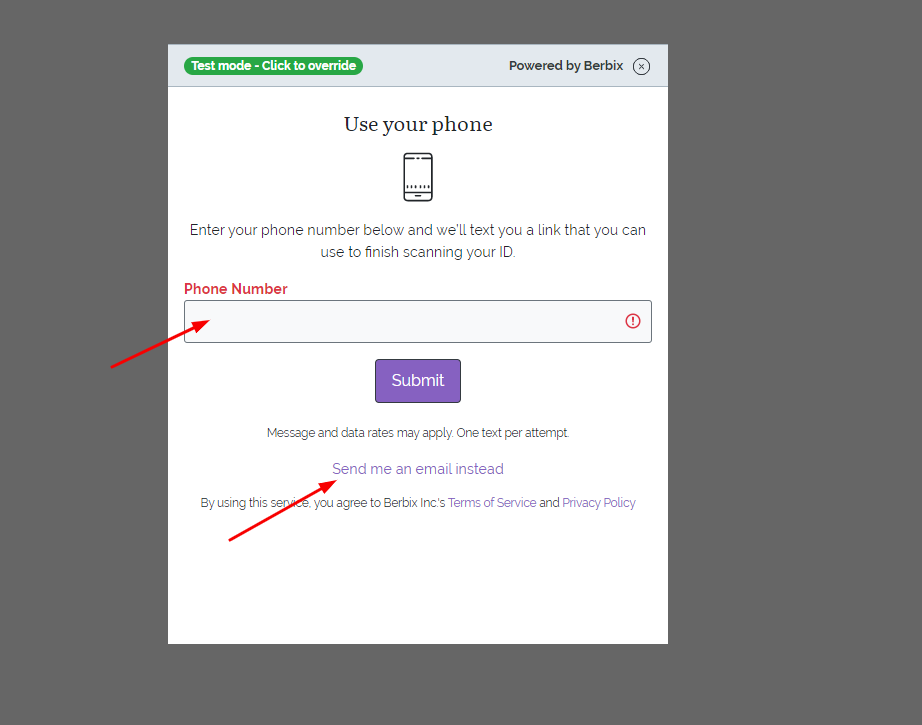
The phone flow sends a text to engage the verification while email will be sent from noreply@berbix.com.
We will show the text flow. Both will be the same process after clicking the link.
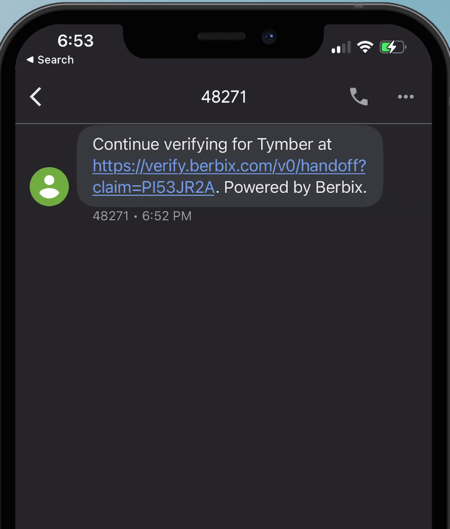
Text Flow
1) Receive a text message link as shown below
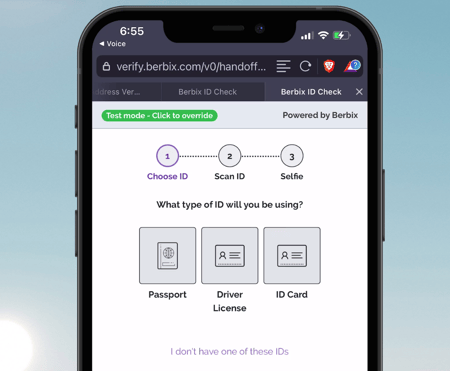
2) Select which form of ID they are going to scan. We will demonstrate a Driver's License. Each form of ID will require a similar scanning process followed by a selfie.
3) Once selected, they will need to take a picture of the front with their phone camera
- They will press "Take Photo" once it is positioned correctly
(1)-jpg-3.jpeg?width=450&name=image%20(36)(1)-jpg-3.jpeg)
If needed, they will have the option to Retake their photo or Submit their photo
4) Next, they will be directed to scan the barcode on the back of their license

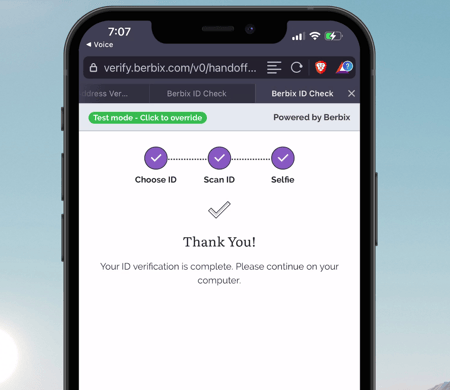
5) Finally, they must take a selfie to complete their ID submission.
6) They will see this screen when their submission is complete
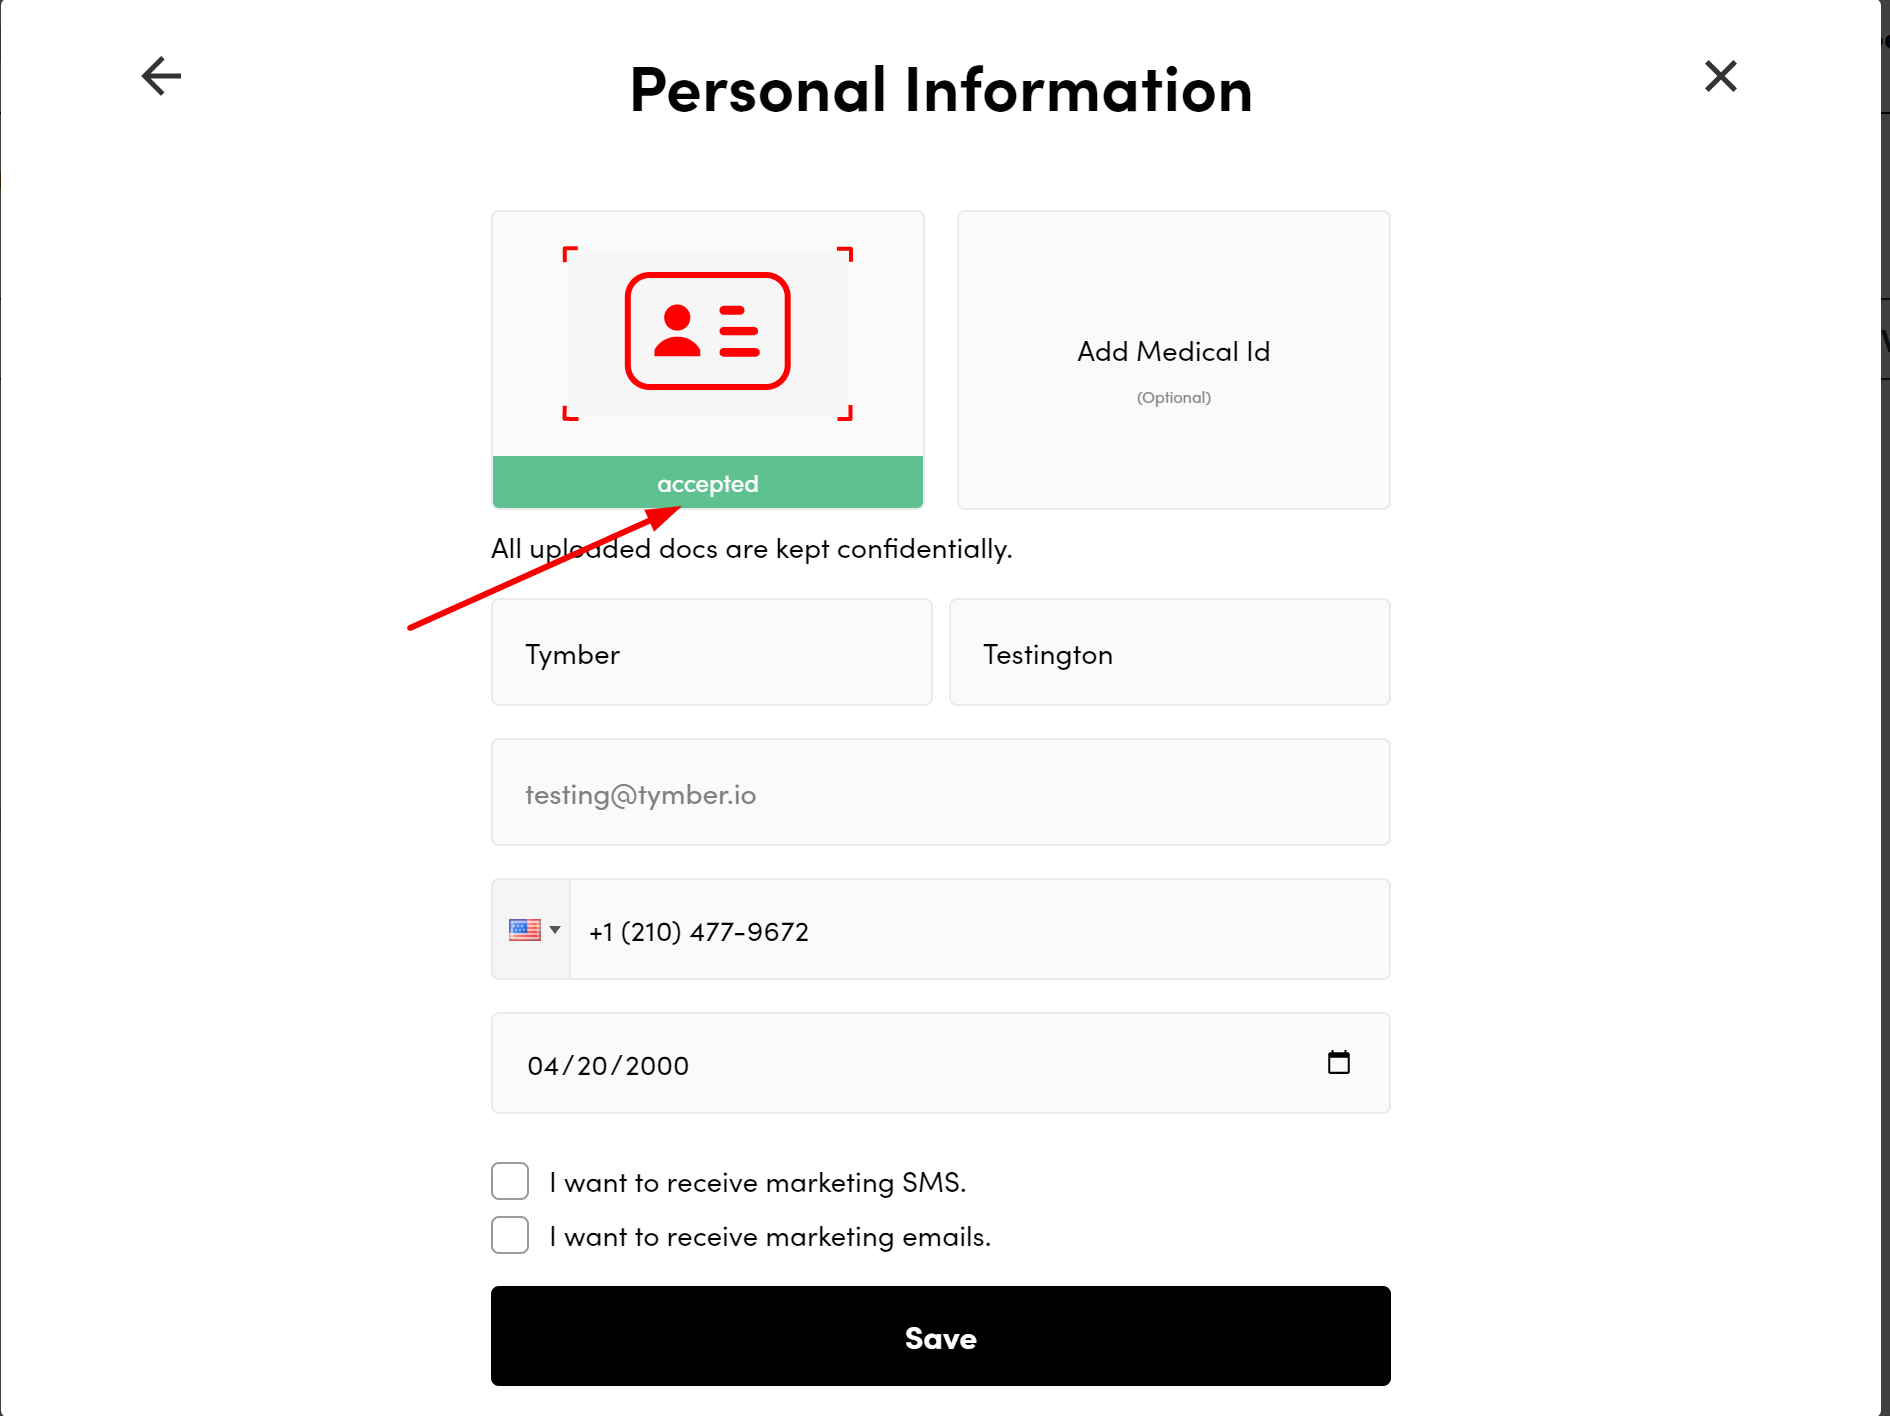
Step 6: They will see an updated message under the ID window as to whether their ID is rejected or verified. This can be reviewed in "Personal Information" anytime.
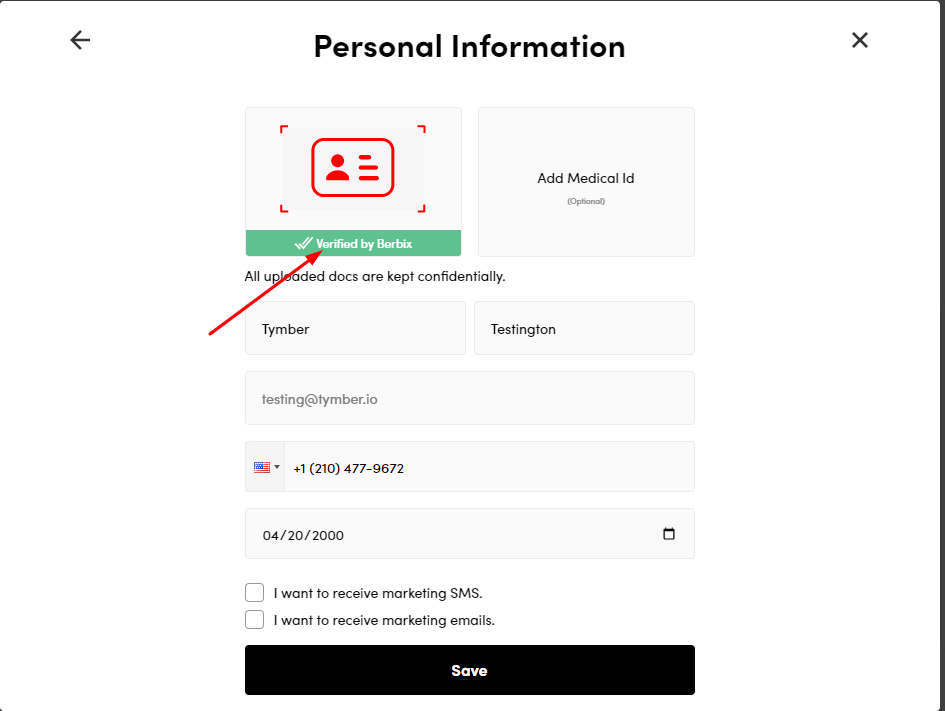
It may show the status as accepted if the submitted image was not scannable in the frame and Berbix needs additional time to process the ID.
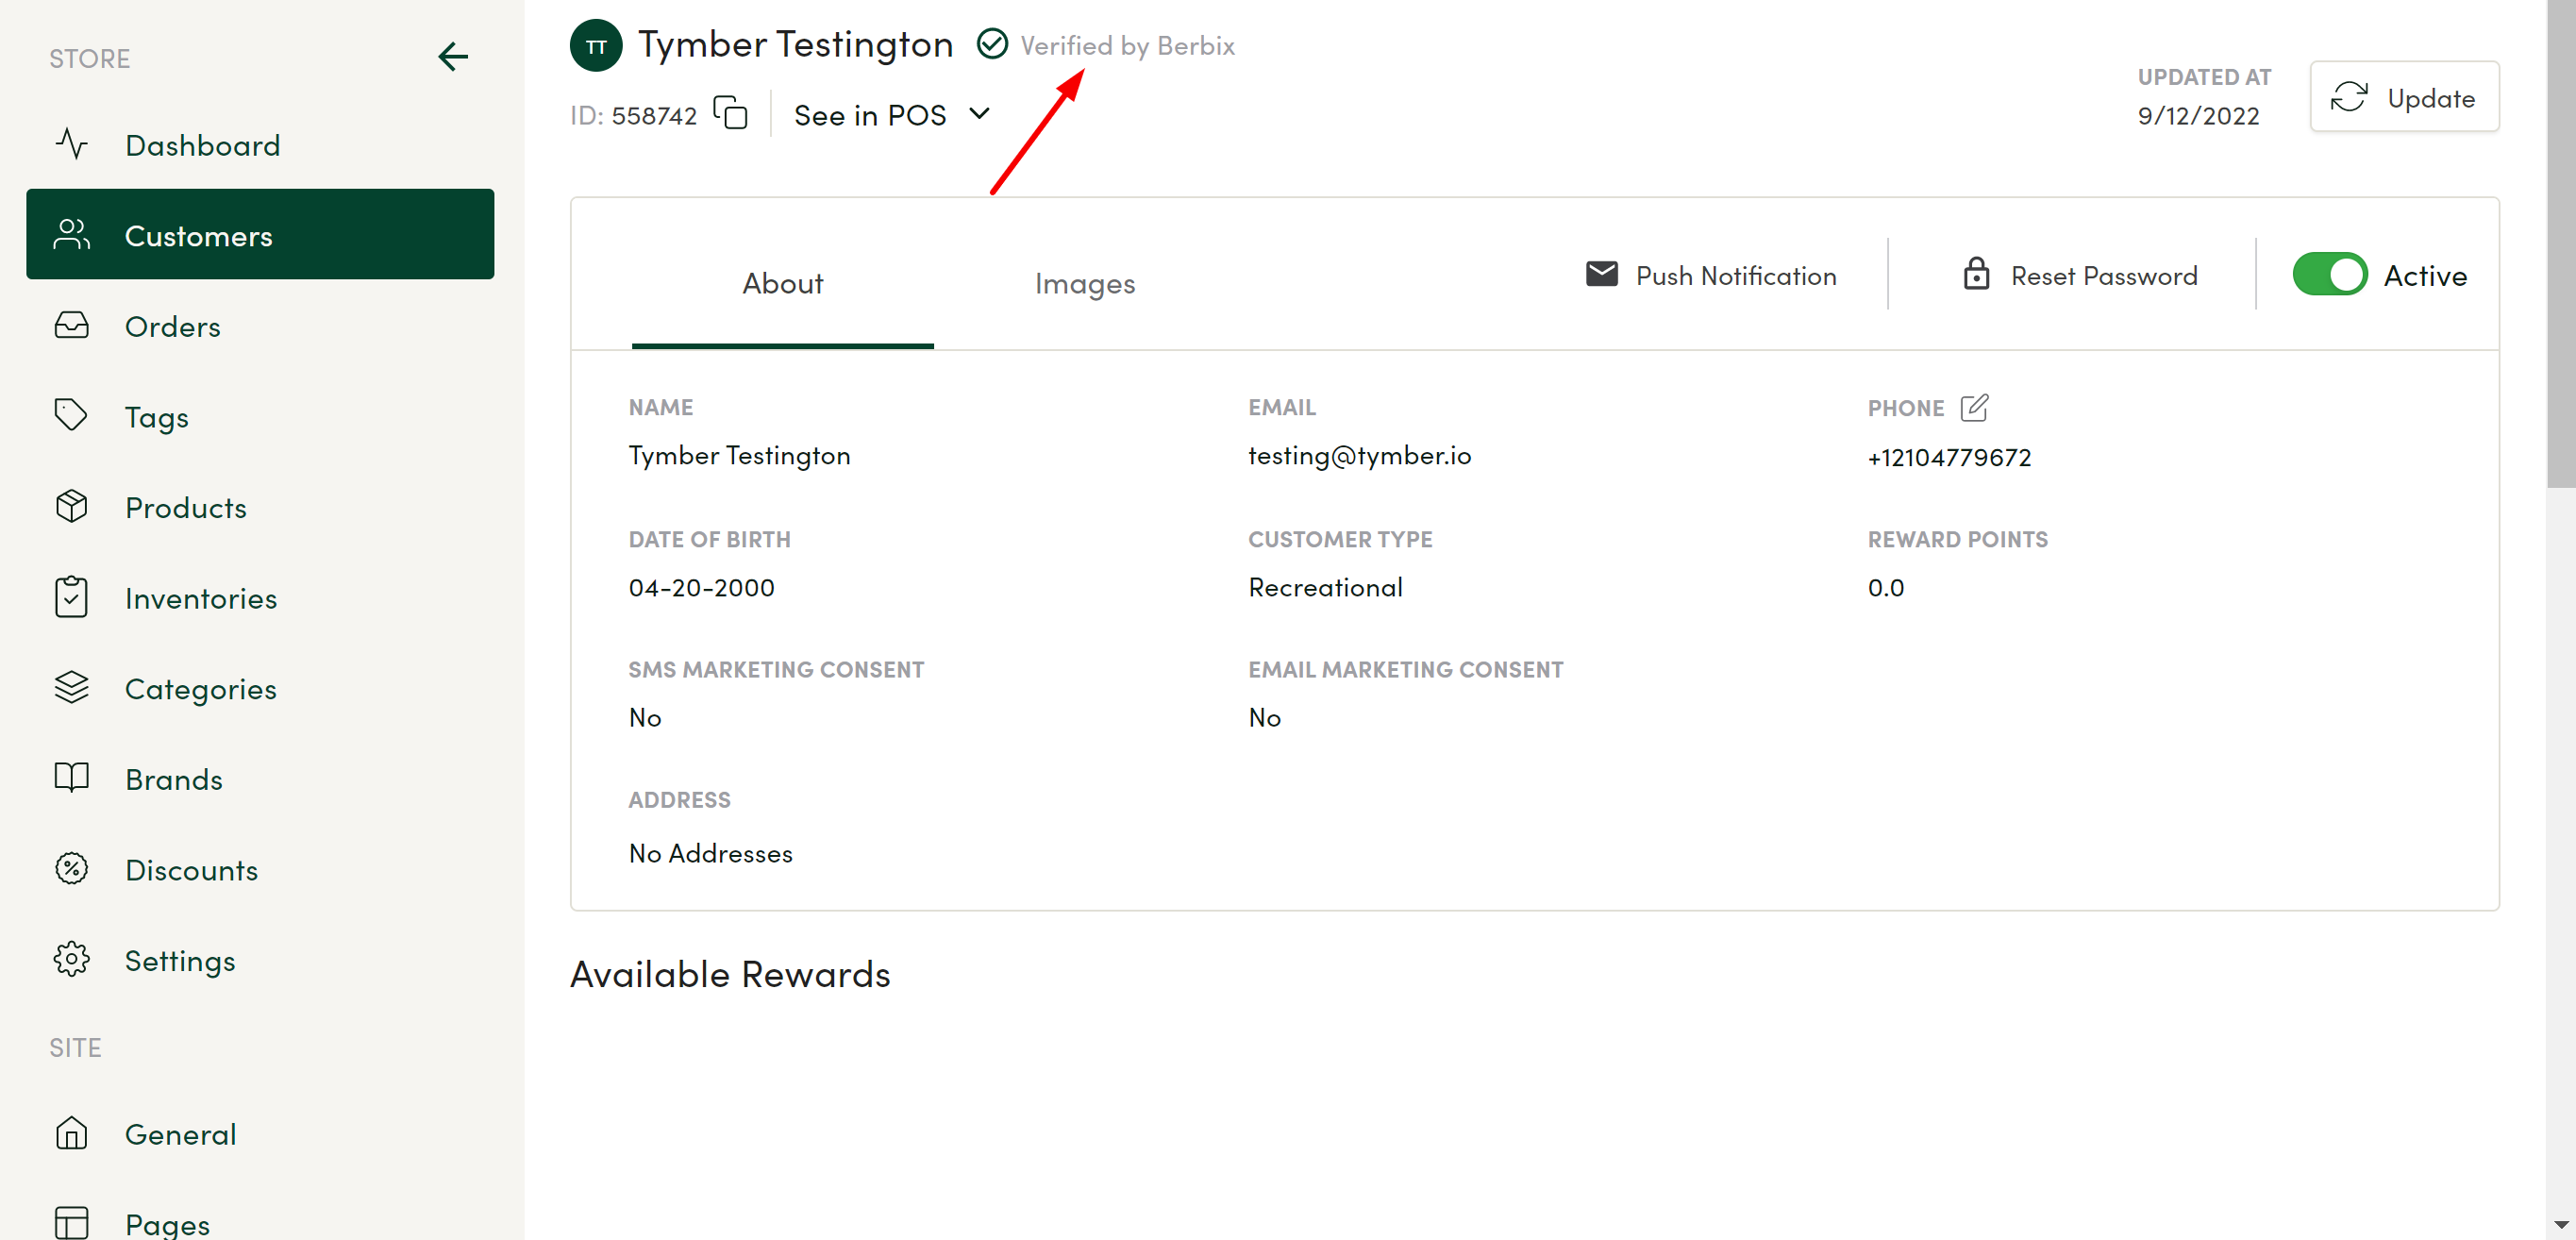
Step 6: Tymber Mission Control View
You will see a checkbox in each verified customer profile
Medical Cards: Berbix does not verify medical cards. Medical patients will be expected to have a government ID verified through Berbix in addition to uploading an image of their medical card directly to Tymber.
This means the medical card is not verified by Berbix and is expected to be verified by the operator upon receiving the customer's first order.
Failed Submissions
Case 1) If a customer checked "no" for allowing facial recognition, it will require the operator to manually verify the ID in Berbix and present these 2 screens:
-png-3.png)
-png-3.png)
As an operator, you will click on the transaction in your Berbix dashboard and click accept:
-png-3.png)
Case 2) If a customer submits an ID image that has already been submitted by another verified customer, they will see the following screen and a duplicate error will be shown in the Berbix transaction record:
-png-3.png)
-png-3.png)
Case 3) What if a customer submits an image that isn't an ID? Berbix will detect this and be unable to process it. They will be presented with the following screen: