Creating a sign-up form in Klaviyo is fairly simple.
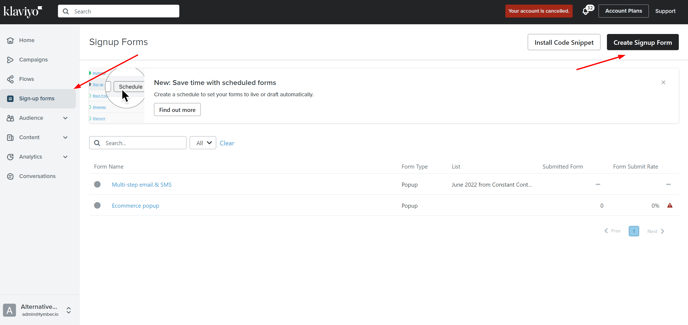
- Sign into the Klaviyo dashboard
- Click Sign-up Forms -> Create Signup Form
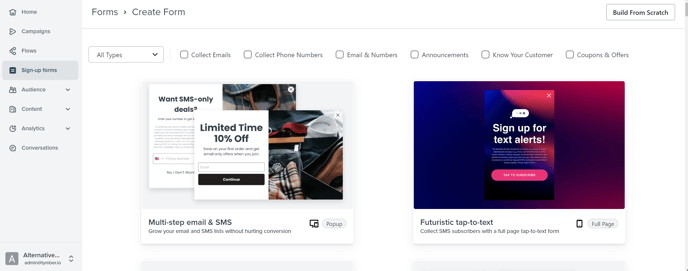
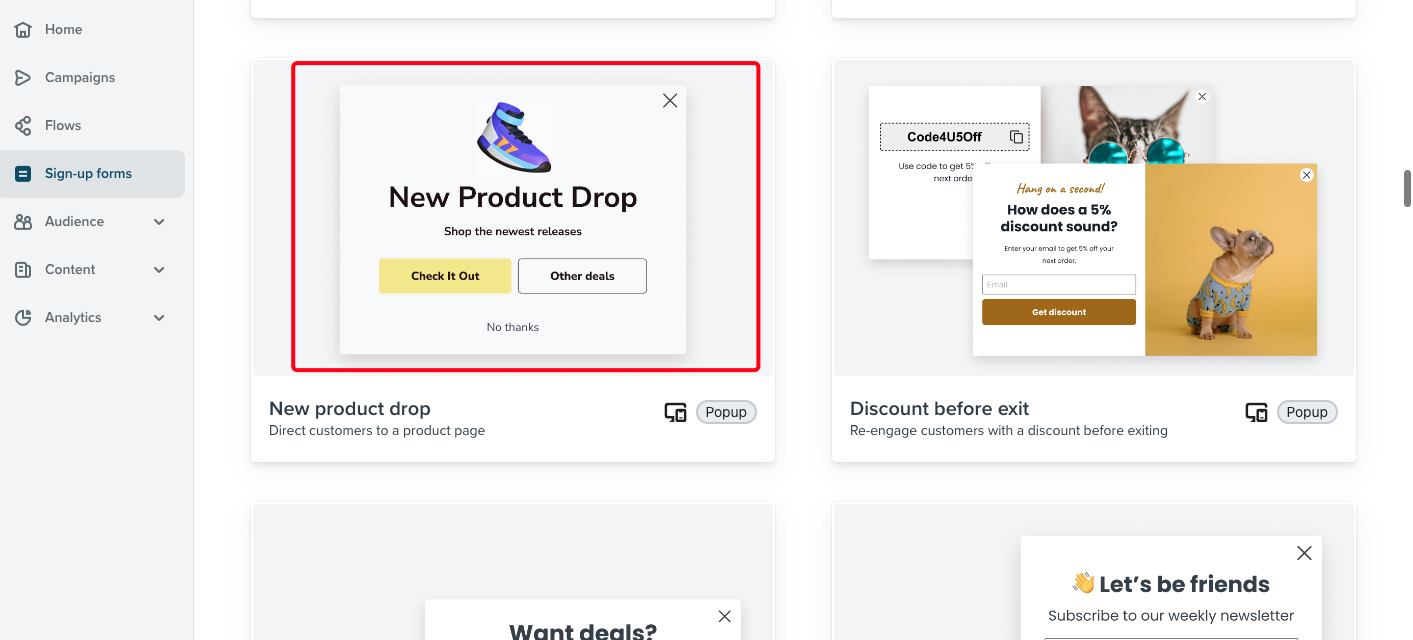
- This will take you to a page with several templates to choose from. You can choose whatever template best suits your needs or build one from scratch.
- For Password Reset popups, we recommend the New Product Drop template
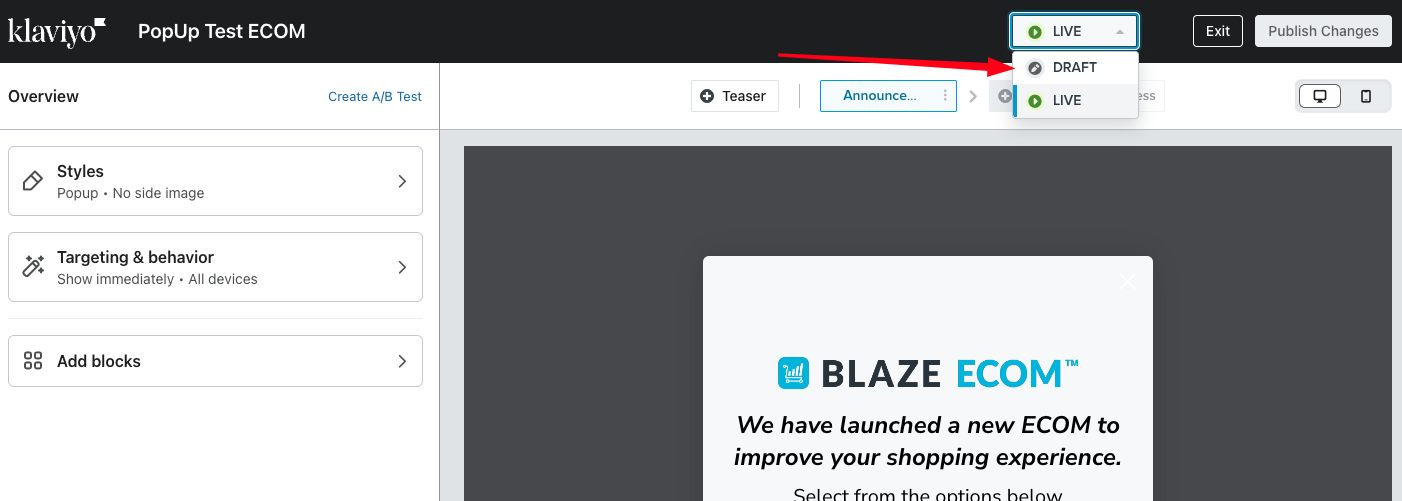
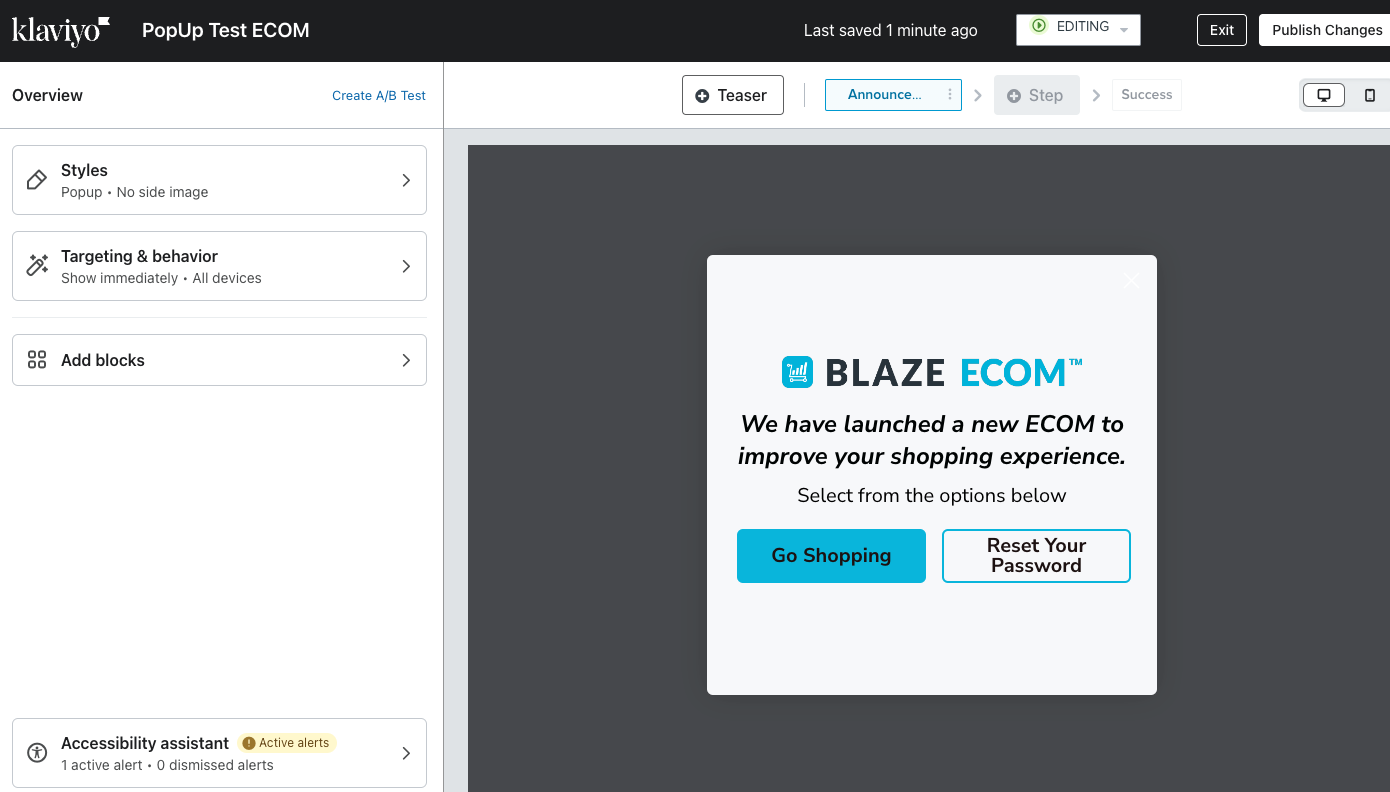
- You'll then have the ability to customize the popup design for informational purposes or to collect customer information.
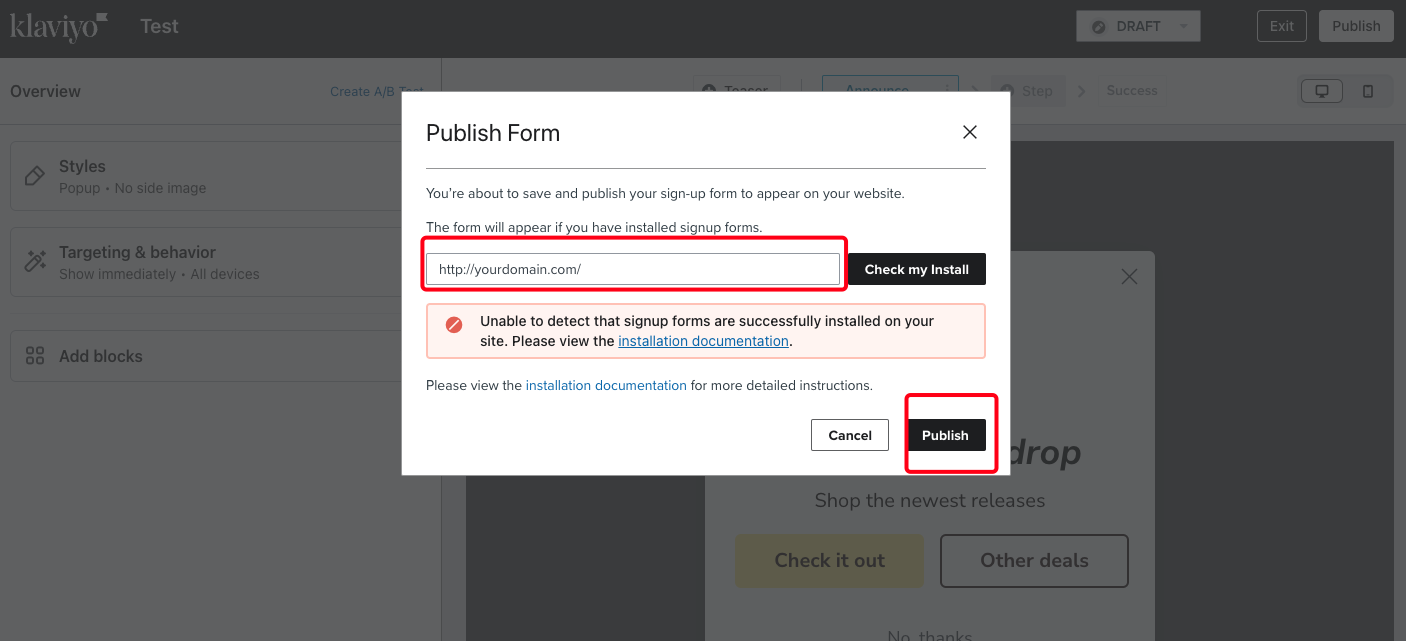
- Click Publish and enter the domain you want the popup to appear on.

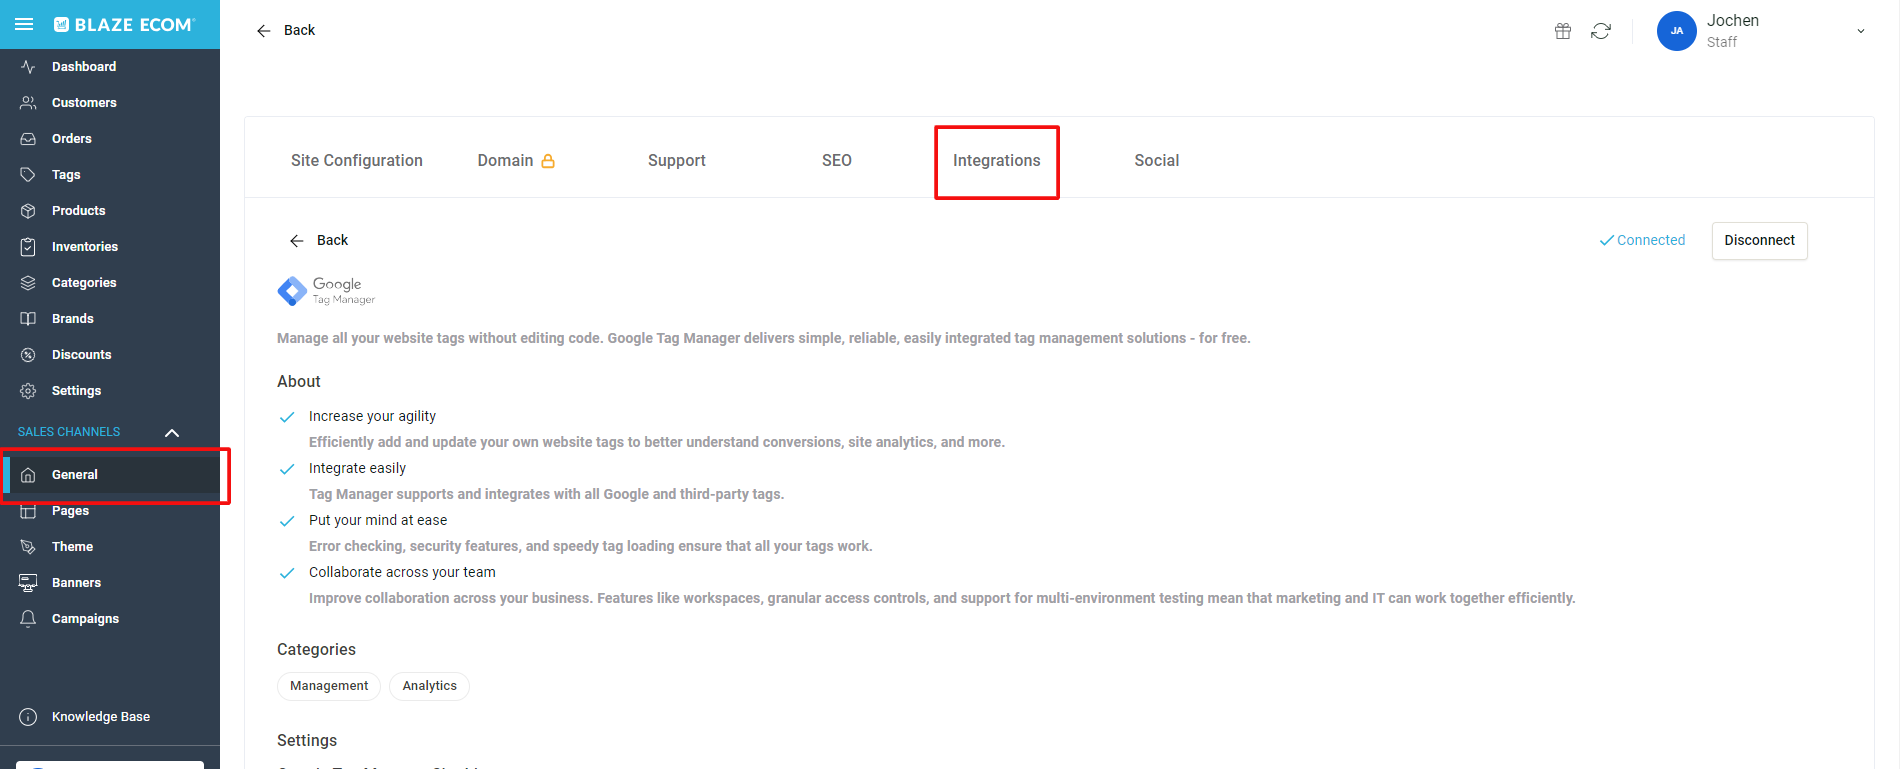
- To install on the ECOM menu, you will need a Google Tag Manager account and have it integrated to the ECOM Mission Control. Please reach out to ecomsupport@blaze.me to have your GTM Site ID connected to the ECOM.
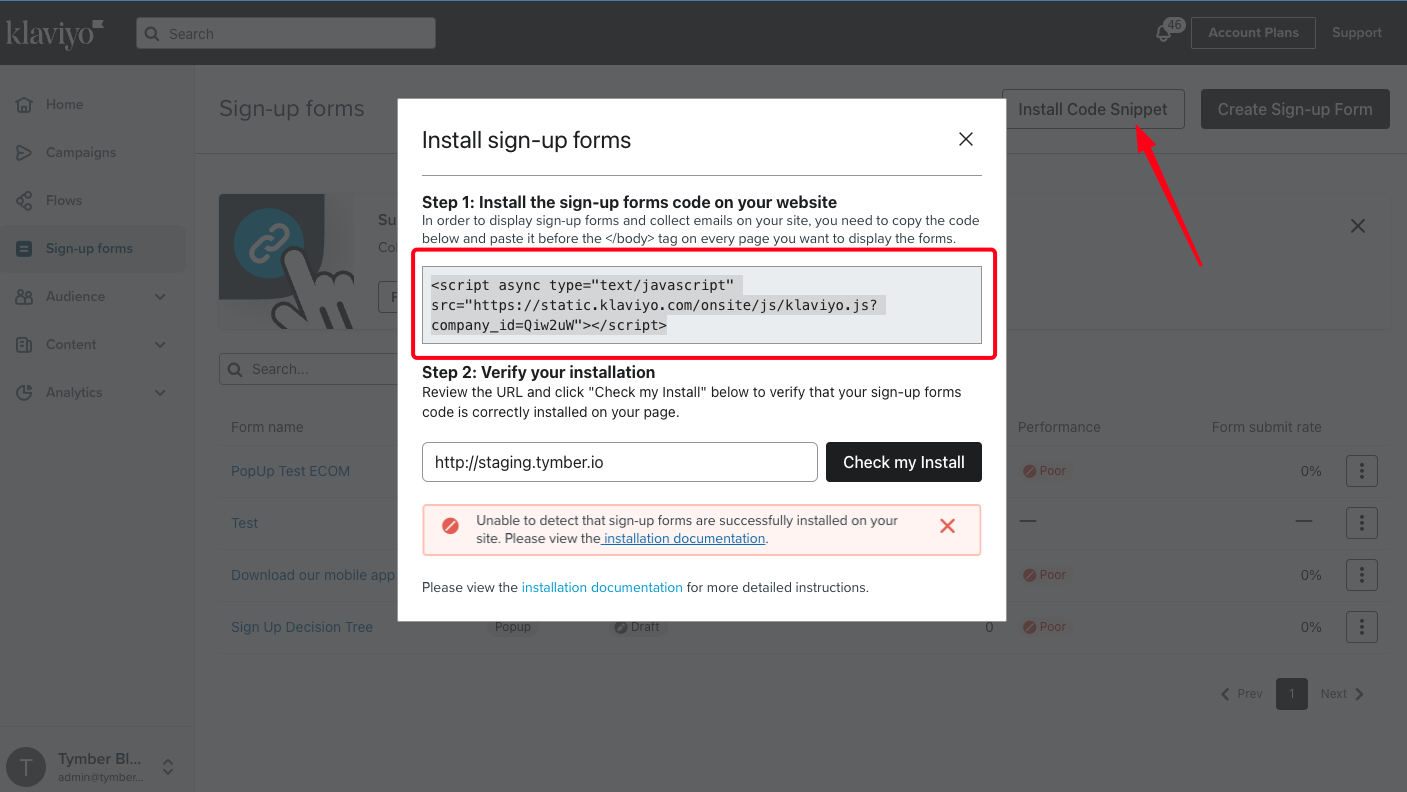
- In Klaviyo, click the Install Code Snippet and copy the html code
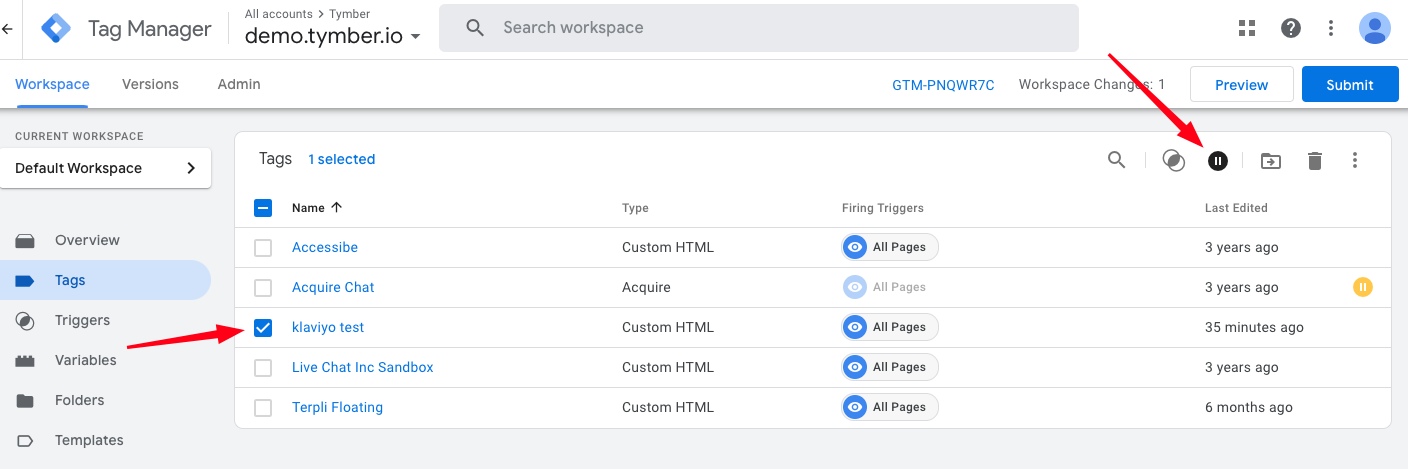
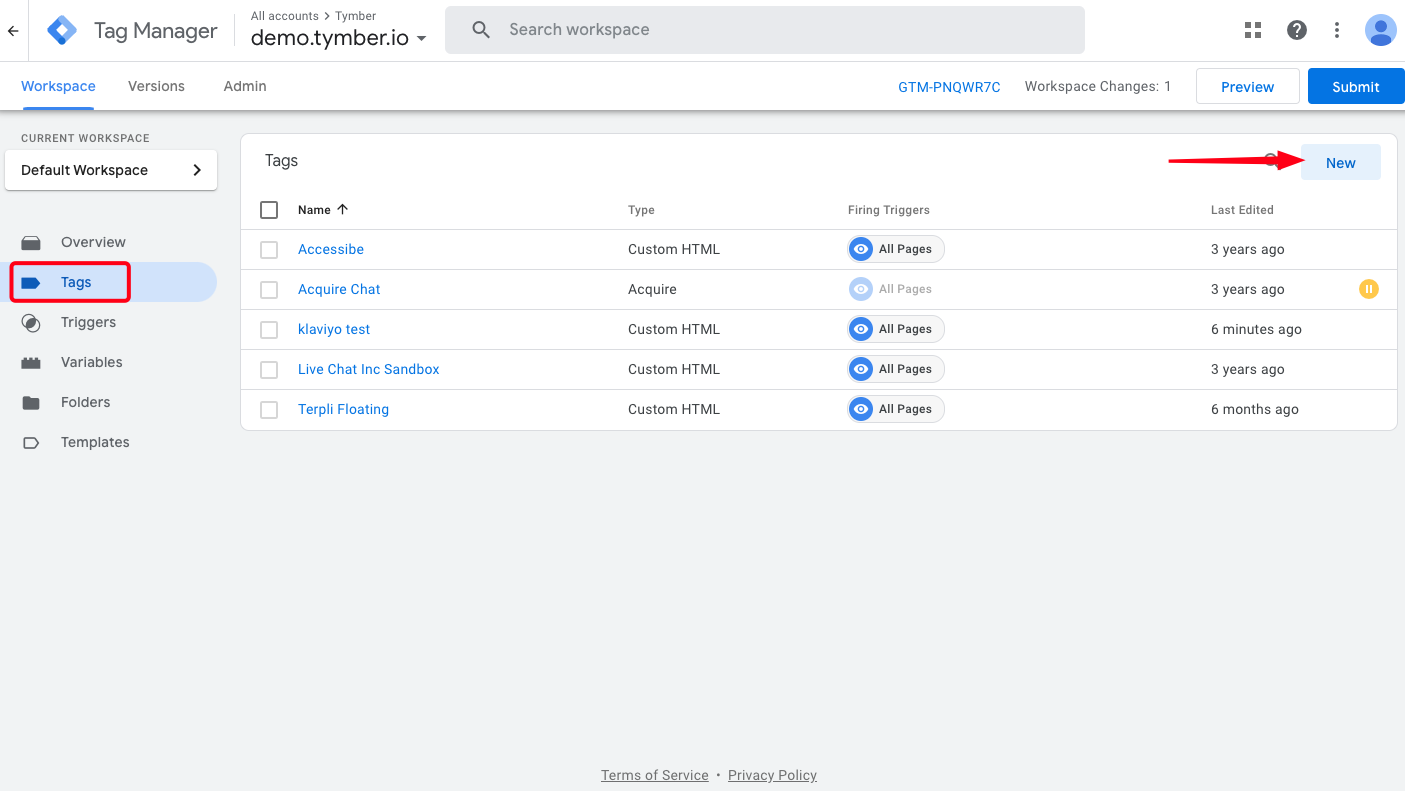
- Log into the Google Tag Manager that is connected to the ECOM and click on the Workspace tab. Select Tags and click New to create a new Tag
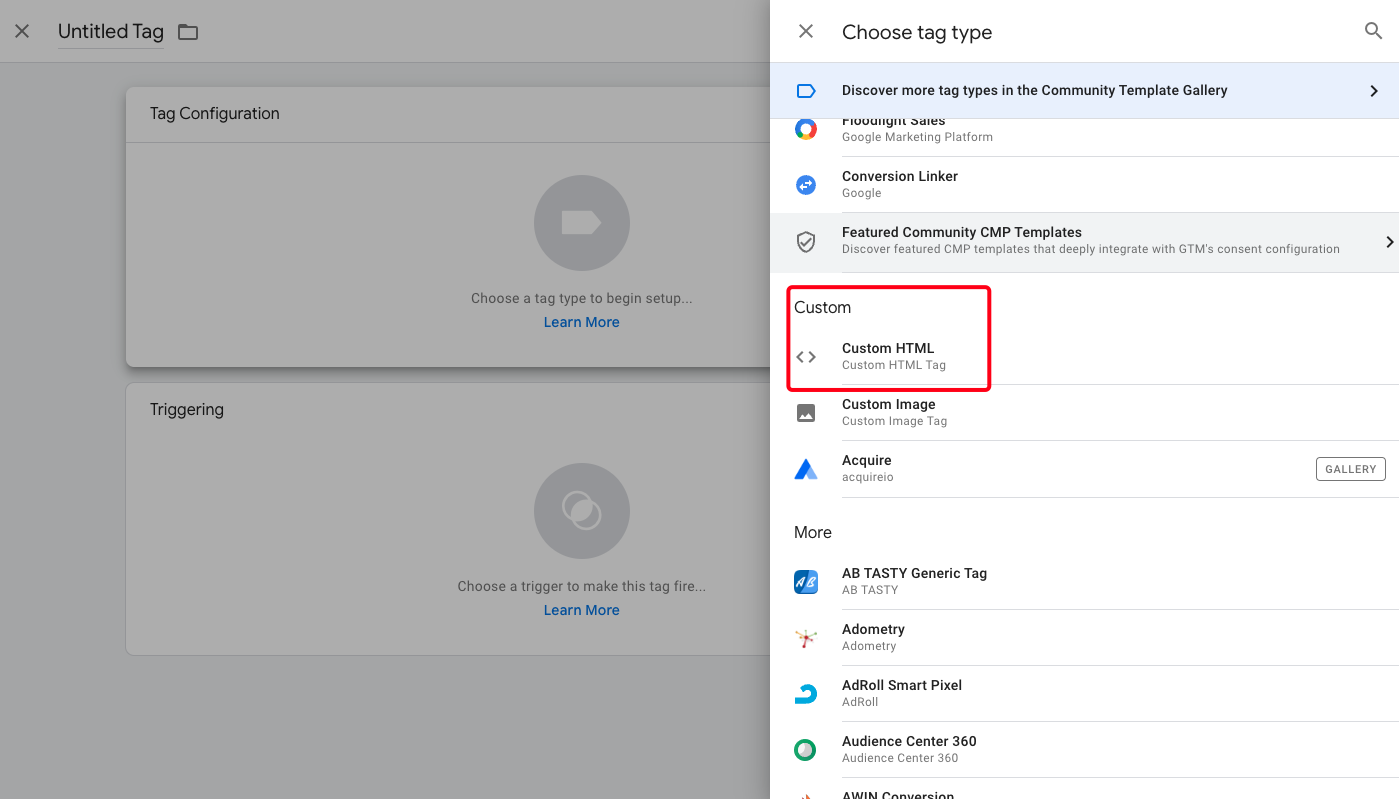
- Select Custom HTML as the Tag type
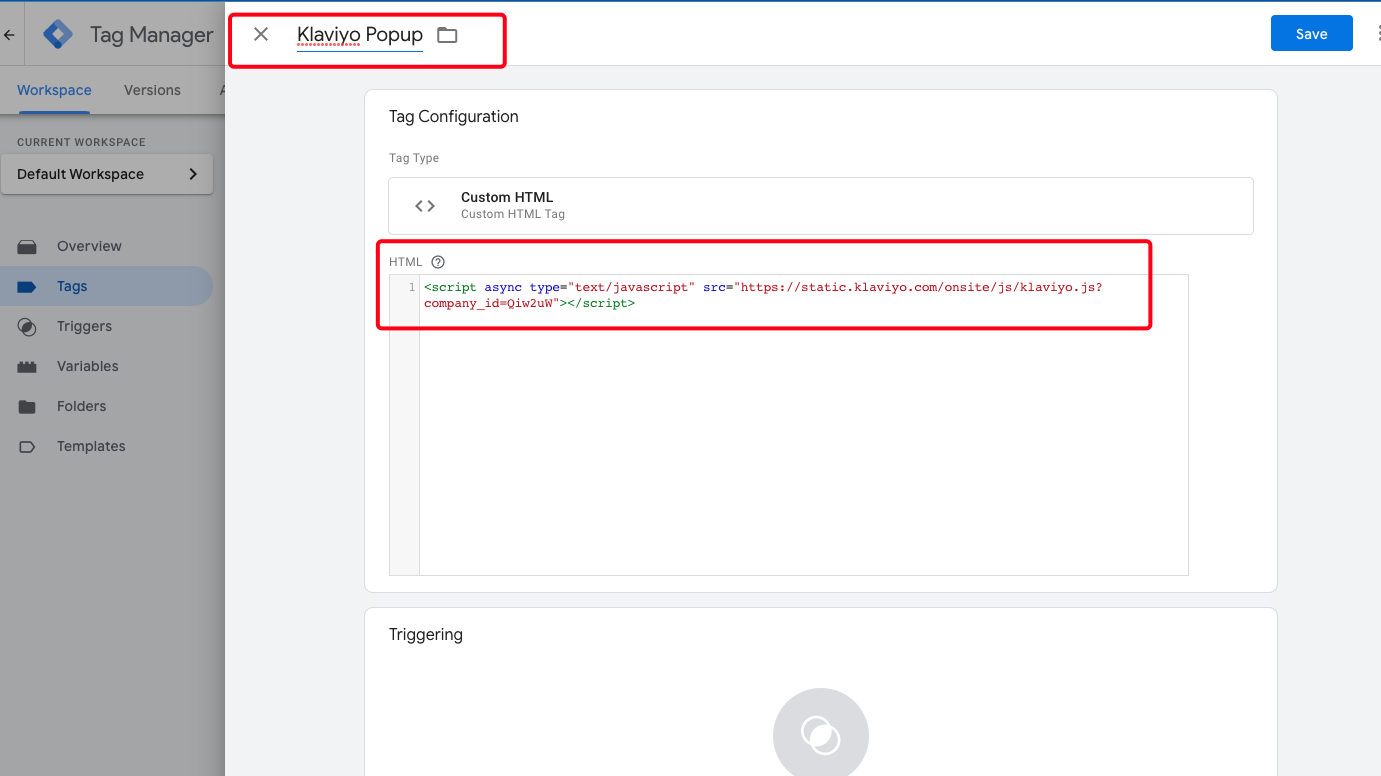
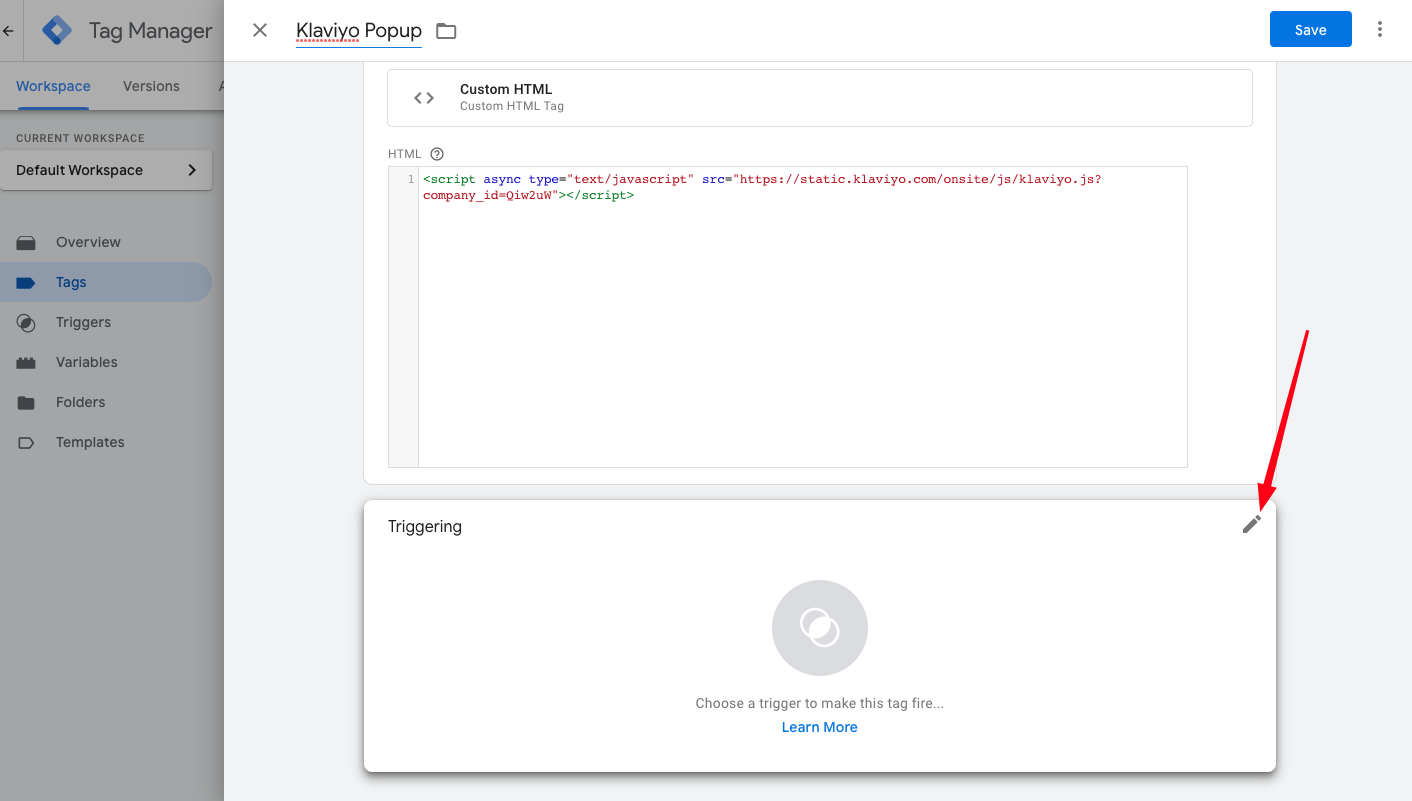
- Name the tag and paste the Klaviyo html code into the HTML field
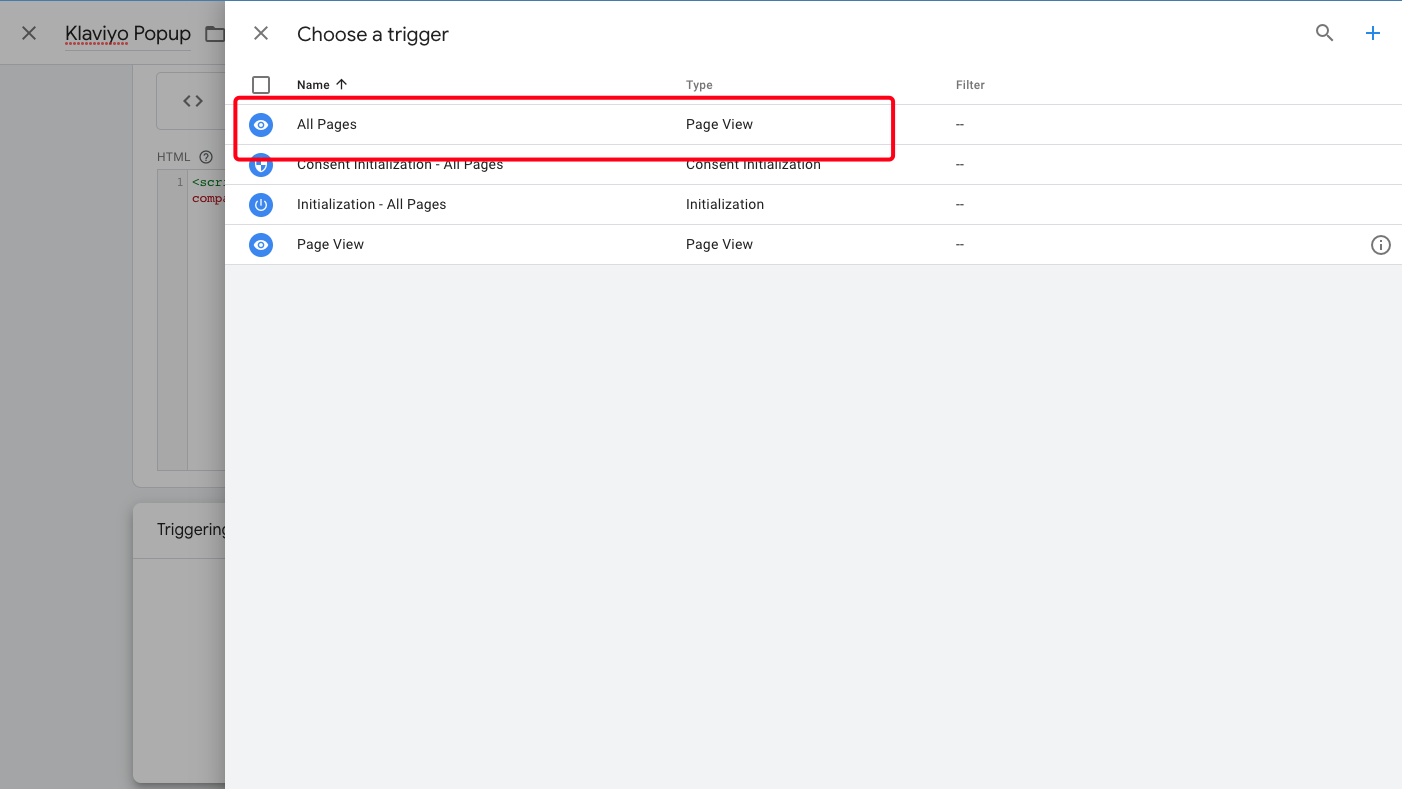
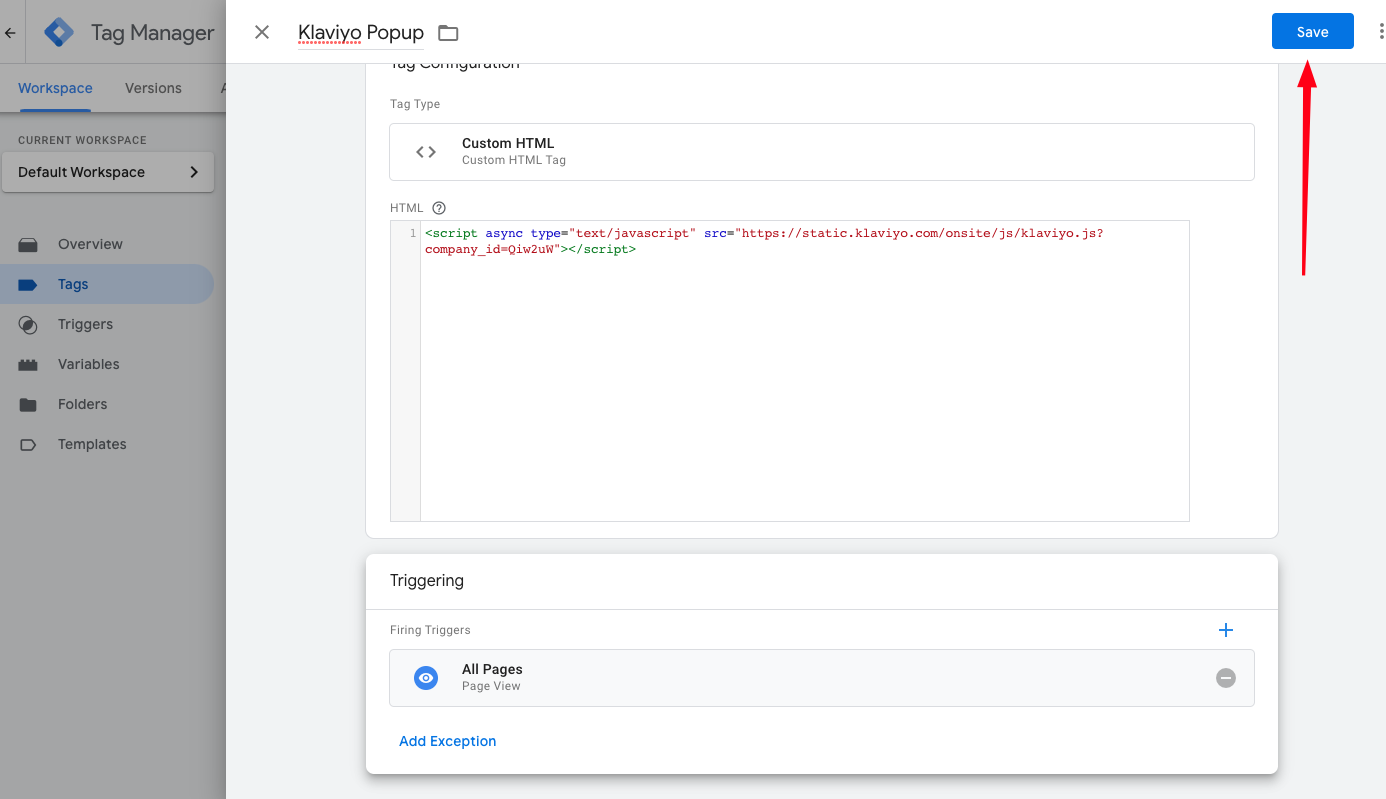
- Configure the triggering of the Tag. It is recommended to trigger on All Page, so if a customer lands on any page in the ECOM, the popup will appear.
- Click Save and confirm the popup is active on the site.
- Popups can be unpublished/paused in either Klaviyo or GTM