If on a directly paid version of WordPress follow these steps to configure the content subdomain.
NOTE this only applies if you are using Wordpress as your content site. And to be done on the day before you go live.
Below are the DNS instructions to configure your content subdomain to complete the ECOM and content site connection.
Step 1: Add the Domain
- Starting from your WordPress.com dashboard, go to Upgrades → Domains.
- Click Add a domain and select Use a domain I own from the drop-down menu.
-png-1.png?width=688&height=369&name=Connect%20Domain%20Alternative%20(1)-png-1.png)
- Type the domain name you own and click the Next button.
- On the next screen, you will have two options: transfer or connect. Click the Select button next to Connect your domain. It may take a few moments to be redirected to the next screen.
-webp.webp?width=688&height=410&name=Connect%20Domain%20Alternative%20(1)-webp.webp)
Step 2: Connect your domain
You will have two options to connect your subdomain content site domain to your WordPress site: automatically setting up the domain connection via NS servers or manually configuring your domain’s name via DNS records through the advanced setup.
- Click advanced setup then start setup
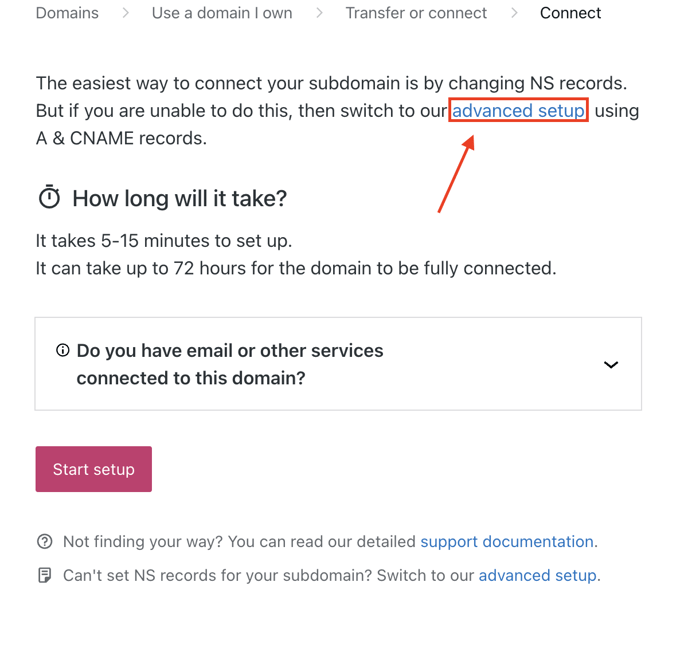
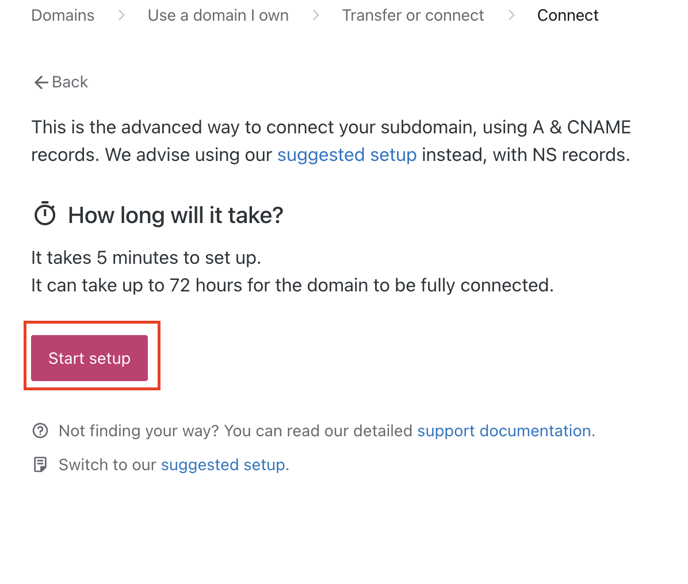
- At this time have your domain hosting DNS Record entry page ready as Wordpress will be providing you with the necessary records to enter to connect your Wordpress site to your content subdomain.
--png.png?width=688&height=657&name=Screenshot%20Oct%2023%20from%20Notion%20(1)--png.png)
-
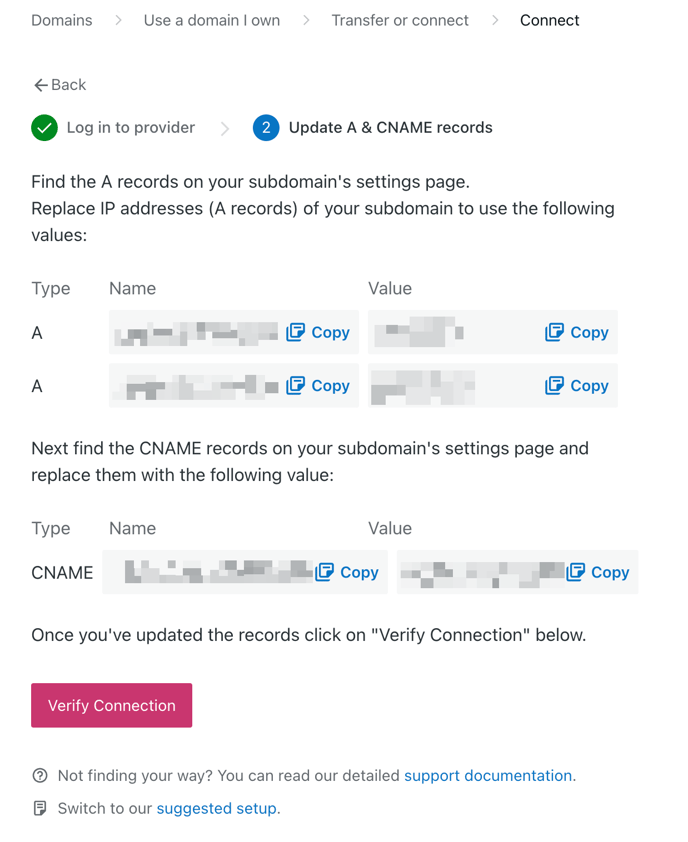
Click I found the domains settings page, and you will then be given the necessary records to add to your domains DNS records at this time you can add the 3 records given.
-
Once you have added these records click on Verify Connection, if successfully input the given DNS Records you will be met with the subdomain is connected success message. Please allow 30 minutes to 1 hour for the SSL to be issued by Wordpress for the content subdomain.
Step 3 Make your content subdomain your primary domain
- From your WordPress.com dashboard, go to Upgrades → Domains.
- Click on the three dots next to your content subdomain
-png.png?width=688&height=403&name=Untitled%20(1)-png.png)
- Click on the view settings option and under Set as primary click on set this domain as primary
-png-1.png?width=688&height=907&name=Untitled%20(2)-png-1.png)
If using a hosting platform like Flywheel or kinsta for WordPress
If you are using a hosting platform like Flywheel please follow this Flywheel knowledgebase article. They will provide you with the correct DNS records to point your subdomain to Wordpress content site.
If you are using a hosting platform like Kinsta please follow this Kinsta knowledgebase article. They will provide you with the correct DNS records to point your subdomain to your WordPress content site.
- Set the A record for the root domain ROOT DOMAIN (dispensary.com) to 147.75.40.150
- Remove any other A Records related to the root domain(dispensary.com)
- Set a CNAME record for the www version of the site to tymber.netlifyglobalcdn.com
- Set an A record for the content subdomain to the IP provided by WordPress, flywheel, kinsta or any other hosting provider.
If you would like the ECOM team to facilitate the launch for you, please communicate this with your Onboarding Manager and refer to this knowledge base article on how to grant DNS access.