
Distro | Creating a Shipping Manifest
1. To create a Shipping manifest, find the desired invoice.
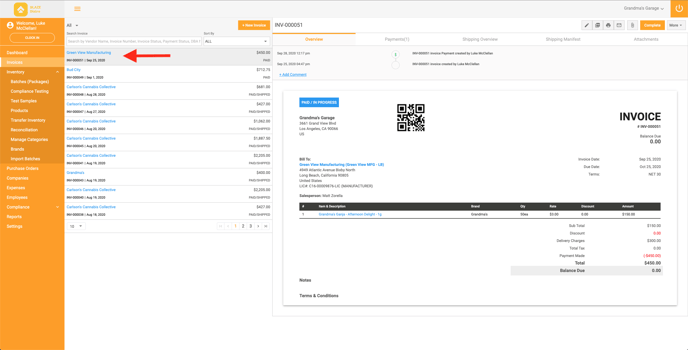
2. Click on the “Shipping Manifest” tab, then click “Create Shipping Manifest."
.png?width=688&height=370&name=Screen%20Shot%202020-09-28%20at%202.04.03%20PM%20(1).png)
3. The Shipper and Receiver information will auto-populate depending on the information is contained in the Company profile. From here, scroll down the page to select the Driver information. The + will open a new window that will allow you to add an employee as a driver.
.png?width=688&height=351&name=Screen%20Shot%202020-09-28%20at%202.08.53%20PM%20(1).png)
4. Next, you will need to assign a batch to the products listed on the shipping manifest. To do this, select the Inventory location and Batch ID from the drop-down. Enter in the Actual Qty per batch you are packing for the shipment
- NOTE: You can assign multiple batches to a single batch by clicking “Add Another Batch” and select the batch.
- NOTE: If you don’t have enough inventory to ship a particular product, you can remove the product from the shipping manifest by clicking the trash icon. You can create multiple shipping manifests per invoice.
.png?width=688&height=351&name=Screen%20Shot%202020-09-28%20at%202.18.14%20PM%20(1).png)
5. Update the Delivery Date and Delivery Time and verify the Shipping Address.
- Enter any notes for the shipping manifest in the Notes section.
.png?width=688&height=351&name=Screen%20Shot%202020-09-28%20at%202.23.18%20PM%20(1).png)
6. Click the “Create” button at the bottom of the shipping manifest.
.png?width=688&height=352&name=Screen%20Shot%202020-09-28%20at%202.26.34%20PM%20(1).png)
7. To finalize the shipping manifest, click the Actions button on the shipping manifest.
.png?width=688&height=352&name=Screen%20Shot%202020-09-28%20at%202.29.16%20PM%20(1).png)