NOTE: This is only for LAN / Ethernet connectivity.
NOTE: For Zebra printers, make sure you have the 203DPI model
Prerequisites
1. Download the latest QZ Tray from qz.io
Go to > Download > QZ Tray V2.1.2
2. Enable CUPS on http://localhost:631/
- Open a Terminal window: ⌘(Option)+space
- Type in search field > Terminal
- Copy/Paste: "cupsctl WebInterface=yes" in your Terminal and Enter
* This will return a single line code to enable CUPS
NOTE: If there is a "key", try entering "sudo cupsctl WebInterface=yes"
- Click link http://localhost:631 to load the CUPS web interface.
*Enter your username and password or the root username and password to access this page.
Note: username and password can be found by going to:
- System Preferences
- Users & Groups
- Current user's name top left and the password for your computer.
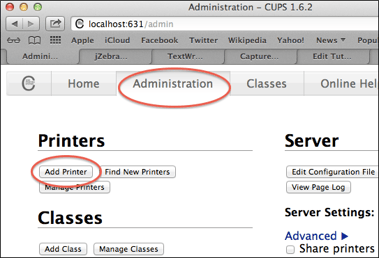
CUPS Localhost:631 Add Printer
1. Click the Administration tab > Add Printer
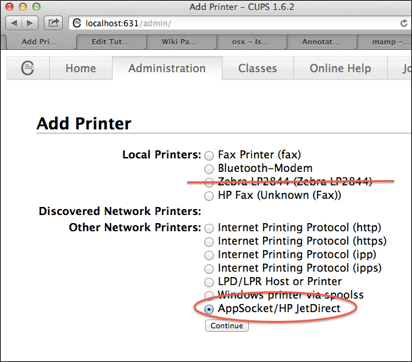
2. Select AppSocket/HP JetDirect > Continue
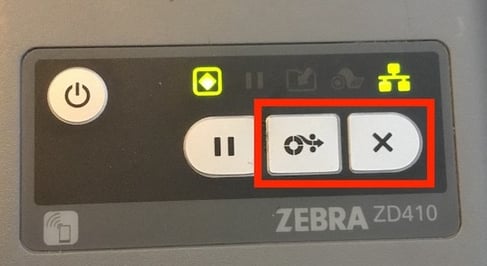
3. Next you will need to fetch your Zebra ZD410 IP address. You can get this by doing a simple network diagnostic print from the Zebra while holding down the button commands "Feed & X" while printer is powered on. Locate IP Address ..... 192.168.XXX.XXX
NOTE: Zebra printer should be connected to the LAN / Ethernet and show a green icon on the far right of the Zebra display indicating network conection. (see below)
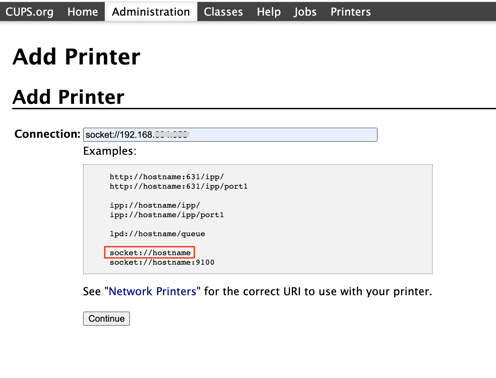
4. Next you will enter the IP address into the Local host printer set up and continue.
EX: Connection: socket://192.168.xxx.xxx
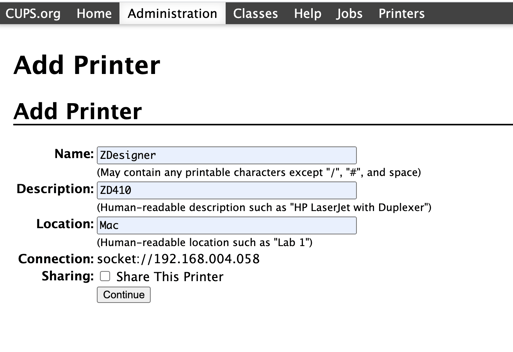
5. Add the printer info. You can use the same info below.
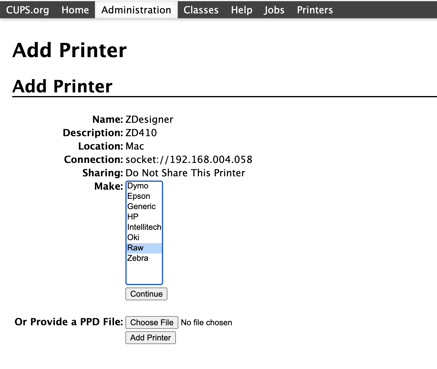
6. Select "RAW" and continue
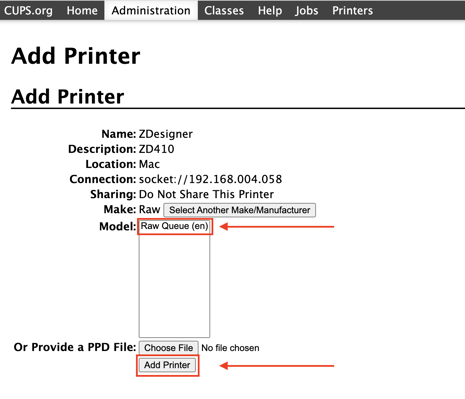
7. Select "Raw Queue (en)" then select "Add Printer."
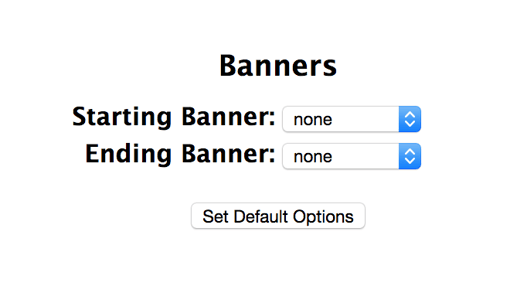
8. Starting Banner: None
Ending Banner: None
Click Set Default Options
Adding a Printer Class
Adding a printer class allows the raw device to be listed in the System Preferences
1. Administration > Add Class
Name: must differ from the raw printer name chosen previously.
Description: This is what you will read in your system preferences printer name.
Location: Computer (Mac)
Members: Select the printer name you added previously.
Add Class
2. Go to System Preferences and click on Printers & Scanners
- Select the printer defined by the Class Name. 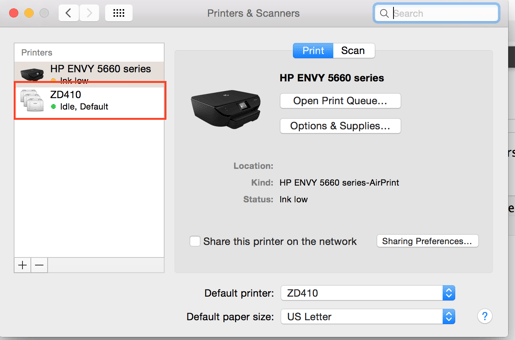
3. Now you can Navigate to BLAZE > Inventory > Print Labels
- Add a Querry
- Be sure your Layout is set to Zebra Labels
- Generate and then select Connect to Zebra (see pic below)
- You will see "Success Printer Connected"
- Then click Print Zebra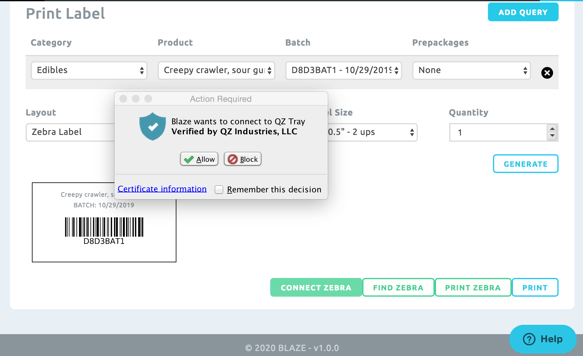
Troubleshooting
Go to your QZ Tray up at the top of your Navigation Bar (Green Box) or (Black Box) and click Reload.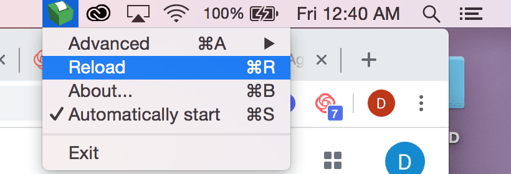
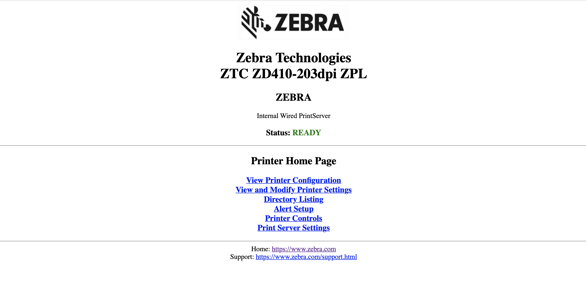
Zebra Utilites Web App
Cofiguration
You will be able to access your Zebra utilities web app by entering the IP address in the web browser.
EX: http://###.###.###.###
or
EX: ###.###.###.###/index.html
or
EX: Enter ip without (0)
*This will ask for an Admin pin which will be = 1234
Here you will be able to adjust your media label size and configurations. When the printer is connected successfully you should see the Status is READY.