1. Adding a New Vehicle through BLAZE® Retail
2. Adding a New Vehicle through BioTrack
The steps below walk through each option and how to perform the synchronizations.
Option 1: Adding a New Vehicle through BLAZE® Retail
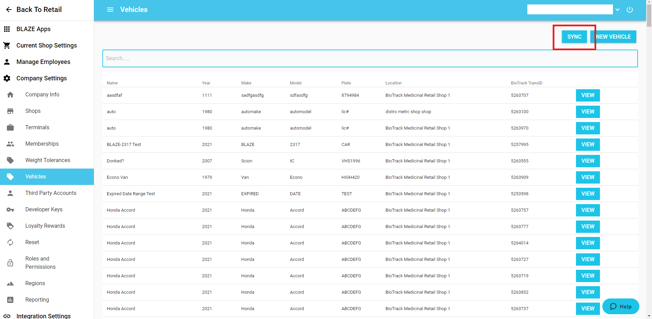
1. Navigate to Global Settings, select Company Settings, Vehicles, then click New Vehicles.
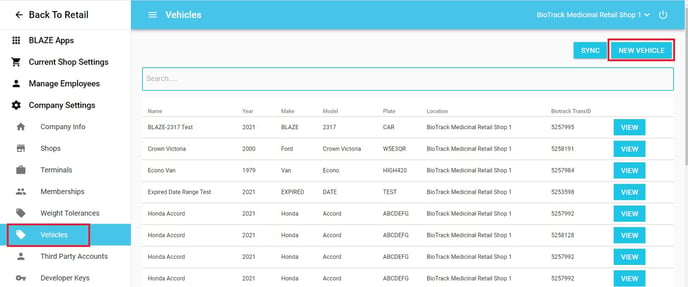
2. Enter the vehicle information and click Save.
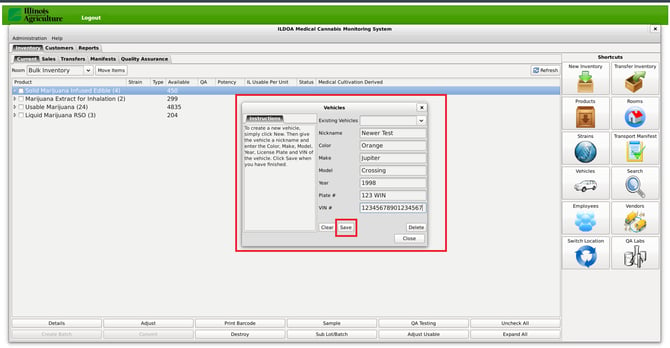
NOTE: The VIN must be 17 numerical digits.
3. After saving, click Sync on the Vehicles page.
4. To verify successful vehicle creation, navigate to BLAZE® Retail, select Compliance, then click Task Manager. For more details on the Task Manager, see this article.
Option 2: Adding a New Vehicle through BioTrack
1. Log into BioTrack and Navigate to Vehicles.

2. Fill in the vehicle information in the pop-up window, then click Save.
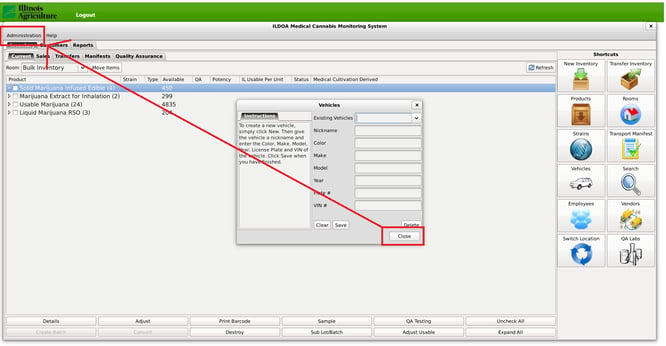
3. To sync the new vehicle in BLAZE® Retail, close the pop-up window and navigate to the Administrator tab.
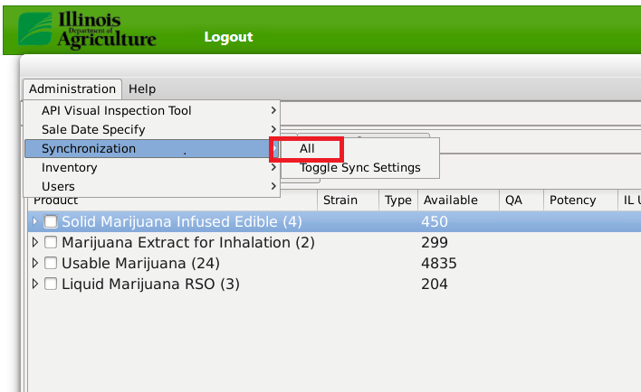
4. From the drop-down, select Synchronization, then click All.
5. Next, log into BLAZE® Retail and Navigate to Global Settings, select Company Settings, Vehicles, then click Sync.
6. Once the sync has successfully finished, the new vehicle added in BioTrack will appear in the list of vehicles in BLAZE® Retail.

More Resources
For instructions on editing vehicle information in BLAZE®, see this article.