Please navigate to the section you wish to learn more about.
MC3 LAN Printer Configuration
Connect the MC3 printer to your network, assign a static IP Address, and configure it to use with BLAZE POS on your iPad or desktop. If you are setting it up for the very first time, this printer will be on its own network and will not be connected to the Internet. The first task is to get the printer configured on to your Local Area Network (LAN).
Prerequisites
- Install the latest recommended version of Qz Tray and Temurin (Java)
- Download and install MC3 printer drivers
Installing Qz Tray and Temurin (Java)
1. Download the latest QZ Tray from qz.io.
- Go to > Download > QZ Tray (Recommended Version)
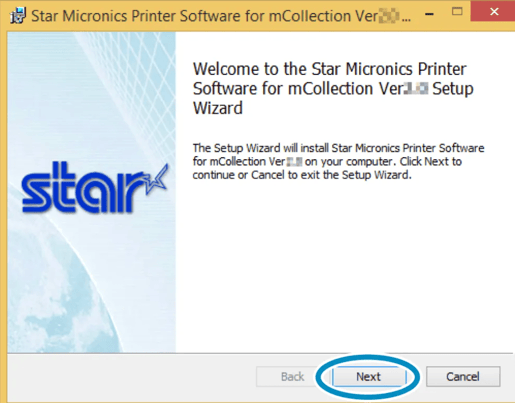
Installing MC3 printer drivers
1. Download the printer driver (StarPRNT for mCollection).
2. Follow the instructions of the setup wizard to complete the installation.
Configuring Printer for Wifi Printing
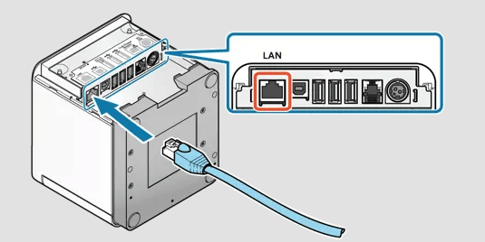
1. Plug the printer directly into your router using an Ethernet cable.
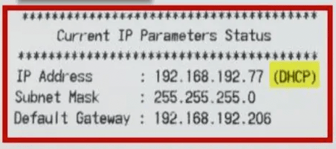
2. Power the printer ON and print a self-test to confirm the printer’s IP address. To print a self-test:
- Ensure the printer’s power if OFF
- While holding down the FEED button, press the Power button, and release it
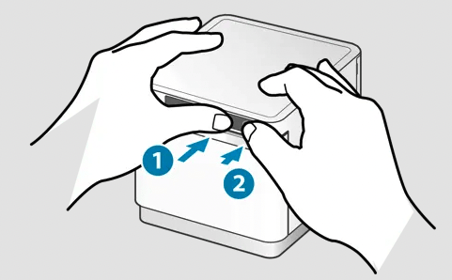
Release the FEED button when printing begins and remove the self-test page(s) when printing completes
NOTE: Several self-test pages may be printed.
3. For the MCP30 and MCP31L models, network information is printed after the printer’s information.
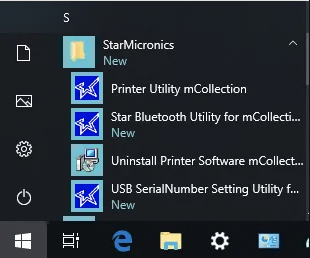
4. Open the printer utility app (this is installed with the driver).
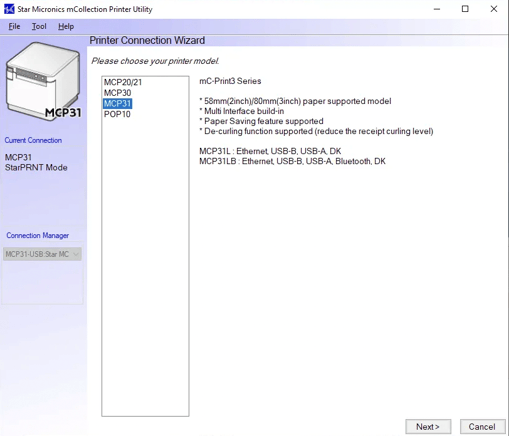
5. Select your printer model and click next.
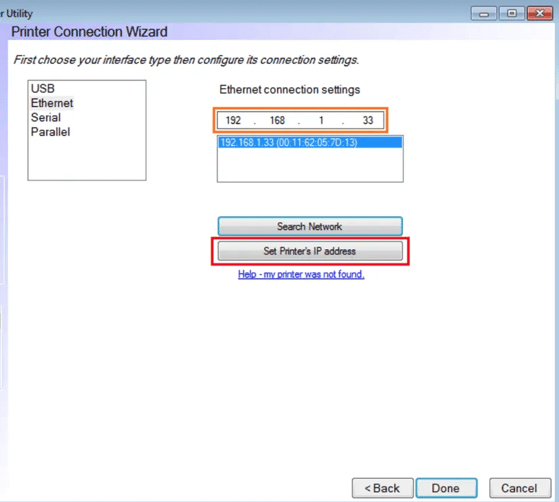
6. Select [ Ethernet ] and click [ Search Network ].
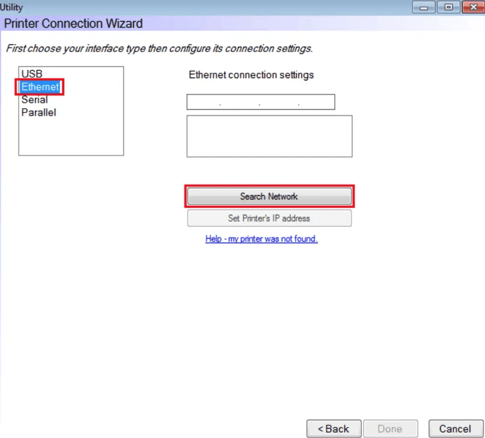
7. Confirm the IP Address is the same as shown in the Self-Test, and click [ Done ]. The main menu should appear after this.
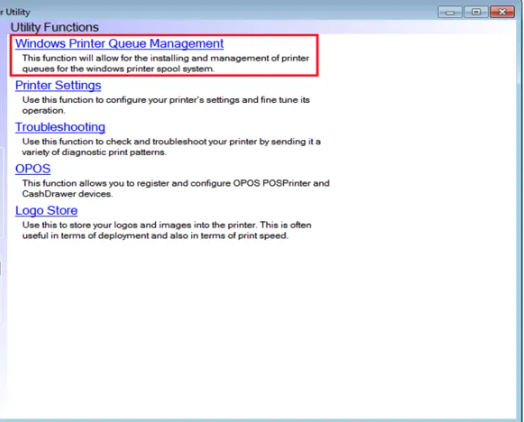
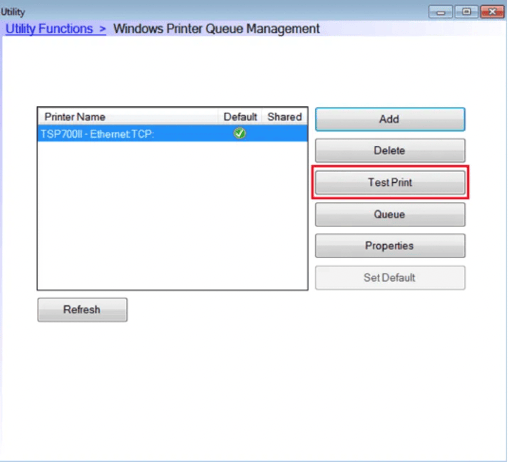
8. Click [ Windows Printer Queue Management ].
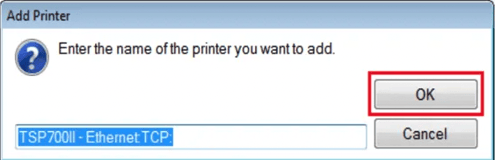
9. Click [ Add ], then [ OK ].
.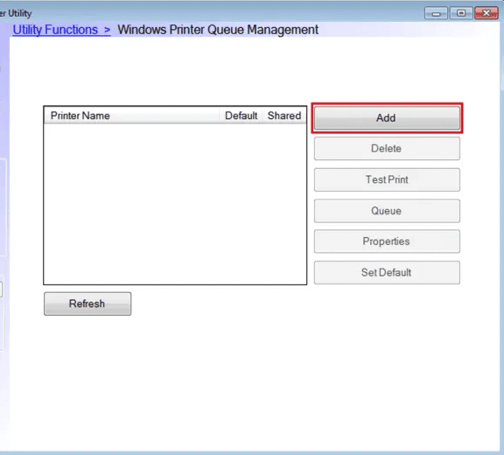
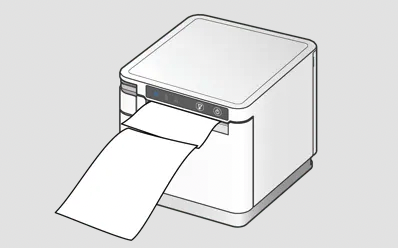
10. The printer is now added the queue. Click [ Test Print ] to print test page.
Congratulations! You have successfully installed your mC-Print printer in Windows.
Contact Star Micronics Support
Star Micronics Support Articles
If you are experiencing any issues, please reach out to BLAZE Support at support@blaze.me.