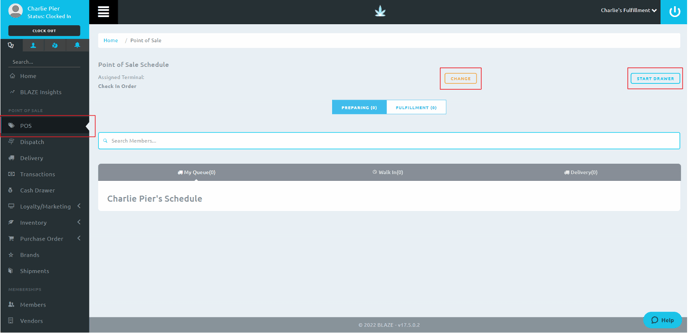
To start, make sure you have an open Cash Drawer
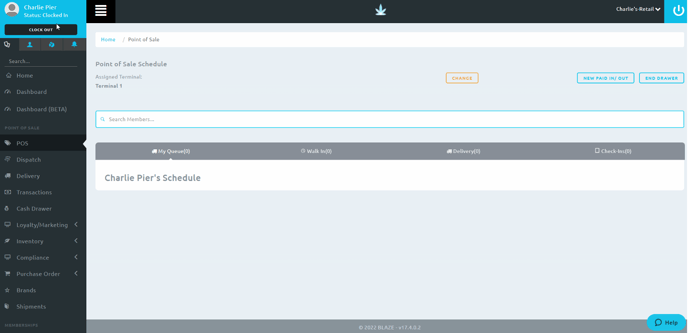
Navigate to POS in the Menu
- To change Terminals click the Change button
- Click Start Drawer
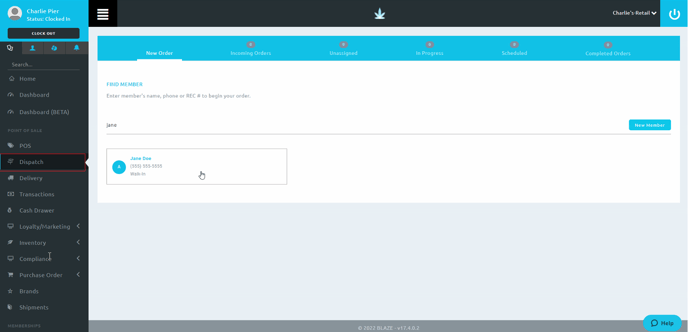
Existing Member
- If a Member already exists, navigate to Find Member.
- Search the member's name in the search bar
- Click inside the box to add the member to the queue
- NOTE: Click the member's name to be taken to the member's profile
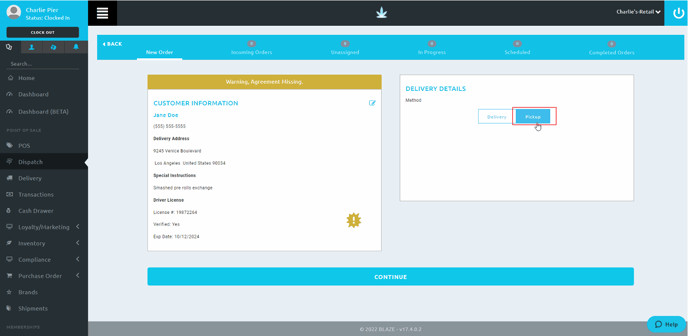
2. You will be able to see any alerts or expiry dates for your member. Edit if needed.
- Select Pickup for a walk in order
- Click Continue
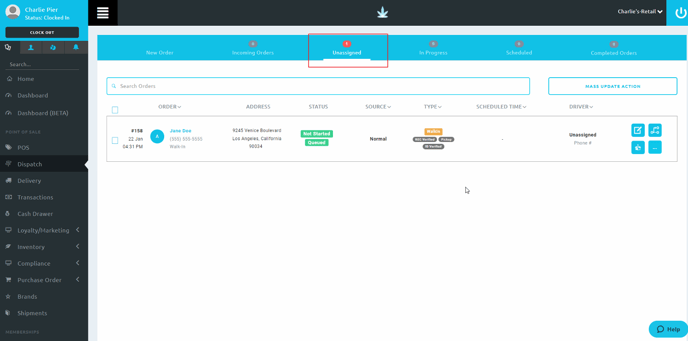
3. Click Send To Unassigned
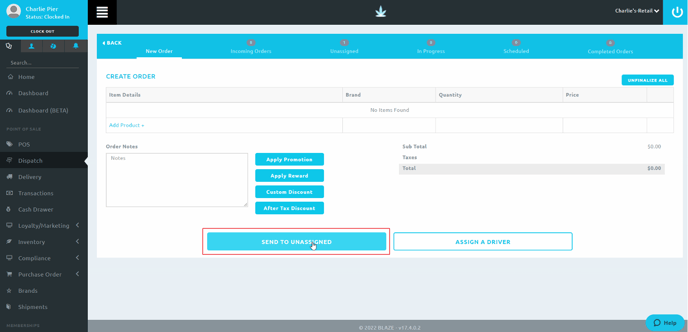
4. We now see we have an empty transaction for your member in the Unassigned queue
NOTE: To continue preparing the order, skip to step 8 in the following New Member section.
New Member
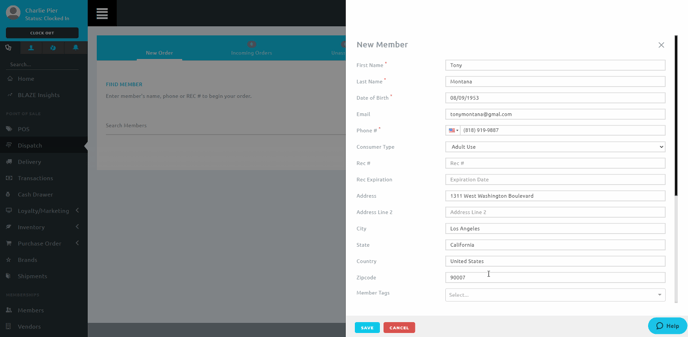
1. To sign up a New Member, navigate to Dispatch and click New Member

2. Enter in the Member information and click Save
NOTE: You are able to scroll down on the New Member window.
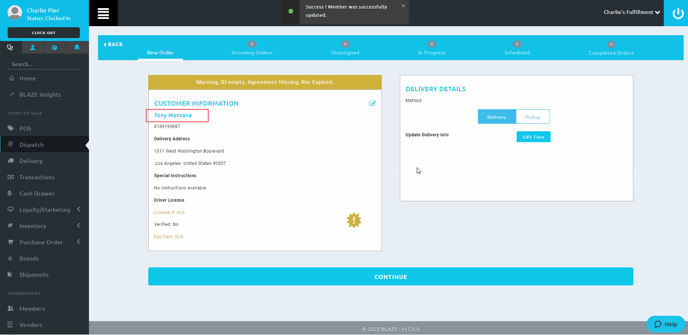
3. We are alerted here that we need to enter their Driver License information
- Click on the Member's name to view their profile
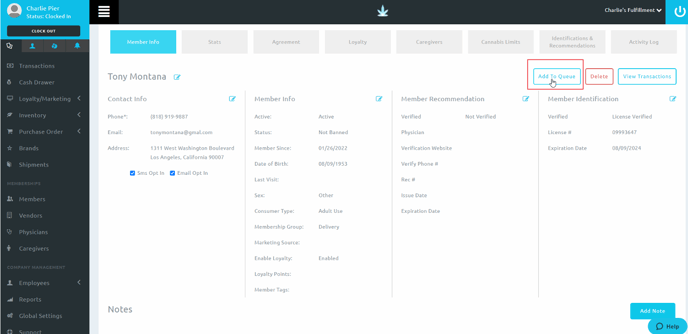
4. Here you are able to see the full Member Profile and make any changes that are needed
- Driver License information is located in the Member Identification section

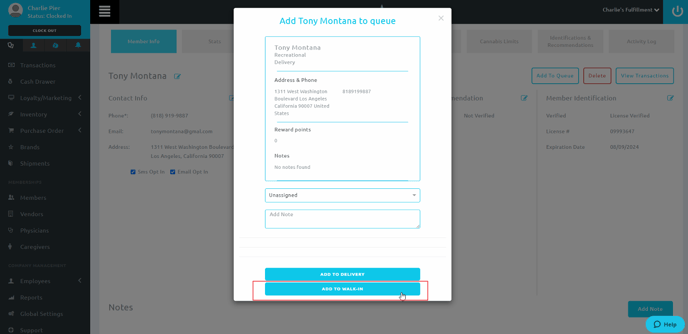
5. After updating the information, click Add To Queue
6. Select Add To Walk-In
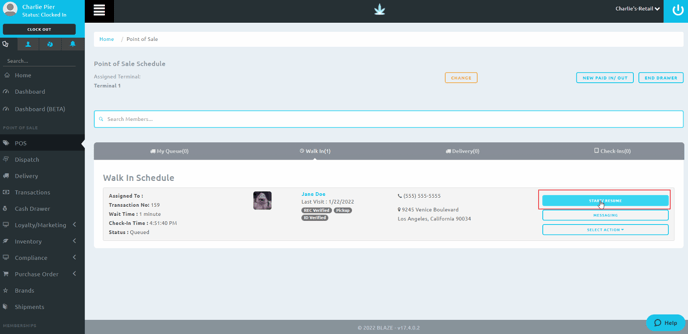
7. Go into POS and click Walk In to see your order

8. You will now see all of your Walk In queue where you can choose to start your order by clicking Start/Resume
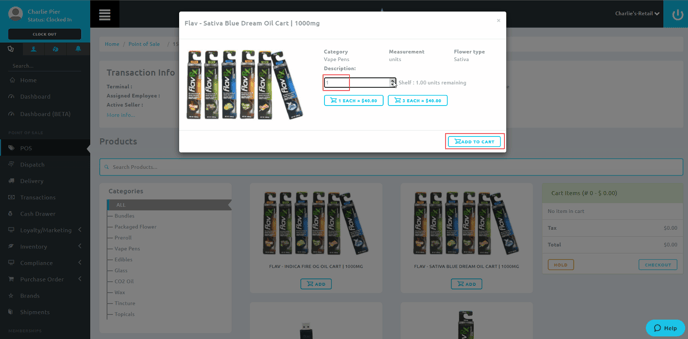
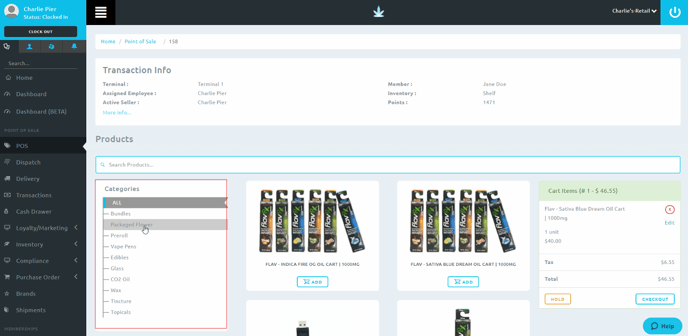
9. Here is where you choose which products to place into the cart
- You have the Categories section on the left to help navigate through your menu
- Choose your product and click ADD

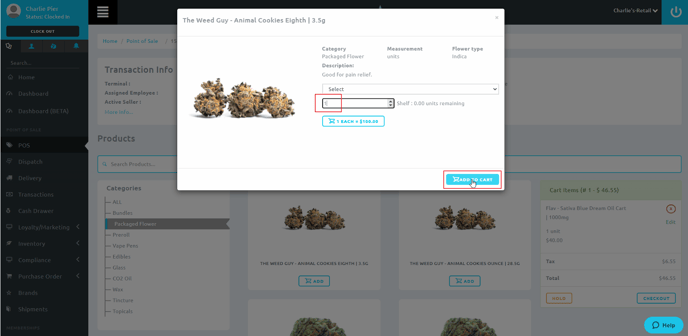
10. A window will populate for the option to choose how many to add to the cart
- Click Add To Cart
11. You will see the product populate in the cart section
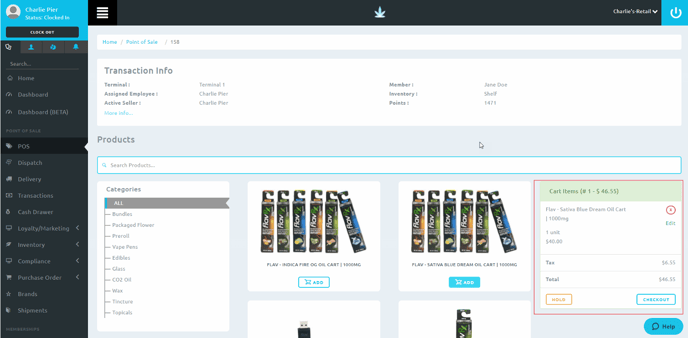
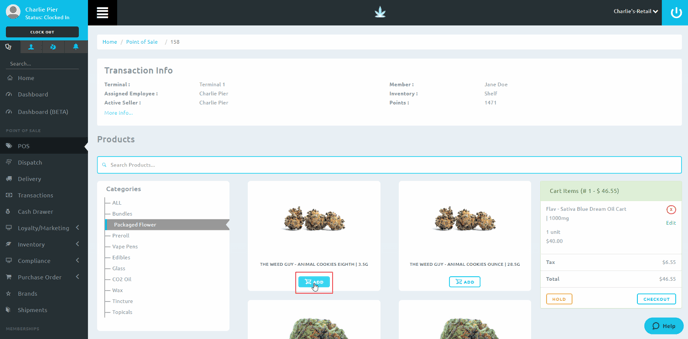
12. Here you can go into your Categories and select other products
13. Again click Add to add this selection to the cart
14. A window will populate to choose how many units are needed to add to the cart
- Click ADD TO CART
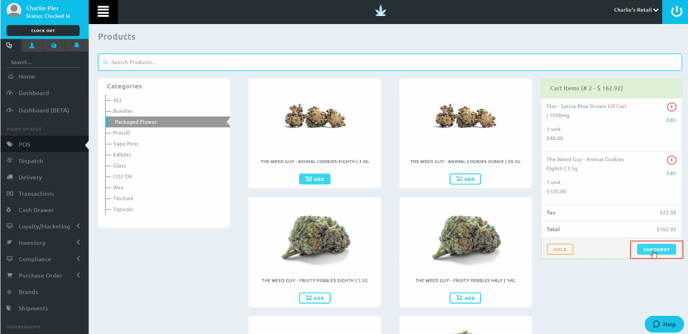
15. You will see your second selection is now added to the cart
- Continue adding to your cart if needed
- When you're done loading items to the cart, click CHECKOUT
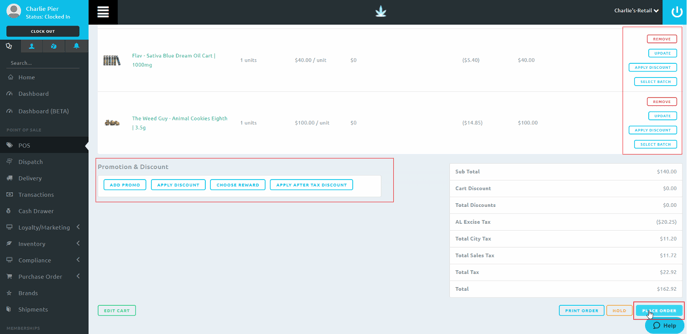
16. You have options to edit your products selected at the end of each product line
- Add Promotions and Discounts to the cart if needed
- Once you are ready, click PLACE ORDER
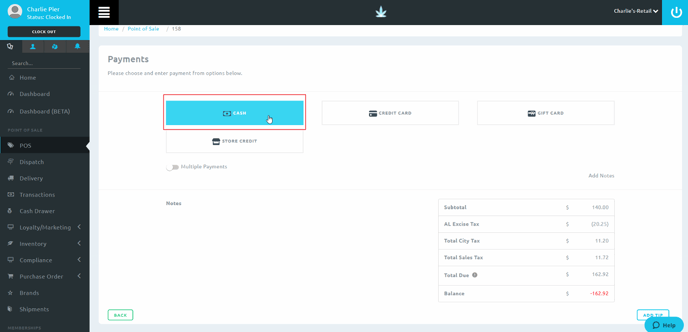
17. You will be taken to a Payments screen
- Choose the method of payment
- Note: If using multiple payment options, click Multiple Payments before selecting a payment method
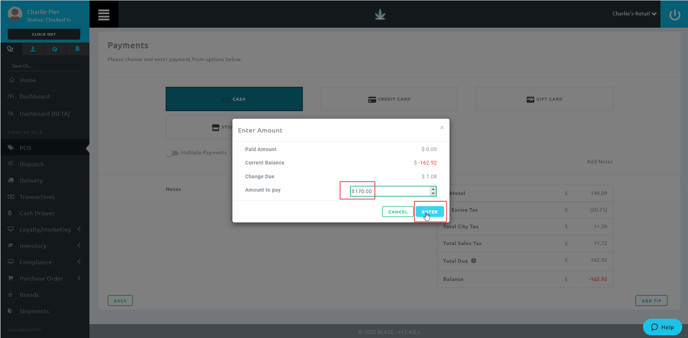
18. Enter your payment amount in the Enter Amount window
- Click Enter
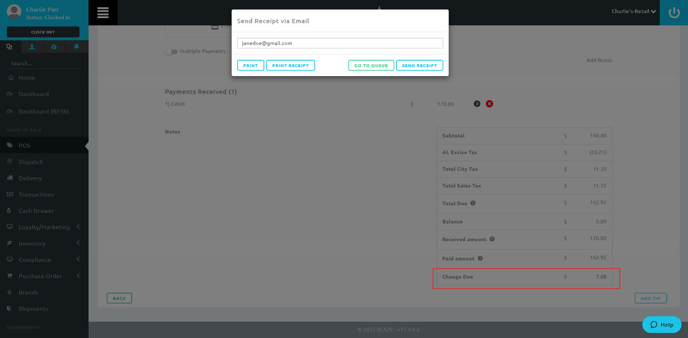
19. On the main screen you will see the amount of Change Due
- You will get a pop up window to Print which will print the transaction, Print Receipt, Go To Queue or Send Receipt
- Click one of the options
20. The transaction is now completed and no longer in the queue
21. You are able to view past transaction by selectin Transactions in the Menu
