Retail | Zebra ZD410/411 - USB (PC) Configuration
In BLAZE, labels can be customized and printed to fit your needs! If you need a label printer, please reach out to support@blaze.me to place your order. To print labels in BLAZE, a few steps need to be taken before doing so.
NOTE: This process is optimized for PCs.
NOTE: For Zebra printers, make sure you have the 203DPI model
Prerequisites
1. Navigate to qz.io and click the green Download Now button, and download the
The latest recommended version.
- NOTE: Java is required in order to install the QZ Tray. When installing QZ, you may be prompted to download the recommended latest version of Temurin through adoptium.net.
- Download the latest LTS release and once the Java download is complete return to the QZ download and resume the installation.
%2001-1.png?width=619&height=187&name=Printing%20Labels%20Using%20a%20Zebra%20Printer%20USB%20(PC)%2001-1.png)
%201-1.png?width=619&height=251&name=Printing%20Labels%20Using%20a%20Zebra%20Printer%20USB%20(PC)%201-1.png)
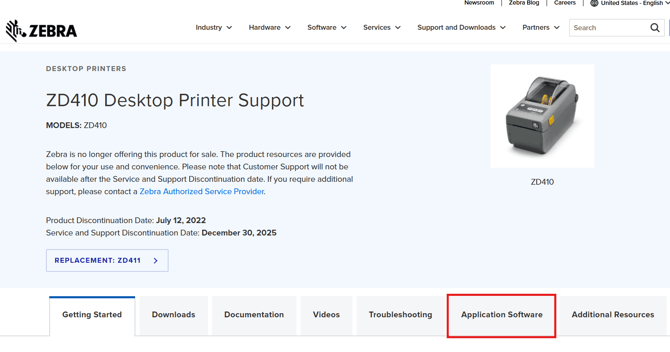
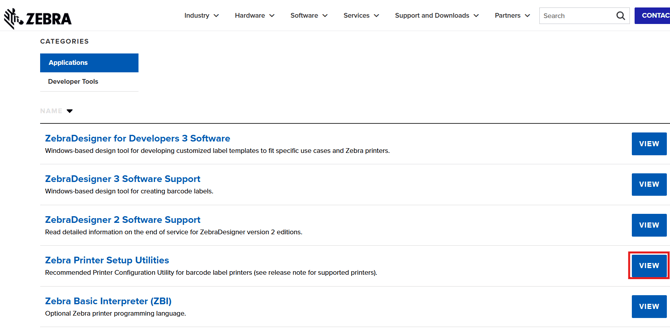
2. Navigate to the Zebra Utility App and download the Zebra Setup Utilities for Windows (46 MB).


Connect Your Zebra Printer
1. Open the Zebra Setup Utilities app. When prompted, plug in, turn on, and connect your Zebra ZD410 printer. Your computer might ding when it is connected.
NOTE: At this point in the process DO NOT click manual install. If your printer was plugged in and turned on before opening the Zebra Setup Utilities app, you will need to turn off and unplug your printer and close the Zebra Utilities app. Follow step 1.
%203-1.png?width=480&height=423&name=Printing%20Labels%20Using%20a%20Zebra%20Printer%20USB%20(PC)%203-1.png)
Filling / Refilling Your Zebra Printer
1. Open the Zebra Setup Utilities app and click the Configure Printer Settings button.
%204-1.png?width=442&height=390&name=Printing%20Labels%20Using%20a%20Zebra%20Printer%20USB%20(PC)%204-1.png)
2. Enter the Width and Height of the labels you are using, and click the Finish button.
- NOTE: If using the 2up labels, set the width to 2" and the height to .5"
3. To open the printer's lid, pull the yellow latches towards you and lift the lid upwards.
4. Pull the yellow roll guides apart and insert the roll with the labels face up.
5. Release the roll guides and push them together to make sure the roll is secure and turning freely.
6. Pull the labels out past the cutter at the front of the printer.
7. Push the labels under the roll guides.
8. Flip the labels up and align the media sensor to the center position.
9. Push the lid down to snap both yellow latches shut.
10. For the printer to recognize the size of your labels, perform an initial calibration.
- Press the power button and wait for the solid green status indicator light.
- Hold the pause and cancel buttons down for 2 seconds and let go. The printer will measure and feed a few blank labels.
- Once the printer stops and the status indicator light is solid green, the calibration is complete.
- NOTE: An initial calibration is necessary when the new roll is a different label size. You do not need to calibrate after inserting a new roll of the same label size. The printer will automatically adjust or you can press the feed button twice before printing.
11. (Optional) To verify your printer is operating, print your Configuration reports:
- Hold the feed and cancel buttons down for 2 seconds and let go. Your Configuration reports will print.
Printing Labels
1. In BLAZE Retail, navigate to the Inventory section on the left-hand side and click on the Print Labels tab. Click the blue Add Query button.
%205-1.png?width=570&height=279&name=Printing%20Labels%20Using%20a%20Zebra%20Printer%20USB%20(PC)%205-1.png)
2. Select the Category, Product, Batch, and Prepackages (if applicable).
- Repeat steps 1-2 as necessary to add more product labels to print.
%206-1.png?width=587&height=286&name=Printing%20Labels%20Using%20a%20Zebra%20Printer%20USB%20(PC)%206-1.png)
3. Select the Layout, Barcode Type, Label Size, and Quantity. Click the blue Generate button.
- NOTE: The product's Unique ID determines the size of the barcode. If left blank when adding a new product, BLAZE generates a Unique ID automatically. This can be modified at any time within the Product Profile page (characters are limited to 24).
%207-1.png?width=615&height=300&name=Printing%20Labels%20Using%20a%20Zebra%20Printer%20USB%20(PC)%207-1.png)
4. Ensure your printer is on and connected. Click the green Connect Zebra button once daily, a success message will appear. Click the green Print Zebra button.
NOTE: If the success message DOES NOT appear, please see the Troubleshooting section below.
%208-1.png?width=625&height=307&name=Printing%20Labels%20Using%20a%20Zebra%20Printer%20USB%20(PC)%208-1.png)
Troubleshooting Printer Issues
Access our troubleshooting printer issues article directly Here.
---
If the success message DOES NOT appear when the green Connect Zebra button has been clicked reload the QZ Tray:
- Navigate to the Windows toolbar at the bottom right hand of your screen, near the time
- Click the ^ button
- Right-click the green Qz.io icon
- Click the Reload option
If the success message DOES appear when the green Connect Zebra button has been clicked and nothing prints:
- Open the Zebra Setup Utilities app
- Select the Zebra printer and click the Uninstall Printer button
- Turn off and unplug the printer
- Wait until the printer has been deleted
- Ensure the USB option has been selected and click the Next button
- Replug the Zebra printer and turn on
Click the Finish button