Prerequisites
1. Download the latest QZ Tray from qz.io
Go to > Download > QZ Tray (Recommended Version)
2. Download the Zebra Utilities app from Zebra.com
Go to > Drivers > Download > Zebra Setup Utilities for Windows
Connect Your Zebra Printer via USB
1. Open the Zebra Setup Utilities app. When prompted, plug in, turn on, and connect your Zebra ZD410 printer. Your computer might ding when it is connected.
NOTE: At this point in the process DO NOT click manual install. If your printer was plugged in and turned on before opening the Zebra Setup Utilities app, you will need to turn off and unplug your printer and close the Zebra Utilities app. Follow step 1.
Connecting from USB to Wireless
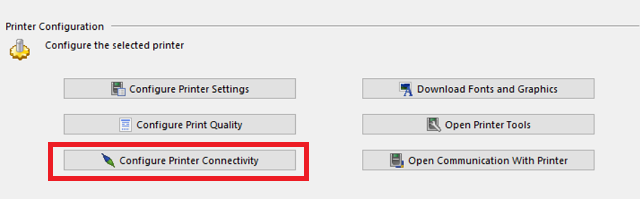
- To access the network setup wizard, open the Zebra Setup Utilities, and select Configure Printer Connectivity.
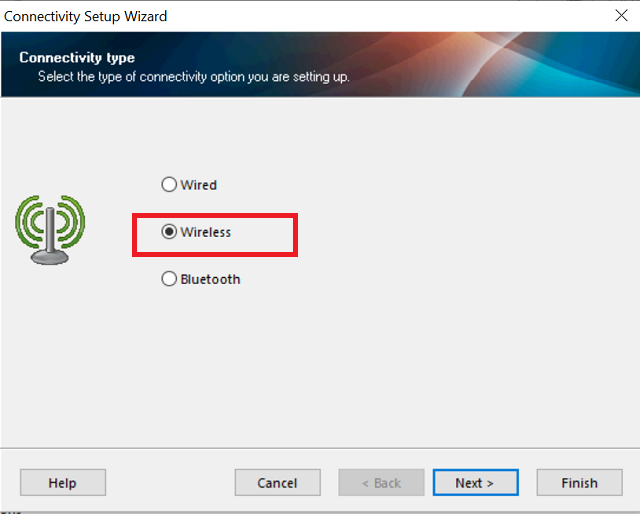
Wired or Wireless. Here, the Wireless setup is selected.
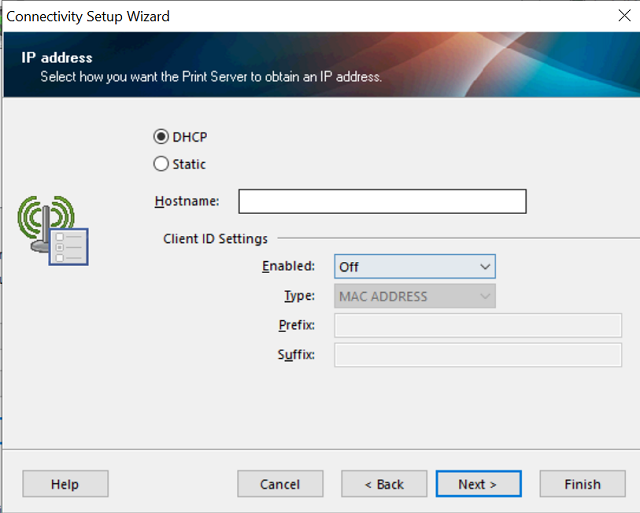
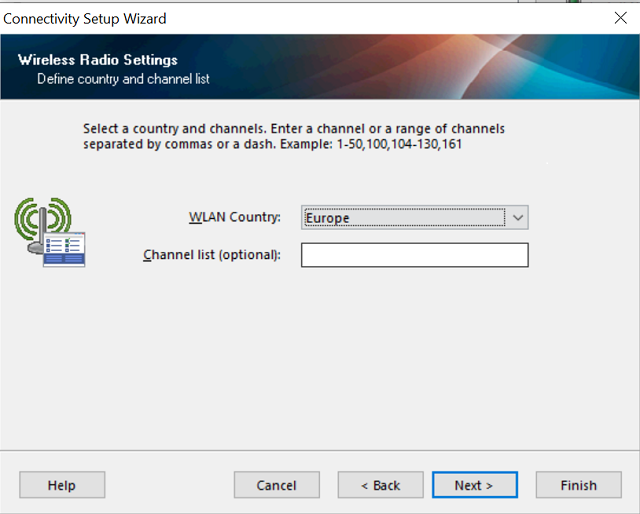
- For the Client ID Settings, the choices are MAC Address, User-Defined ASCII, or User-Defined HEX. Only use these settings if you are using a Client ID for DHCP.
- You can also select Static IP to enter the reserved IP address as well as the gateway and subnet mask.
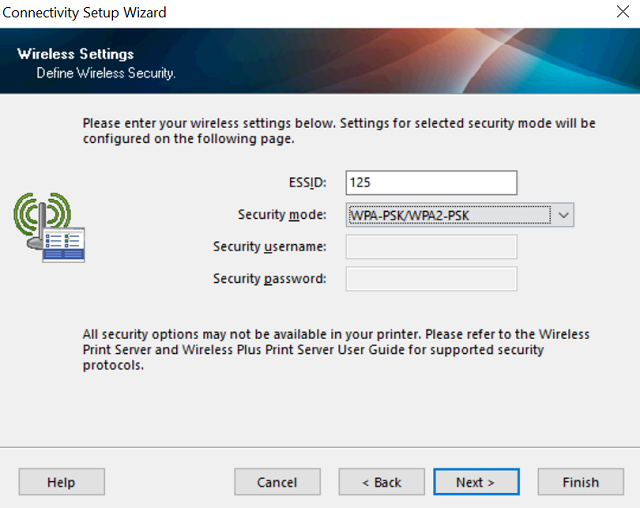
6. Enter your ESSID (Network Name) and choose the appropriate network security for your WLAN. You can ask your network admin for the security mode. Here we chose WPA-PSK/WPA2-PSK. The configuration option that will appear depends on which security mode you selected.

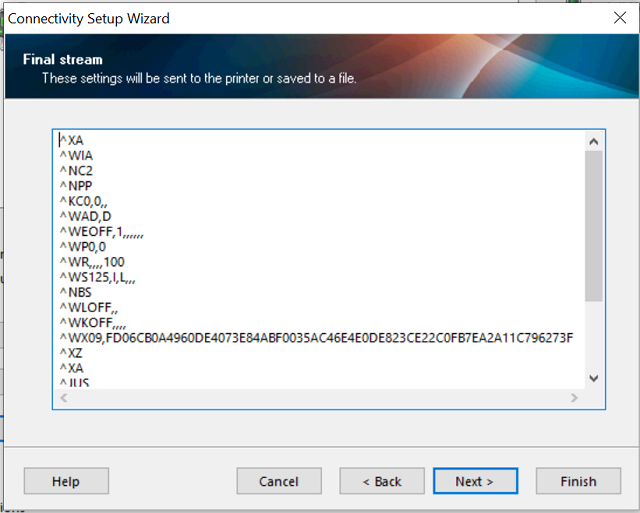
8. When you see the printer code (ZPL), select Finish. If you want to save the configuration to a file to be used later, click Next and you can save your configuration.
-
The network settings are then sent directly to the printer. (You May need to power cycle the printer off / on to refresh if the network icon is not green)
- Print network configuration on the printer by holding down the far-right two buttons, feed & X.
This will print your network configuration to obtain the IP Address needed to enter in the Retail app printer settings.%20For%20WIFI%20Printing%20(PC)%2010.jpeg?width=428&height=296&name=Setting%20up%20Zebra%20Printer%20(ZD41022-D01W01EZ)%20For%20WIFI%20Printing%20(PC)%2010.jpeg)
11. Log into your BLAZE Retail POS App > Enter your pin to log in > Tap Settings > Select Label Printer setup
- Select Zebra Label Printer
- Tap Manual
- Enter IP address
- Select your Zebra Device Model
- Tap OK
- Tap Done
You're now ready to print labels from your POS!