The Payments Tab
The first place to go to start setting up your TFI card readers for BLAZEPAY is found under Global Settings > Current Shop Settings > Payments
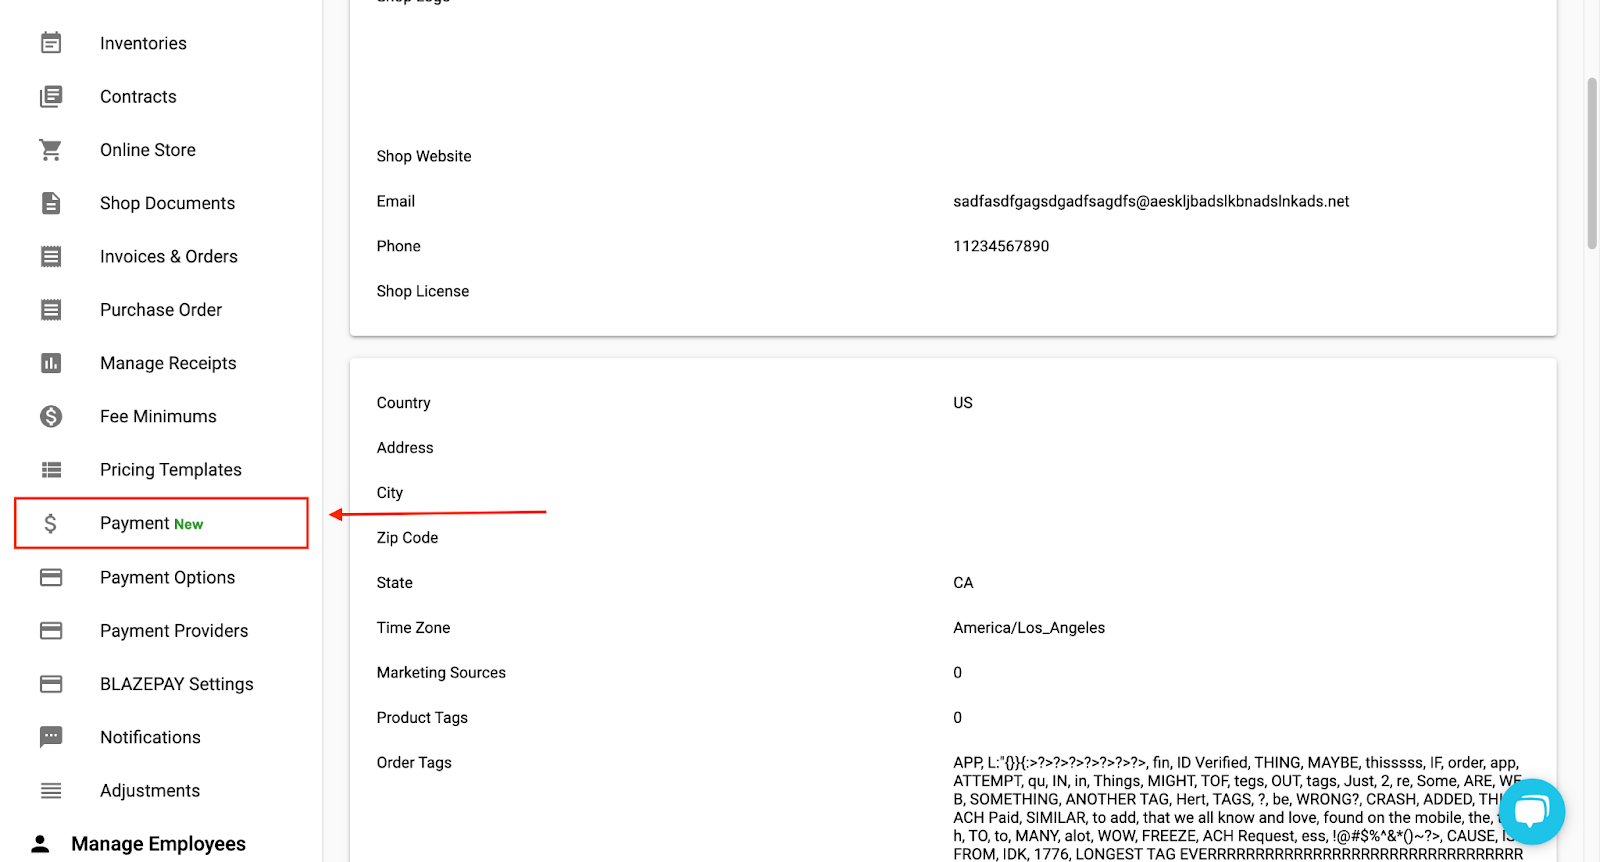
Here you will be able to see your configured or configurable integrated payment options.
Configuring TFI Payment Option
On this page, under BLAZEPAY Cashless ATM click the blue ‘connect’ button. Doing so will bring up the following screen with some information for you to fill out.
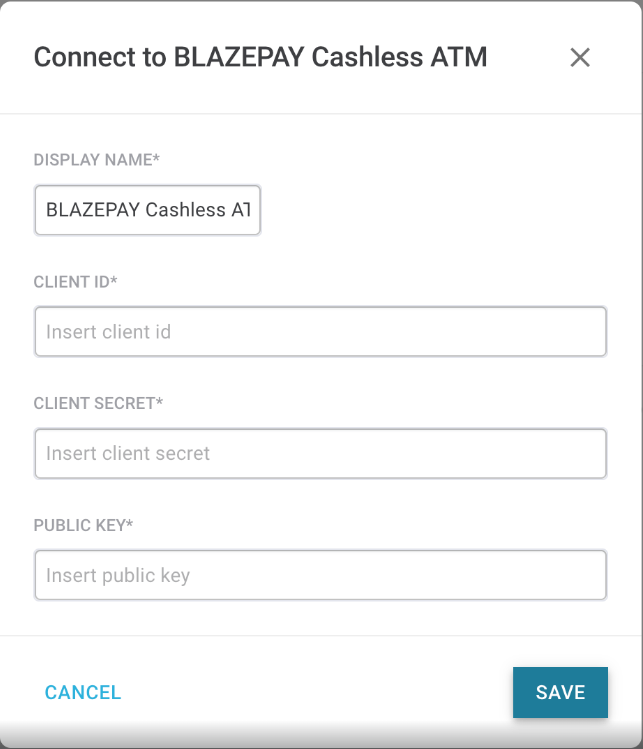
Display Name: The Display name can be whatever you choose to make it. What you enter here will change the title of the payment option that your budtenders or drivers see at checkout on the Retail POS App.
Client ID/Client Secret/Public Key: These 3 fields are typically filled for you ahead of time by your BLAZEPAY onboarding rep, however if you get to this stage before they do, this information is provided to BLAZE and you via the processor TFI.
Once you are finished entering this information click the blue ‘Save’ button at the bottom right, and where you clicked the blue ‘connect’ button before you will now see this:
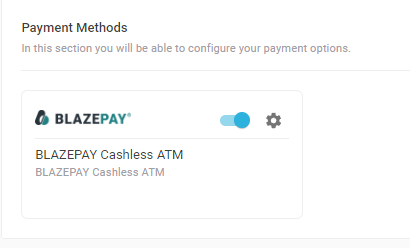
The toggle switch will default to on, if you want to disable the payment option at checkout in the Retail POS App, you can set this to off. Lets click the gray settings wheel just to the right of that, to move on to our next step: Configuring Card Readers
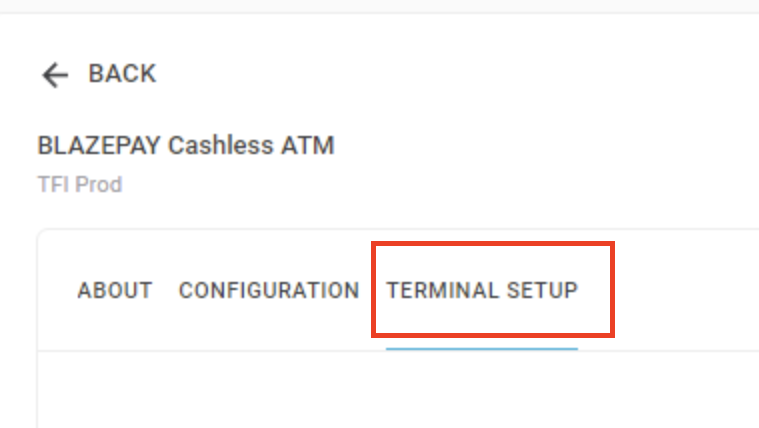
Configuring/Assigning TFI Card Readers
Now that the payment option is configured we can start to setup the card readers and link them to cash drawers in BLAZE.
The relationship between a card reader and cash drawer is 1-to-1 meaning that we will be setting it up in a way where when a budtender on cash drawer 1 clicks BLAZEPAY, a specific card reader will react, and when a budtender on cash drawer 2 clicks BLAZEPAY, a different specific card reader will react. Typically you will physically pair them by placing the card reader directly next to the ipad that will be linked to it.
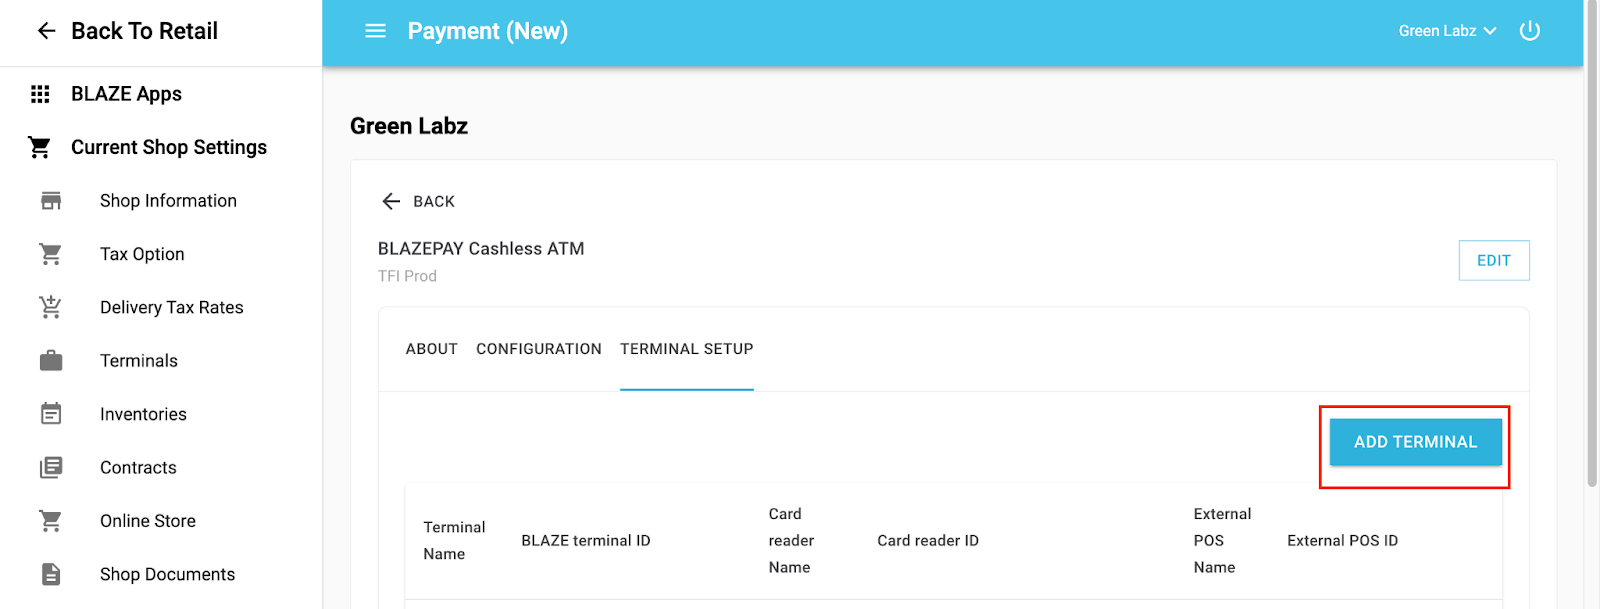
First start by clicking the Terminal Setup Tab
Next click on the blue ‘Add Terminal’ button on the far right.
Doing so will bring up the following screen with some information for you to complete.
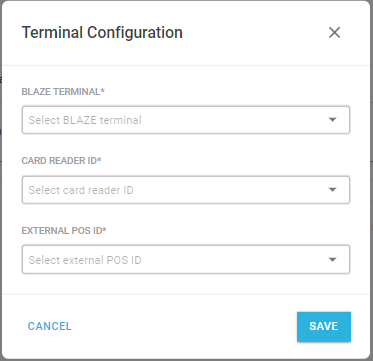
Blaze Terminal: In this dropdown you will find a pre-populated list of your BLAZE cashdrawers (terminals)
Card Reader ID: In this dropdown you will find a pre-populated list of all of your TFI Card Readers, by their Serial Numbers which can be found on the bottom of the physical device for reference.
External POS ID: In this dropdown you will find a pre-populated list of your BLAZE shops, if you are a single location operation it will just have your one shop.
An example of how this might be setup is if you have a card reader with the serial number 1234 and you want to pair that with your cash drawer #1:
Blaze Terminal: cash drawer #1
Card Reader ID:1234
External POS ID: [your shop name]
In this example, anytime that a user on cash drawer #1 uses BLAZEPAY, it will send the transaction to the card reader with the ID of 1234.
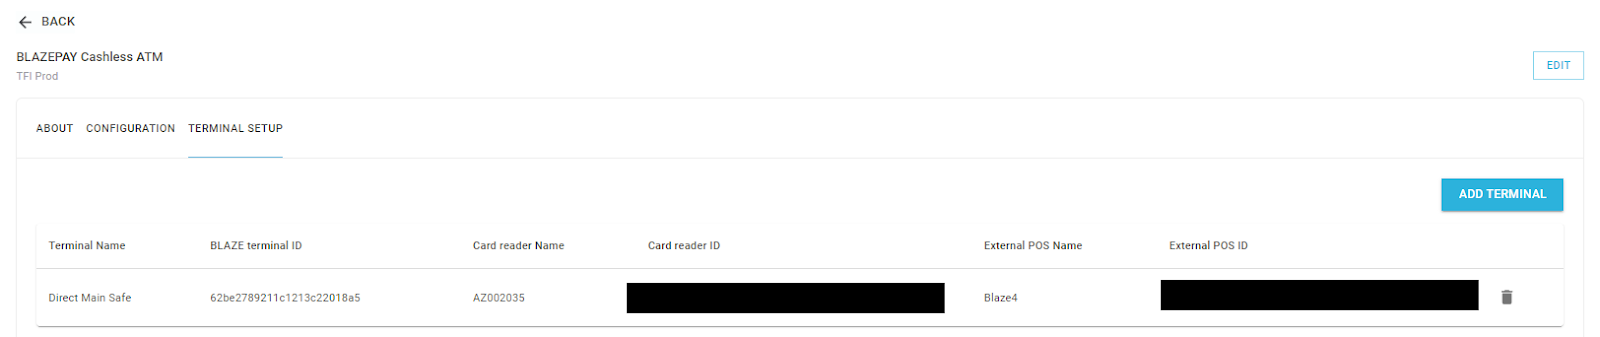
Once you are done entering the information, click the blue ‘save’ button at the bottom right, and you will see the page now looks like this:
Once this has all been configured within BLAZE you can begin processing with your Cashless ATM terminals. If you have questions or require assistance please reach out to pay-support@blaze.me
Running Reports on the Debit Terminal
1. Press the Green button
2. Select option 4 for Other
3. Select Admin Menu
4. Select Reports Menu
5. Select option 1 for Detail Report or Option 2 for Summary Report