It is the responsibility of the Shop to provide a receipt to their Members, either printed or emailed, for their completed transactions. BLAZE supports either option through our various platforms.
Navigate to the following sections to learn how to email your Member's their receipt:
- BLAZE Delivery App, available for both Android and iOS
- BLAZE Retail POS App, available for iOS
- Web platform (via POS and Transactions)
To view an example emailed receipt, click here.
IMPORTANT: Member's need to "opt-in" for emails in order to receive emailed receipts
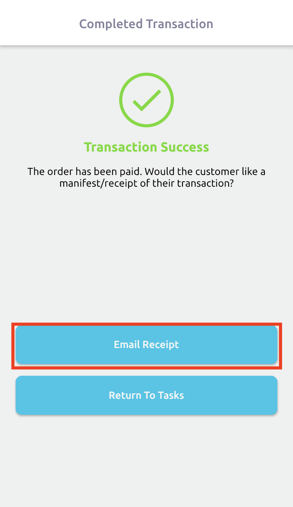
BLAZE Delivery App
- After completing the transaction through the BLAZE Delivery app, you will be redirected to a page where you can tap the Email Receipt button
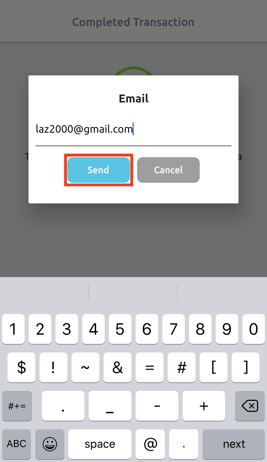
- Member's email addresses will auto-fill with the email address within their Member profile; if no email address is in their Member profile, you can fill an email address in the email field
NOTE: If a new email address is added at this level, it will NOT be saved in the Member's profile - Tap the Send button
BLAZE Retail POS App
- After completing the transaction through the BLAZE Retail POS app, you will be redirected to a page where you can tap the Email Receipt button
- Member's email addresses will auto-fill with the email address within their Member profile; if no email address is in their Member profile, you can fill an email address in the email field
NOTE: If a new email address is added at this level, it will NOT be saved in the Member's profile - Tap the Send button

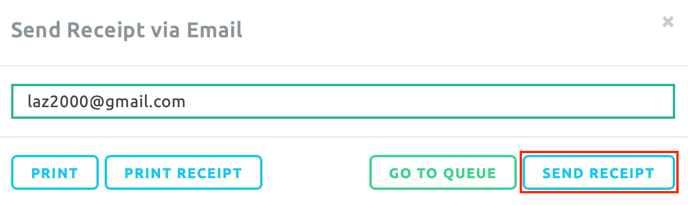
Web Platform (via POS)
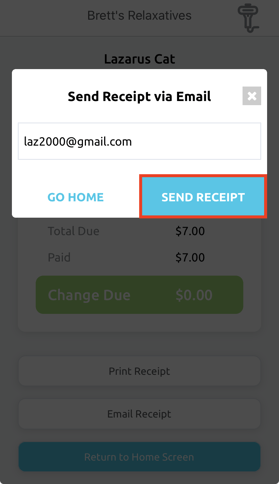
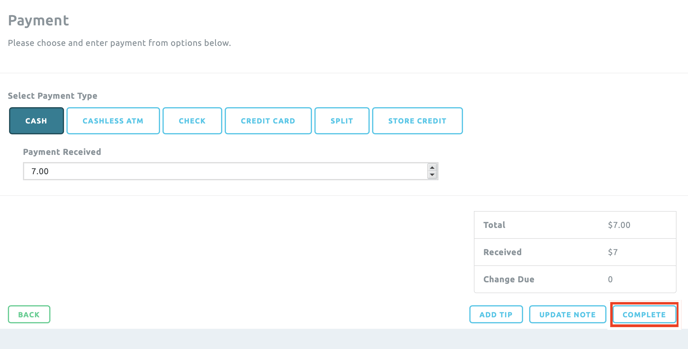
- After clicking Complete on the transaction through the Web platform in the POS section, a pop-up will appear where you can click the Email Receipt button
- Member's email addresses will auto-fill with the email address within their Member profile; if no email address is in their Member profile, you can fill an email address in the email field
NOTE: If a new email address is added at this level, it will NOT be saved in the Member's profile - Click the Send Receipt button
Web Platform (via Transactions)
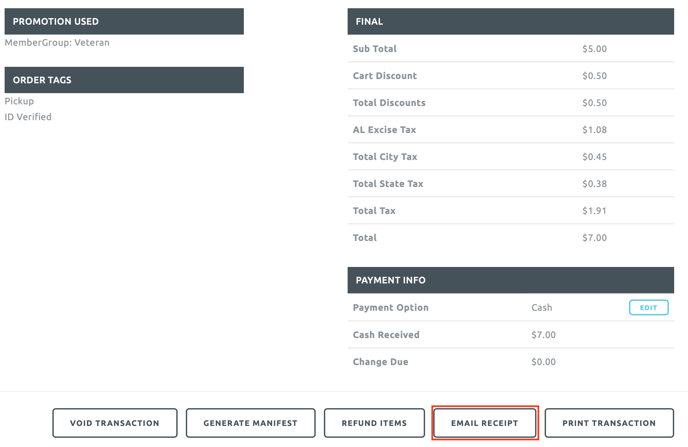
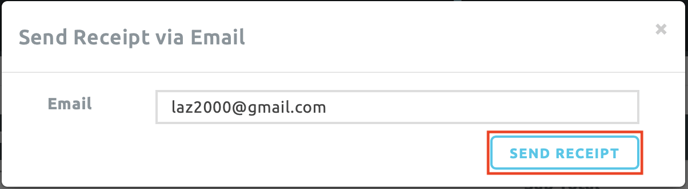
- To email receipt from a historical transaction, go to your Transactions area, set a date range to view then click on one of the transactions displayed
- Once you've pulled it up, click the Email Receipt button at the bottom
- Member's email addresses will auto-fill with the email address within their Member profile; if no email address is in their Member profile, you can fill an email address in the email field
NOTE: If a new email address is added at this level, it will NOT be saved in the Member's profile - Click the Send Receipt button

Emailed Receipt

NOTE: Email receipts default to display the information pictured above. To manage your receipt settings, navigate to Global Settings > Current Shop Settings > Manage Receipts.