Purchase orders can be made on the BLAZE Retail Web app. To create a PO, see Creating a Purchase Order. This article will guide you through BLAZE's purchase order system when your PO has been received from your Vendor.
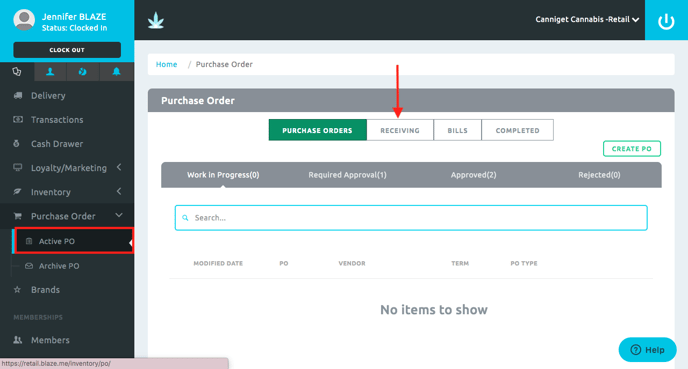
1. Navigate to the "Purchase Order" section on the left and select "Active PO."
2. Once on the Active PO page, click the grey "Receiving" tab.
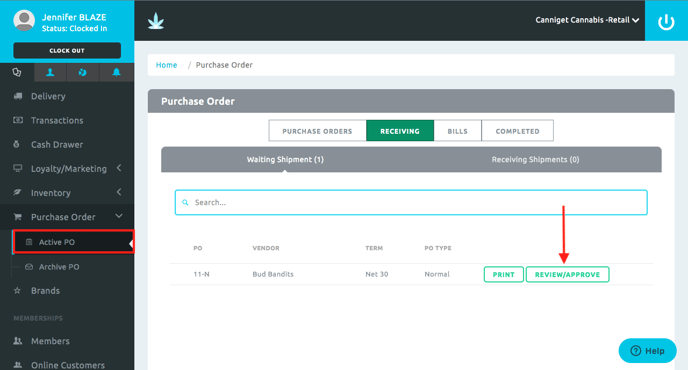
3. Click the green "Review/Approve" button on the order that has been received.
4. Click the green "Receive Shipment" button. This will redirect you to accept, modify, or decline the received shipment. Enter the name of the deliverer in the "Delivered By" section and any notes in the "Additional Notes" section (These are optional, but good features to use).
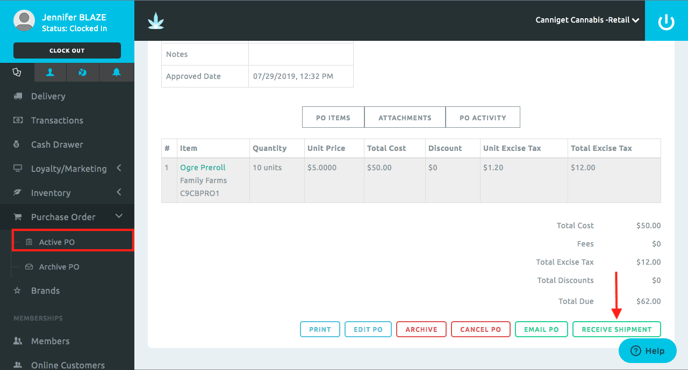
NOTE: Click the blue "Save as Pending" button to save your progress to come back to at another time.
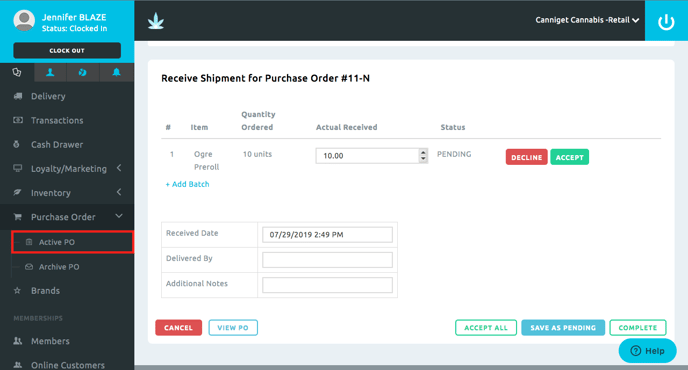
5. By default, BLAZE uses the amount of the "Quantity Ordered" to populate the "Actual Received" section. To adjust the quantity received, either enter the amount in "Actual Received" or click the blue "+ Add Batch" button and enter the amount in the "Quantity" section.
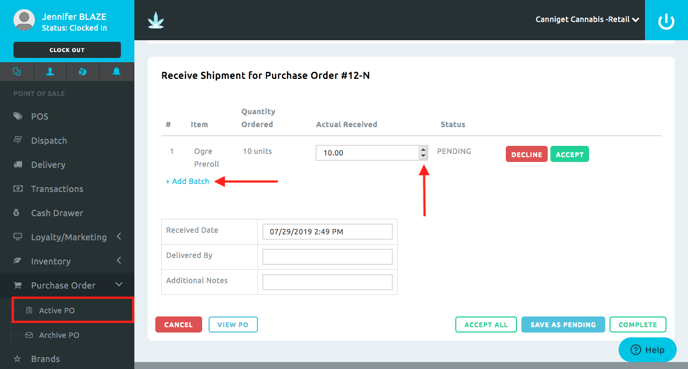
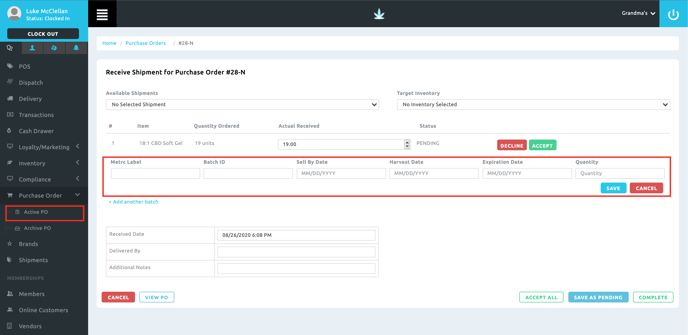
NOTE: The "+ Add Batch" feature allows you to be compliant with METRC in California. Enter in the Metrc Label, Batch ID, Sell By Date, Harvest Date, Expiration Date, and click the blue "Save" button (these are currently optional if not fully compliant, but good features to use).
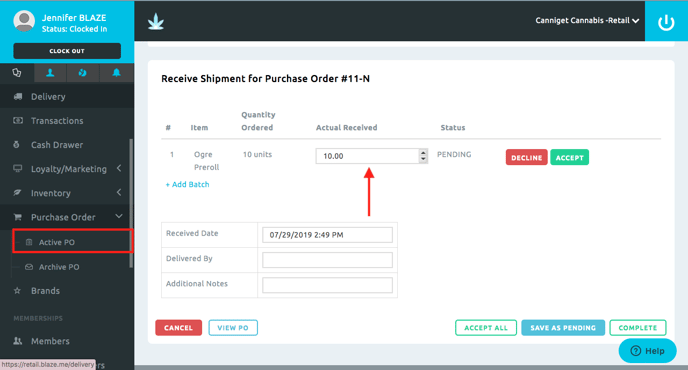
6a. If the full amount of expected product has been received, select "Accept" or "Accept All" (NOTE: "Accept All" means that EVERY product that has been ordered has also been received; if there is a discrepancy with one or more fulfillments of a product, then only select "Accept" for the items that have been received in entirety). The status of the product will change from "Pending" to "Accepted."
.png?width=688&height=370&name=Screen%20Shot%202019-07-29%20at%202.50.56%20PM%20(1).png)
or
6b. If the amount of product ordered does not match the amount of product received, enter the received amount under "Actual Received." The status of the product will change from "Pending" to "Accepted." Depending upon your relationship with your Vendor, the item that was not received in entirety may be backorderd or refunded from your order.
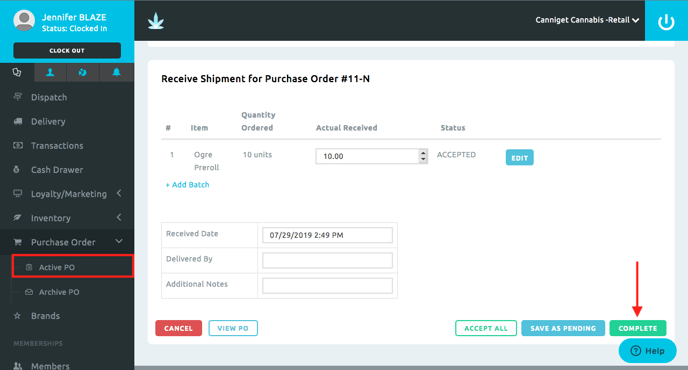
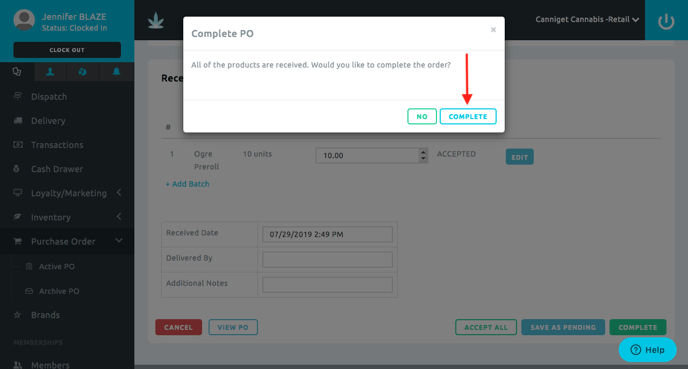
7a. If all products have been received in their entirety and have been accepted, click the green "Complete" button. A popup will appear, click the blue "Complete" button.
NOTE: Discounts, if applied earlier will be scalable based on the actual amount received.
or
7b. If one or more products were not received in their entirety and have been accepted, click the green "Complete" button. 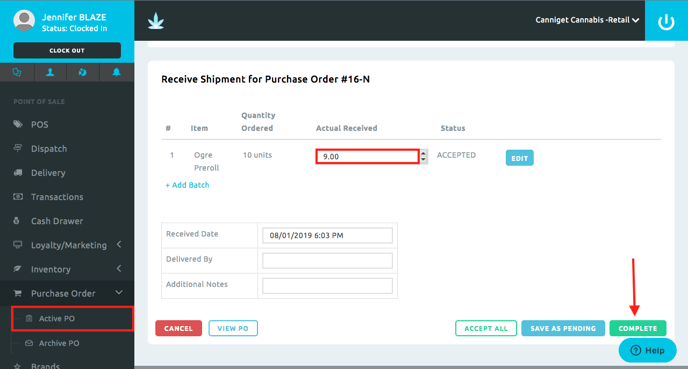
8a. If backorders are disabled with the vendor selected, a popup will appear notifying you that backorders are not allowed with this vendor. Click the blue "Complete" button to continue. You're done!
.png?width=688&height=370&name=Screen%20Shot%202019-08-01%20at%206.04.36%20PM%20(1).png)
 NOTE: The PO will be updated to reflect the actual amount received, as well as both the Total Excise Tax and the Final Total. This can be found under the "Bills" section in the "Purchase Order" tab.
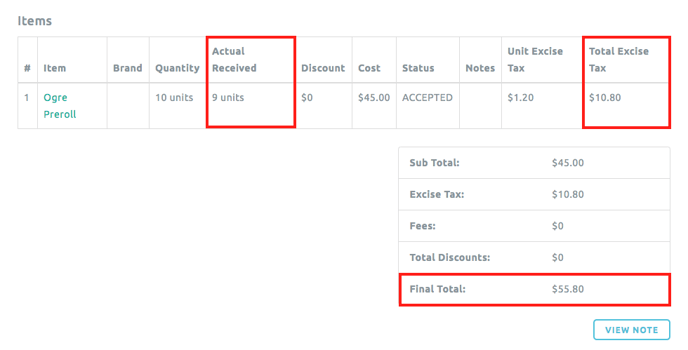
or
8b. If backorders are enabled with the selected vendor, a popup will appear to allow you to place a backorder on the missing item(s). After selecting the products you wish to backorder and entering the desired amount, click the blue "Yes" button to continue. If you do not wish to place a backorder on the missing items, click the green "No" button..png?width=688&height=370&name=Screen%20Shot%202019-08-01%20at%206.04.36%20PM%20(2).png)

NOTE: If you placed a backorder, it will appear under the "Purchase Order" section as a "Backorder" PO Type.
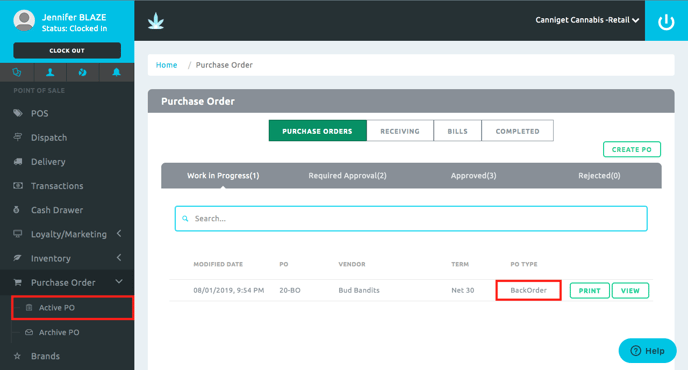
9. If a backorder has been placed, click the green "View" button and refer to our Creating a PO article.
Please see the Completing a PO article for further Purchase Order instructions.