Overview
1. Enable Special Queue in BLAZE
2. Enable Online POS and Pick up Methods in BLAZE
3. Create a Developer Key / API in BLAZE
4. Connect Dutchie to BLAZE with the generate API Key
5. Sync products in BLAZE with Dutchie (enable 3rd party menus for desired products)
6. Verify Menu is displaying as expected
1. In BLAZE, navigate to Global Settings > Current Shop Settings > Shop Information.
- Click the Edit button and scroll down to Queue Management.
- Enable the Special queue.
- Click the Save button.
Here is a video showing these steps:
2. In BLAZE, navigate to Global Settings > Current Shop Settings > Online Store.
- Click the Edit button and enable the Online Store.
- Scroll down and enable the Online POS and select the Pick Up Method(s).
- Click the Save button.
Here is a video showing these steps:
3a. In BLAZE, navigate to Global Settings > Company Settings > Developer Keys. Click the Add Key button and fill out the following information:
- Shop Name: Select the shop to link to Dutchie
- Key Name: "Dutchie - {Shop Name}"
- Status: Active
- Expose Sales: Enabled
- Expose Members: Enabled
Then click the Save button. Copy the generate Key, this will be your API Key.
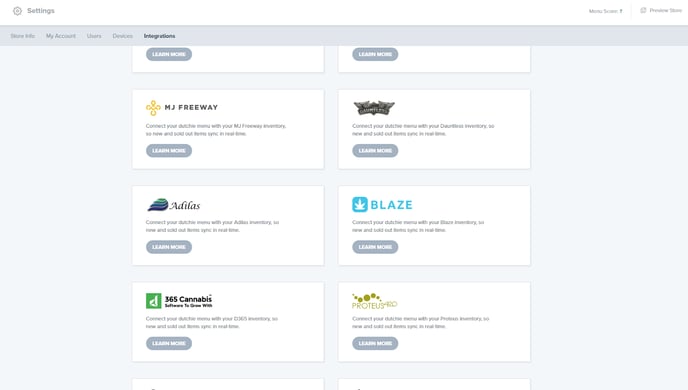
3b. In Dutchie, navigate to Settings > Integrations. Select BLAZE.
4. Enter your API Key from BLAZE.
-1.png?width=512&height=286&name=unnamed%20(1)-1.png)
5. Once the API key is entered in, Dutchie starts to sync the product catalog from BLAZE.
- Navigate to the Items section in Dutchie to see products start to populate.
- This may take 5-10 minutes to complete.
- Products without a price or priced less than $.10 will not populate.
.png?width=688&height=394&name=pasted%20image%200%20(1).png)
6. Click into a product/item to ensure all the details are populated and accurate. All the data populated into the Dutchie Items are pulled from BLAZE.
- NOTE: Changes made in BLAZE take approximately 5-10 minutes to reflect in Dutchie.
.png?width=688&height=632&name=pasted%20image%200%20(2).png)