The Vendor section allows you to manage your vendors. You can add, edit, and delete Vendors.
Vendors are the companies that your products are bought from. They are required when adding inventory, so before products can be added, vendors must be created first. If your company is both a retailer and a distributor, create a vendor under your distributor's company name. Brands can be created for the products in your inventory in order to better categorize your products for both your customers and yourself.
There are two different relationships for vendors:
1. Arms-Length
2. Non Arms-Length
For more information, click: Arms-Length (AL) and Non Arms-Length (NAL)
Terminology:
Vendor Name: The name of the vendor
License Number: The license associated with the vendor
Expiration Date: The expiration date of the license associated with the vendor
Enable PO Backorder: When enabled, this option allows purchase orders to be backordered if an order is incomplete when it is received
Status: When active, this option allows the vendor to be used; when inactive, this option hides the vendor from being used
Entity Relationship: the AL or NAL relationship with your company and this vendor
Brands: the brands this vendor provides to your company
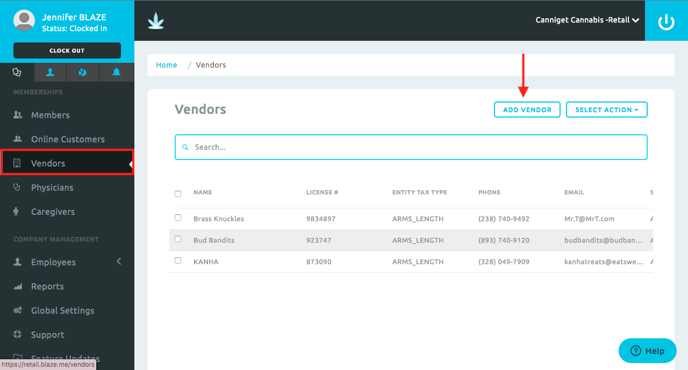
Add Vendors
To add a vendor, click on Vendors in the menu bar on the left.
- Enter the Vendor's company name into the Name field then fill out your contact's First and Last name at the Company.
- All other fields are optional to fill out.
- Once completed, click "Save."
- You can now go and add a product purchased from the Vendor.
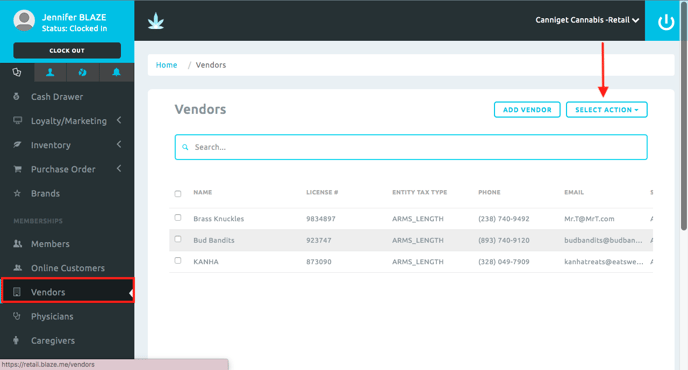
Edit Vendors
To edit a vendor, navigate to the "Vendors" section.
- Using the search bar, search for the vendor you want to edit.
- Click on the search result row to take you to the vendor's profile page.
- Once on the vendor's profile page, click "Edit Vendor" to edit the vendor's information.


The "Select Action" feature allows for mass editings, such as changing the status, enabling backorders, editing tax types, as well as editing the brands associated with the vendors selected.

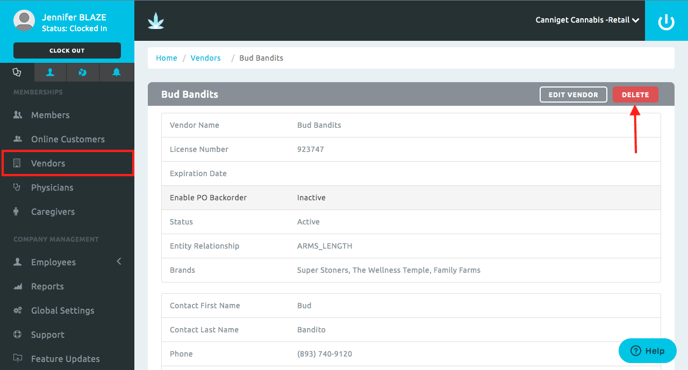
Delete Vendors
To delete a vendor, navigate to the "Vendors" section.
- Using the search bar, search for the vendor you want to delete.
- Click on the search result row to take you to the vendor's profile page.
- On the vendor's profile page, click "Delete Vendor" to delete the vendor's information.
- Once a vendor has been deleted, another vendor cannot be created with the same exact name.
- If you wish to simply hide the vendor from view, change its status to "inactive" by editing the vendor (see above section).
.png?width=688&height=370&name=Screen%20Shot%202019-07-24%20at%201.26.29%20PM%20(1).png)