- Login to your ECOM Mission Control at ecom.blaze.me.
- Click on the Brands tab.

- Find the brand you would like to edit the logo and/or description of.
- Select the brand by clicking on the row or the Edit button.

- Brand Logo and Description will be automatically synced to the POS Global Catalogue for each Brand available

- To overwrite the Default Catalogue Logo/Description, Drag & Drop the image or use the Upload button. Logos should ideally be 250px by 250px jpeg files.

- To edit the brand description, paste or type any related text into the Description box. Text can also be edited via the styling and linking tools.

- Once complete, click the Save Settings button below the logo upload tool.

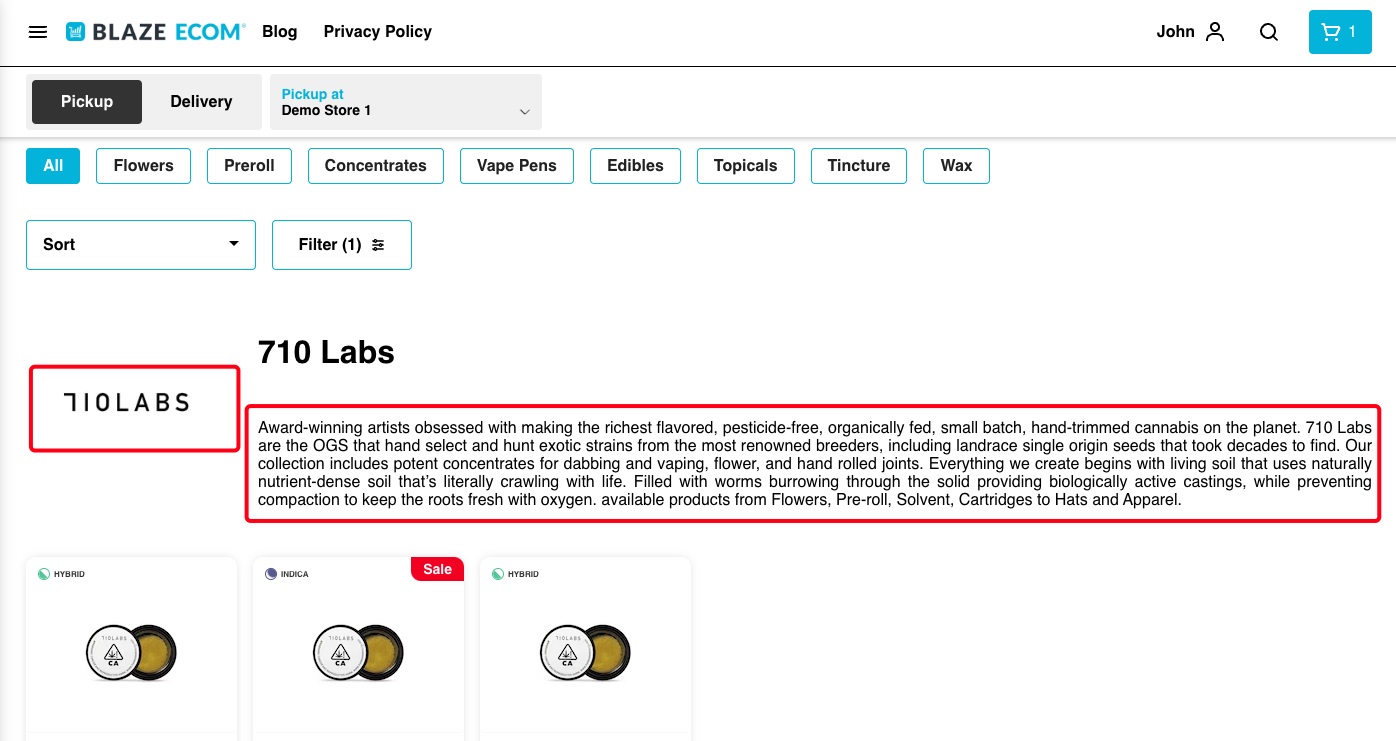
- You will now be able to refresh the Brand page in your store to view the updated logo and description.
Note: For a brand to sync from the POS to ECOM Mission Control, a Valid for Sale product must be associated with the brand.
If you have any questions please reach out to ecomsupport@blaze.me