ECOM | Configuring the Short Code Feature in your Wordpress Admin
Shortcodes are a feature in the ECOM WordPress plugin that allows you to insert dynamic content from your ECOM menu directly into your WordPress content site pages.
- No ECOM functionality will take place in your WordPress site, all functionality will continue to take place on the ECOM menu.
- We recommend having a member of your team or agency you are working with manage the short codes.
- Download and install the plugin via this kb article below:
- If your store is using pick up as a fulfillment type use the "delivery_type="pickup" parameter in short code
Where to place your shortcodes
Shortcodes are supported across all themes in WordPress you can add this via the customizer of a WordPress theme where you can add shortcode elements. If you are using tools like Divi Theme Builder you can add a code module to a page and enter the shortcodes there.
Multi Location Selection
If you have multiple locations you will have to select a store to pull product data, brands etc.
Click the drop down store selector and select the location you want to pull data from.
Once selected the shortcodes will pull from that specific location, if this is a delivery location ensure to add a delivery type parameter in short code
"delivery_type="pickup"

Store name in shortcodes
All short codes have a store="store name" declaration
This is a reference to your store name you can find it in the short code tab of the plugin
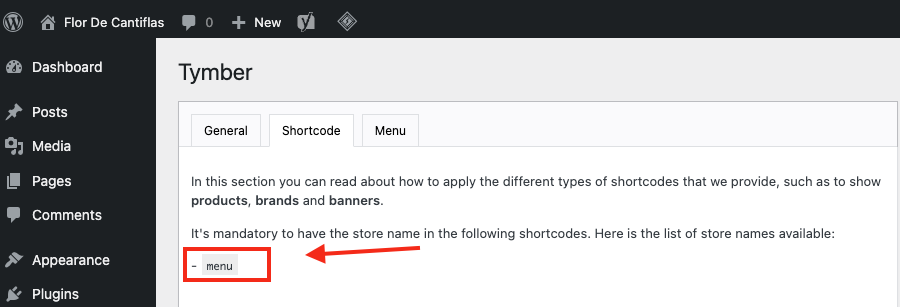
If you get errors "A store name was not specified." or "Store name invalid." ensure this matches what is in the plugin or is entered correctly.
Banner Block Shortcode
[tymber_block_banner store="menu"]
The shortcode above inserts a banner block on your content page
The banners will reflect those uploaded in ECOM Mision Control
Product Block Shortcode
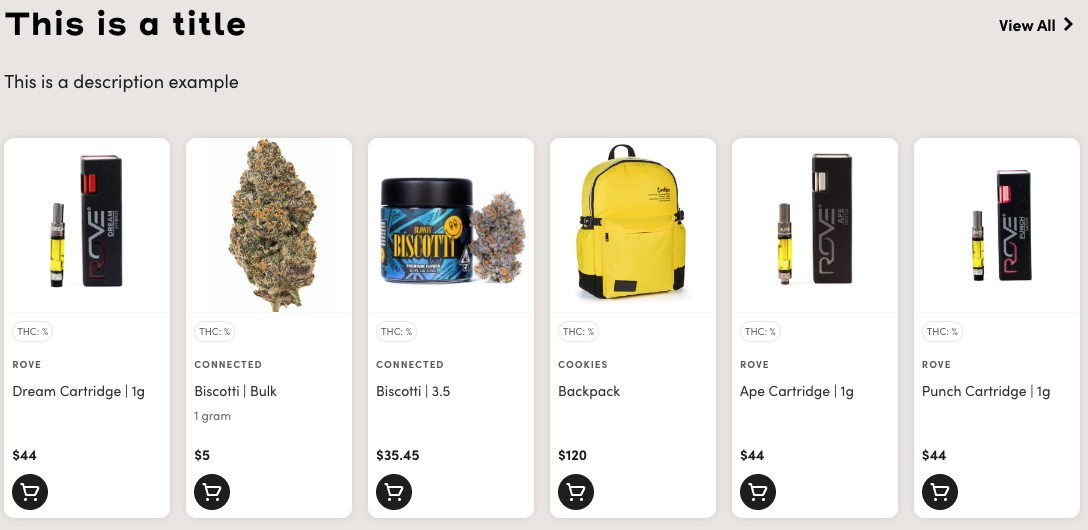
[tymber_block title="This is a title" text="This is a description example" store="store-name"]
The shortcode above inserts a product block on your content page
When users click view all they will redirected to your menu, when users click on a product or the add cart button they will be redirected to the corresponding product page with the option to add to cart.
To adjust the title of the row of products you can edit the shortcode title declaration as needed
title="This is a title"
To adjust the description of the row of products you can edit the short code text declaration as needed
text="This is a description example"
Filter, Sort and Limit Options
You can also use options to filter, sort or limit the product block as you like. To do so use the list sort options and filter options available and can found in the short code section of the plugin. When filter options are declared users will click view all on the product block and they will be redirected the corresponding page on your menu with those filters applied.
To use a filter option add
"filter="tag=tag" OR "filter="category=category" etc..
declaration to a product shortcode.
To use a sorting option add
order="sort option"
declaration to a product shortcode.

Filter Examples:
Filtering by Tags: filter="tag=8th"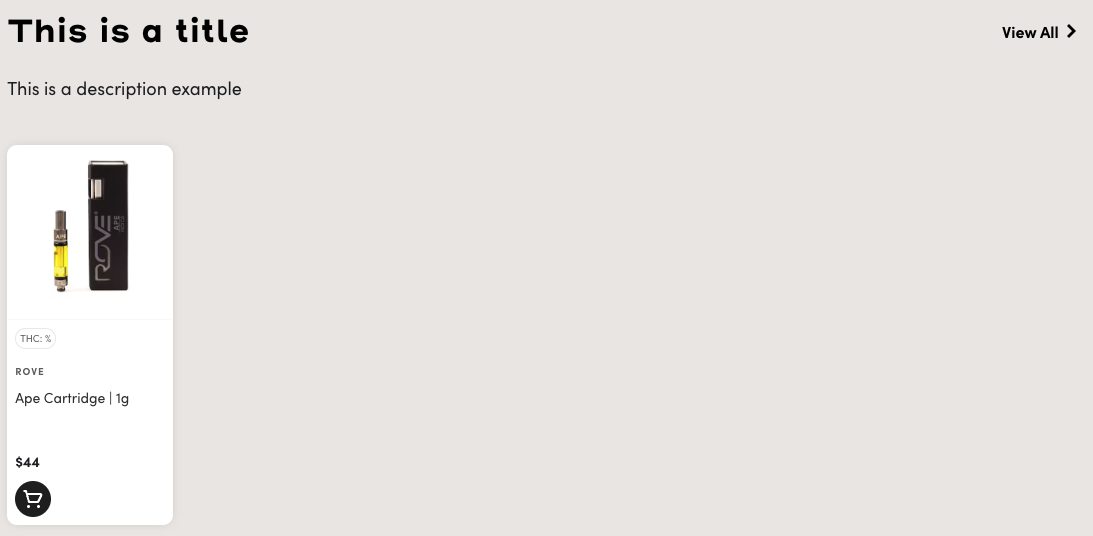
[tymber_block title="This is a title" text="This is a description example" filter="tag=8th" store="menu"]
This filter will only show products that have been tagged with the "8th" tag.
Filtering by Categories: filter="category=gear"
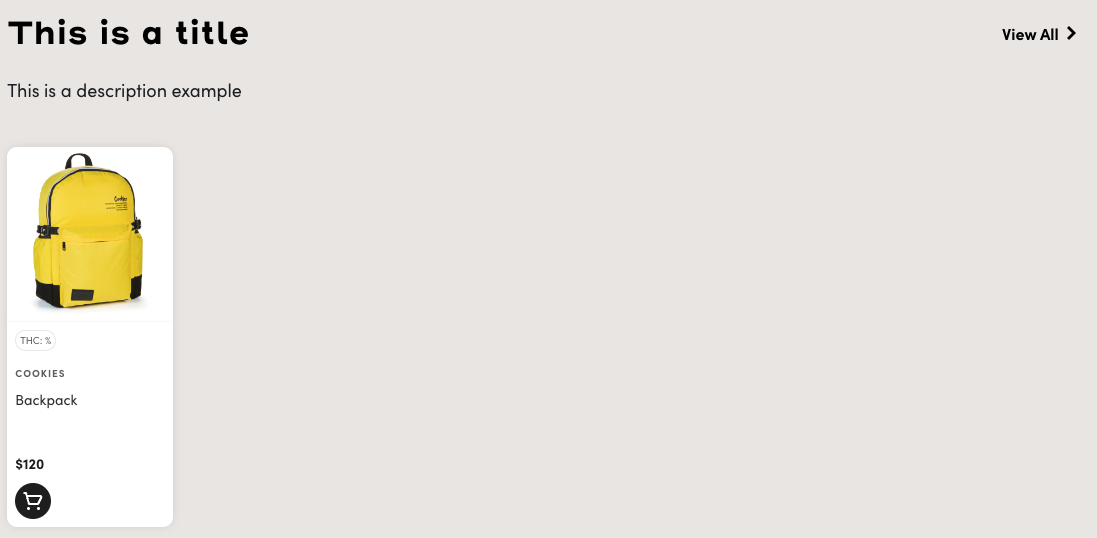
[tymber_block title="This is a title" text="This is a description example" filter="category=gear" store="menu"]
This filter will only show products that have been are in the "gear" category.
Product Sorting Examples
Sorting by Price Low to High: order="price"
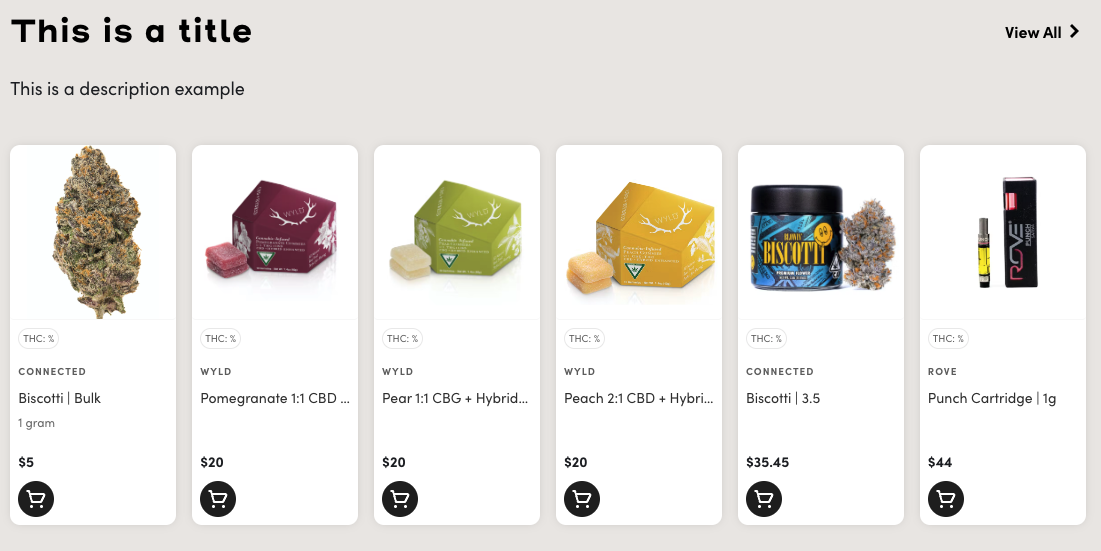
[tymber_block title="This is a title" text="This is a description example" order="price" store="menu"]
This sort option will show products from prices low to high.
Sorting by by Brand A-Z: order="brand"
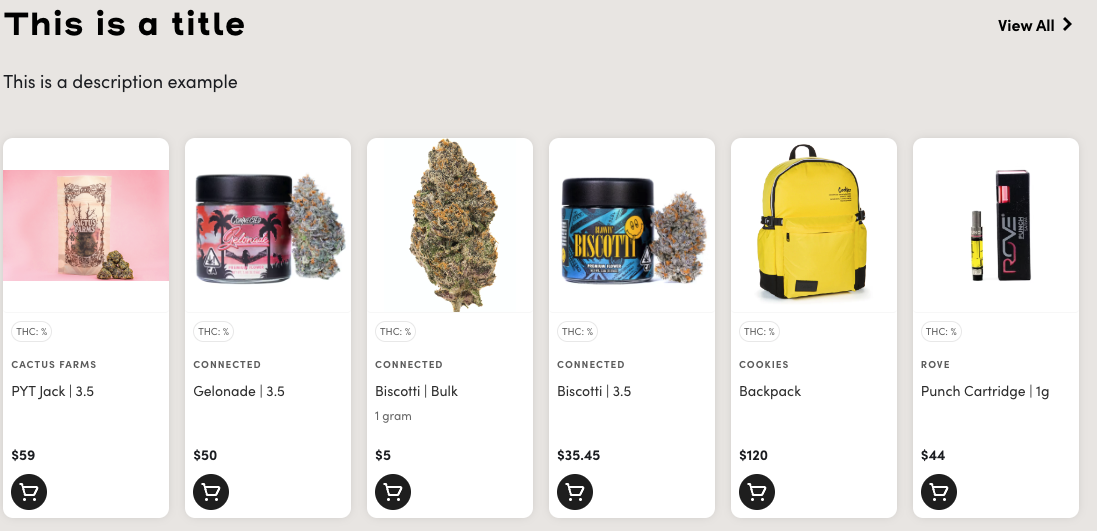
[tymber_block title="This is a title" text="This is a description example" order="brand" store="menu"]
This sort option will show products organized by brands from A-Z.
Product Limit Examples
By default product blocks will show 6 products per block as seen in the previous examples you can limit this or increase this limit. If the limit is increased the products will wrap after six when viewed on desktop. When viewed on mobile devices products blocks turn into a swipe-able carousel and is responsive to screen size.
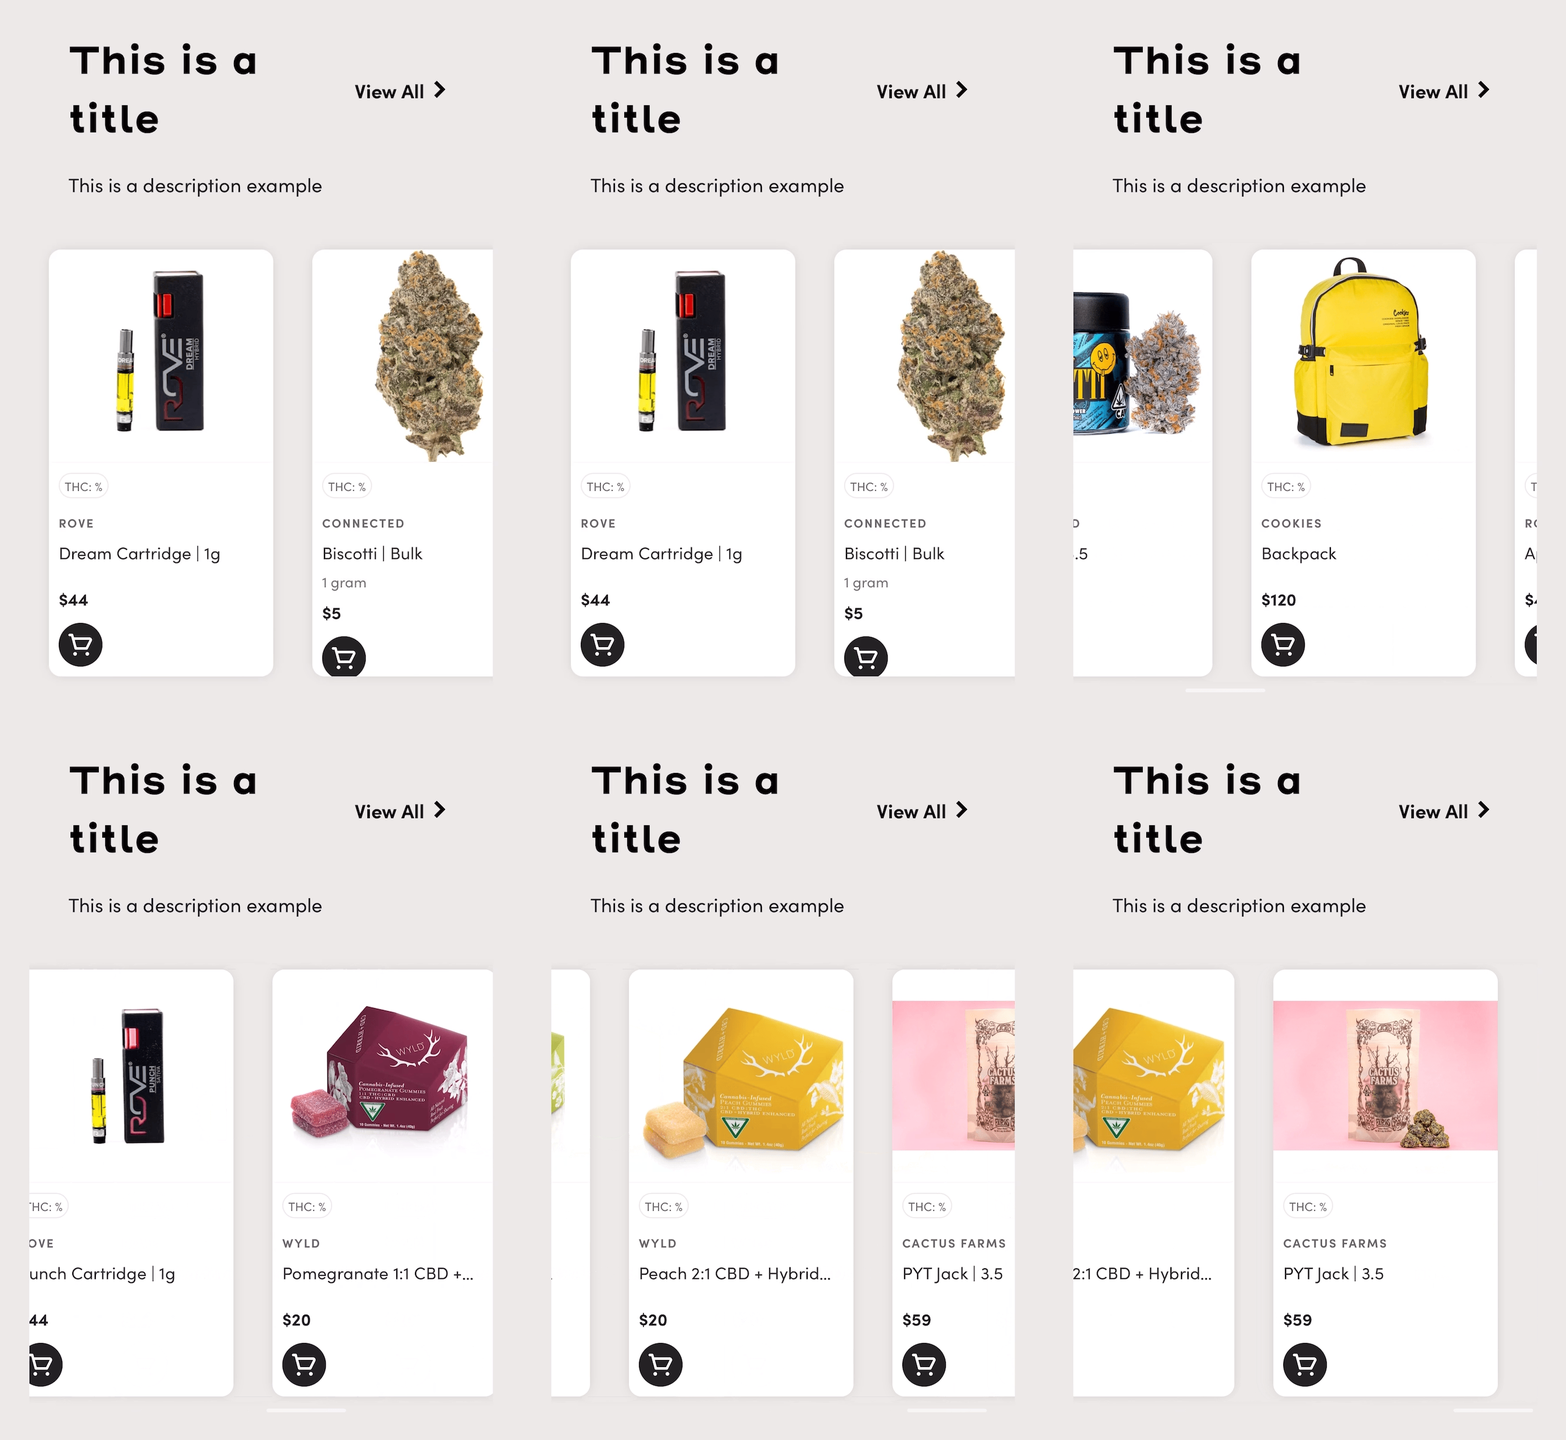
Limiting a product block: limit="3"
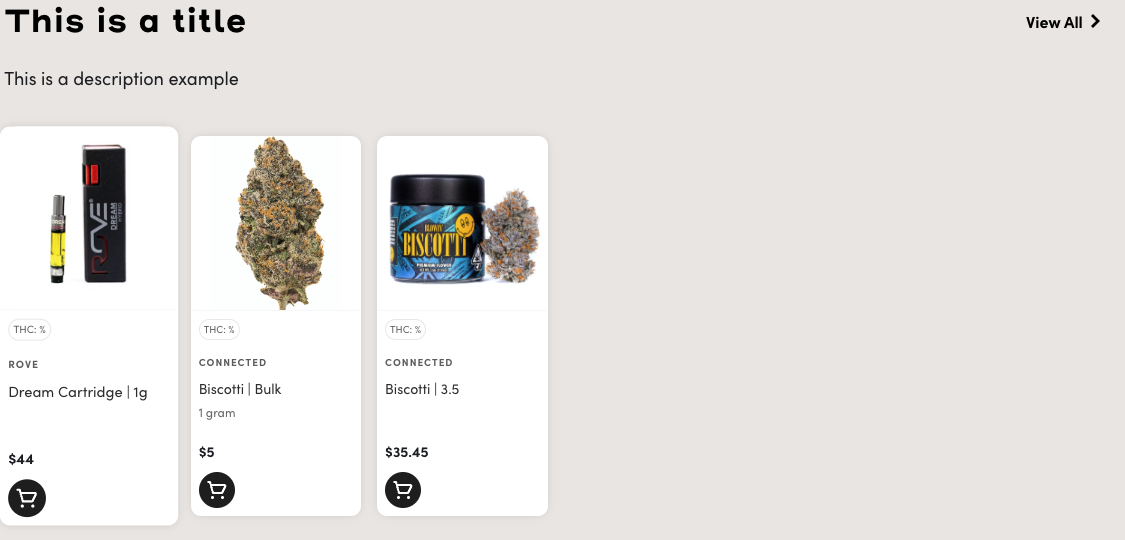
[tymber_block title="This is a title" text="This is a description example" limit="3" store="menu"]
This limit option is limiting a product block to show only 3 products.
Increasing a limit of a product block: limit="10"
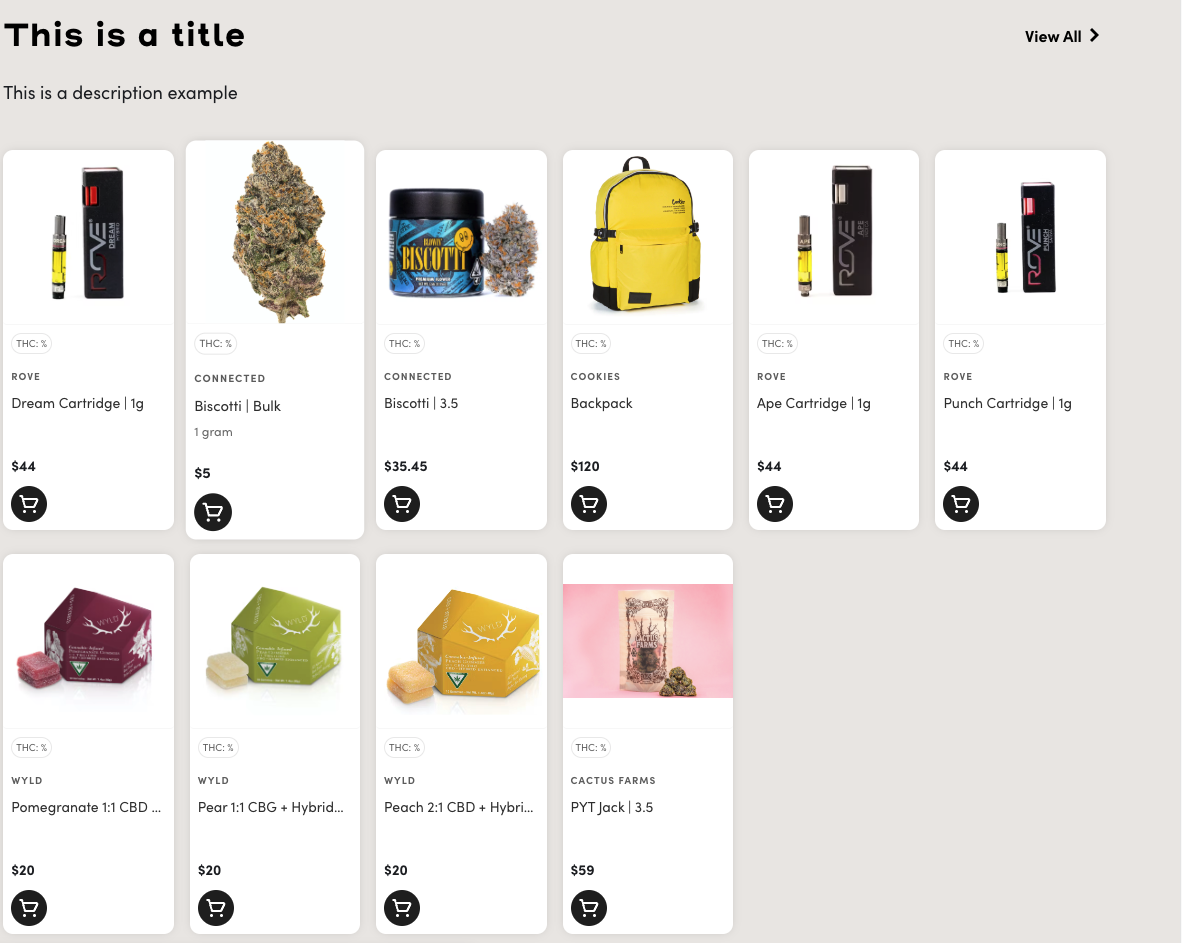
[tymber_block title="This is a title" text="This is a description example" limit="3" store="menu"]
This limit option is increasing the limit a product block to show 10 products.
You can combine filters, sorting and limit options to have a more refined presentation of your product blocks on your content page.
Brands Block Short Code
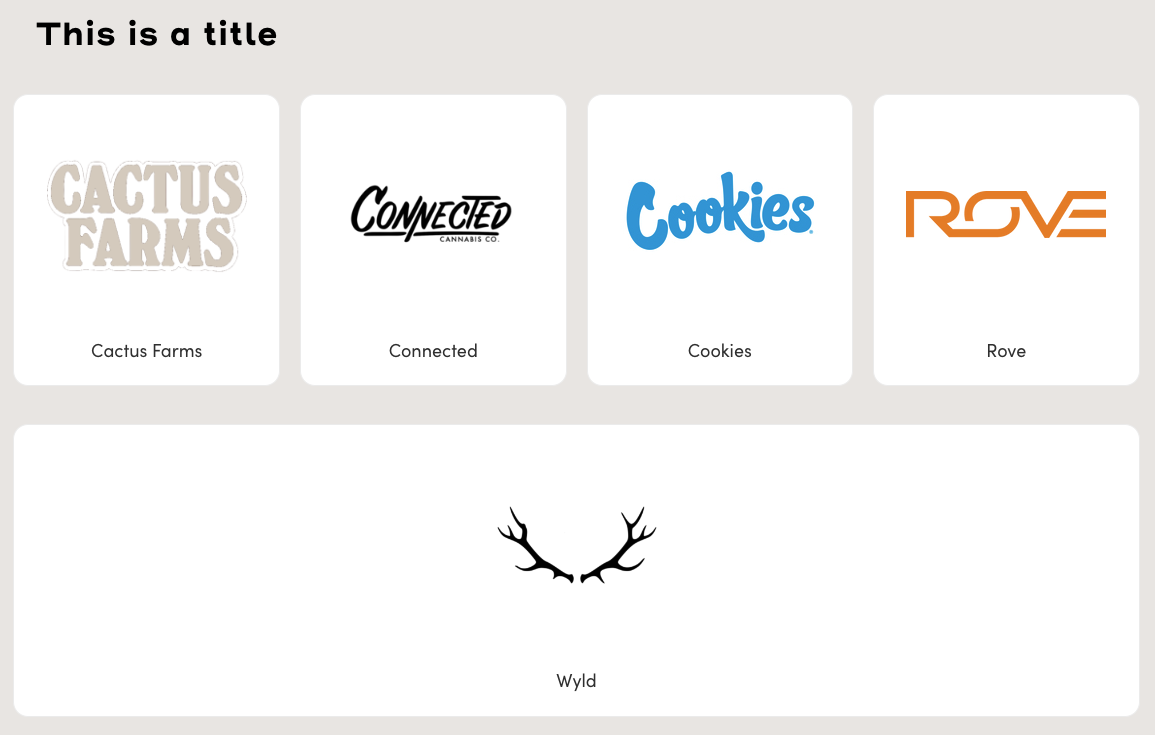
[tymber_brands_block title="This is a title" store="menu"]
The short code above inserts a brand block on your content page.
On brand blocks currently the limit option is only available as an additional declaration in the short code.
When users click a brand they will be redirected the corresponding brand page on your menu.
Brand Limit Examples: limit="3"
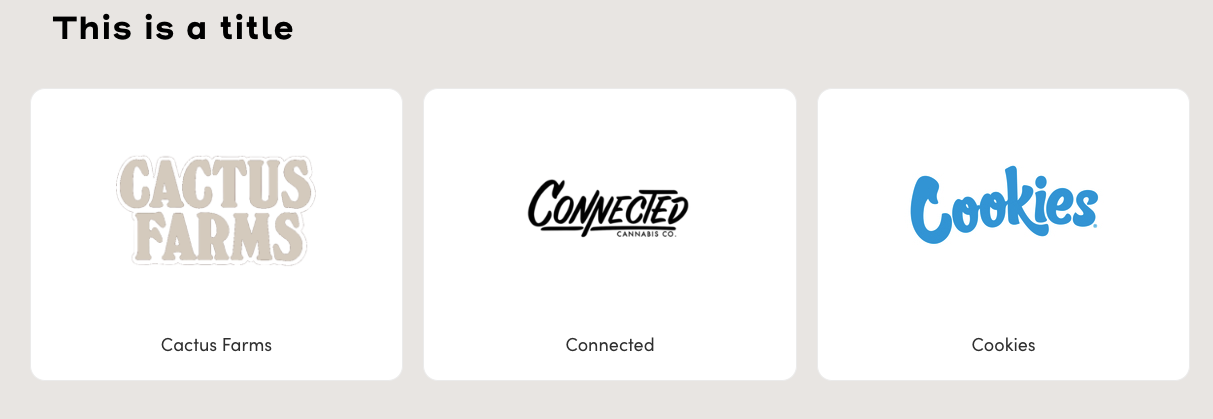
[tymber_brands_block title="This is a title" limit="3" store="menu"]
Like product blocks you can limit the amount of brands you show in the brand block. By default there is 4 per line and sorted A-Z.