Banner Image file size should be no larger than 500 KB.
1) Log into ECOM Mission Control via ecom.blaze.me and click on Banners

Banner File Size Guide:
Hero/Full Width Images: ≤ 300-500 KB
2) Click "Add Banner" and add a separate banner image for desktop and mobile users (see our recommend image sizes on the image upload page below)


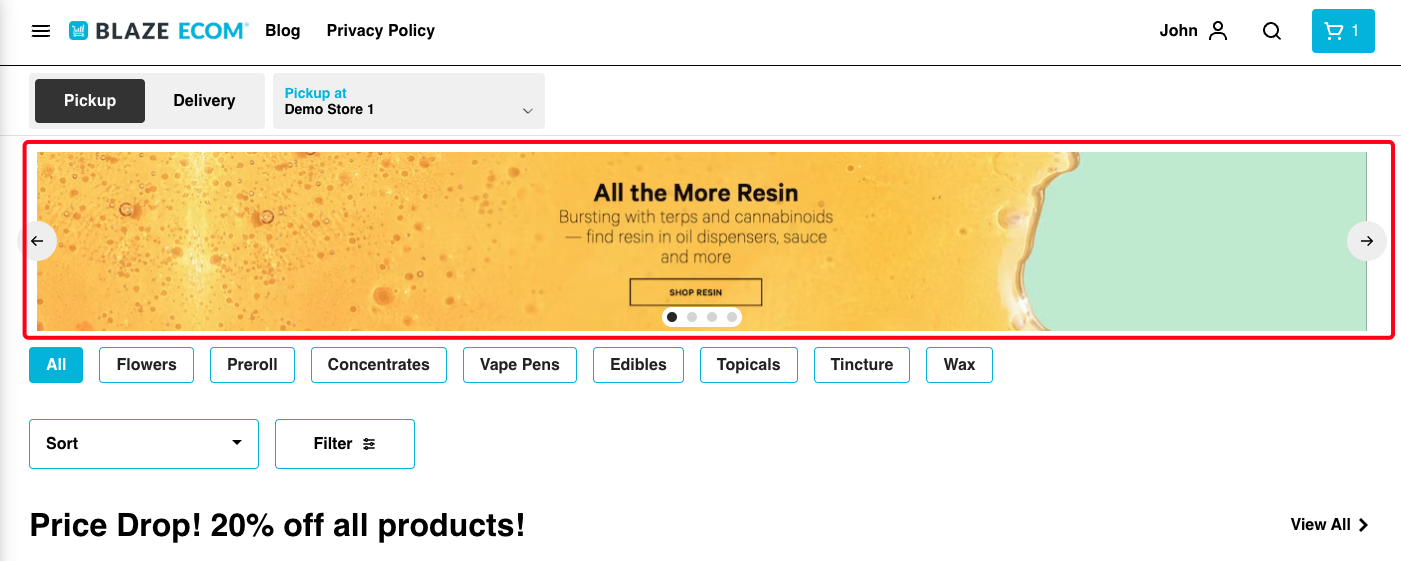
- We recommend using these to direct customers to relevant menu pages that align with the products you are promoting
- You can also direct customers to your mobile-app menu pages using the menu pages outlined in our guide here

4) Use the "Publish" dropdown to set your banner to "ASAP" or "Scheduled"
- ASAP banners will show on the menu as long as your banner is active
- Scheduled banners will only show on the menu at the set date and time
5) Use channel visibility to specialize banners for your website, app, or kiosk
- Set your channel to ensure the banner only appears on the ECOM service you select
- Can limit your banner to your website, mobile app, or kiosk
- By default all services will be selected, so the banner will be visible everywhere
Create unlimited banners and set them to active/inactive as desired from the Banners page
-
- You can see which are active and if the Publish Type is set to ASAP or Scheduled
- Use the + and - Position buttons to determine the order they appear

If possible, it is best to create a different graphic for each display size to ensure the highest quality image. You can create graphics in Adobe Illustrator or use online graphic design software such as Canva or Pic Monkey.