Managing Banners on your menu
Create banners with your own custom graphics with Tymber's optional menu banners.
Now you have the option to upload multiple banners across your Tymber Ecommerce Menu. With this feature, you can create dynamic graphics, new product announcements, and special discount announcements.

To Utilize this feature, simply log into your Tymber Dashboard, scroll down along the left sidebar and select Banners.

From the banner menu, you can now choose to upload new banners, edit the banners currently uploaded, activate or deactivate selected banners, and re-arrange the order in which the banners appear on the menu.

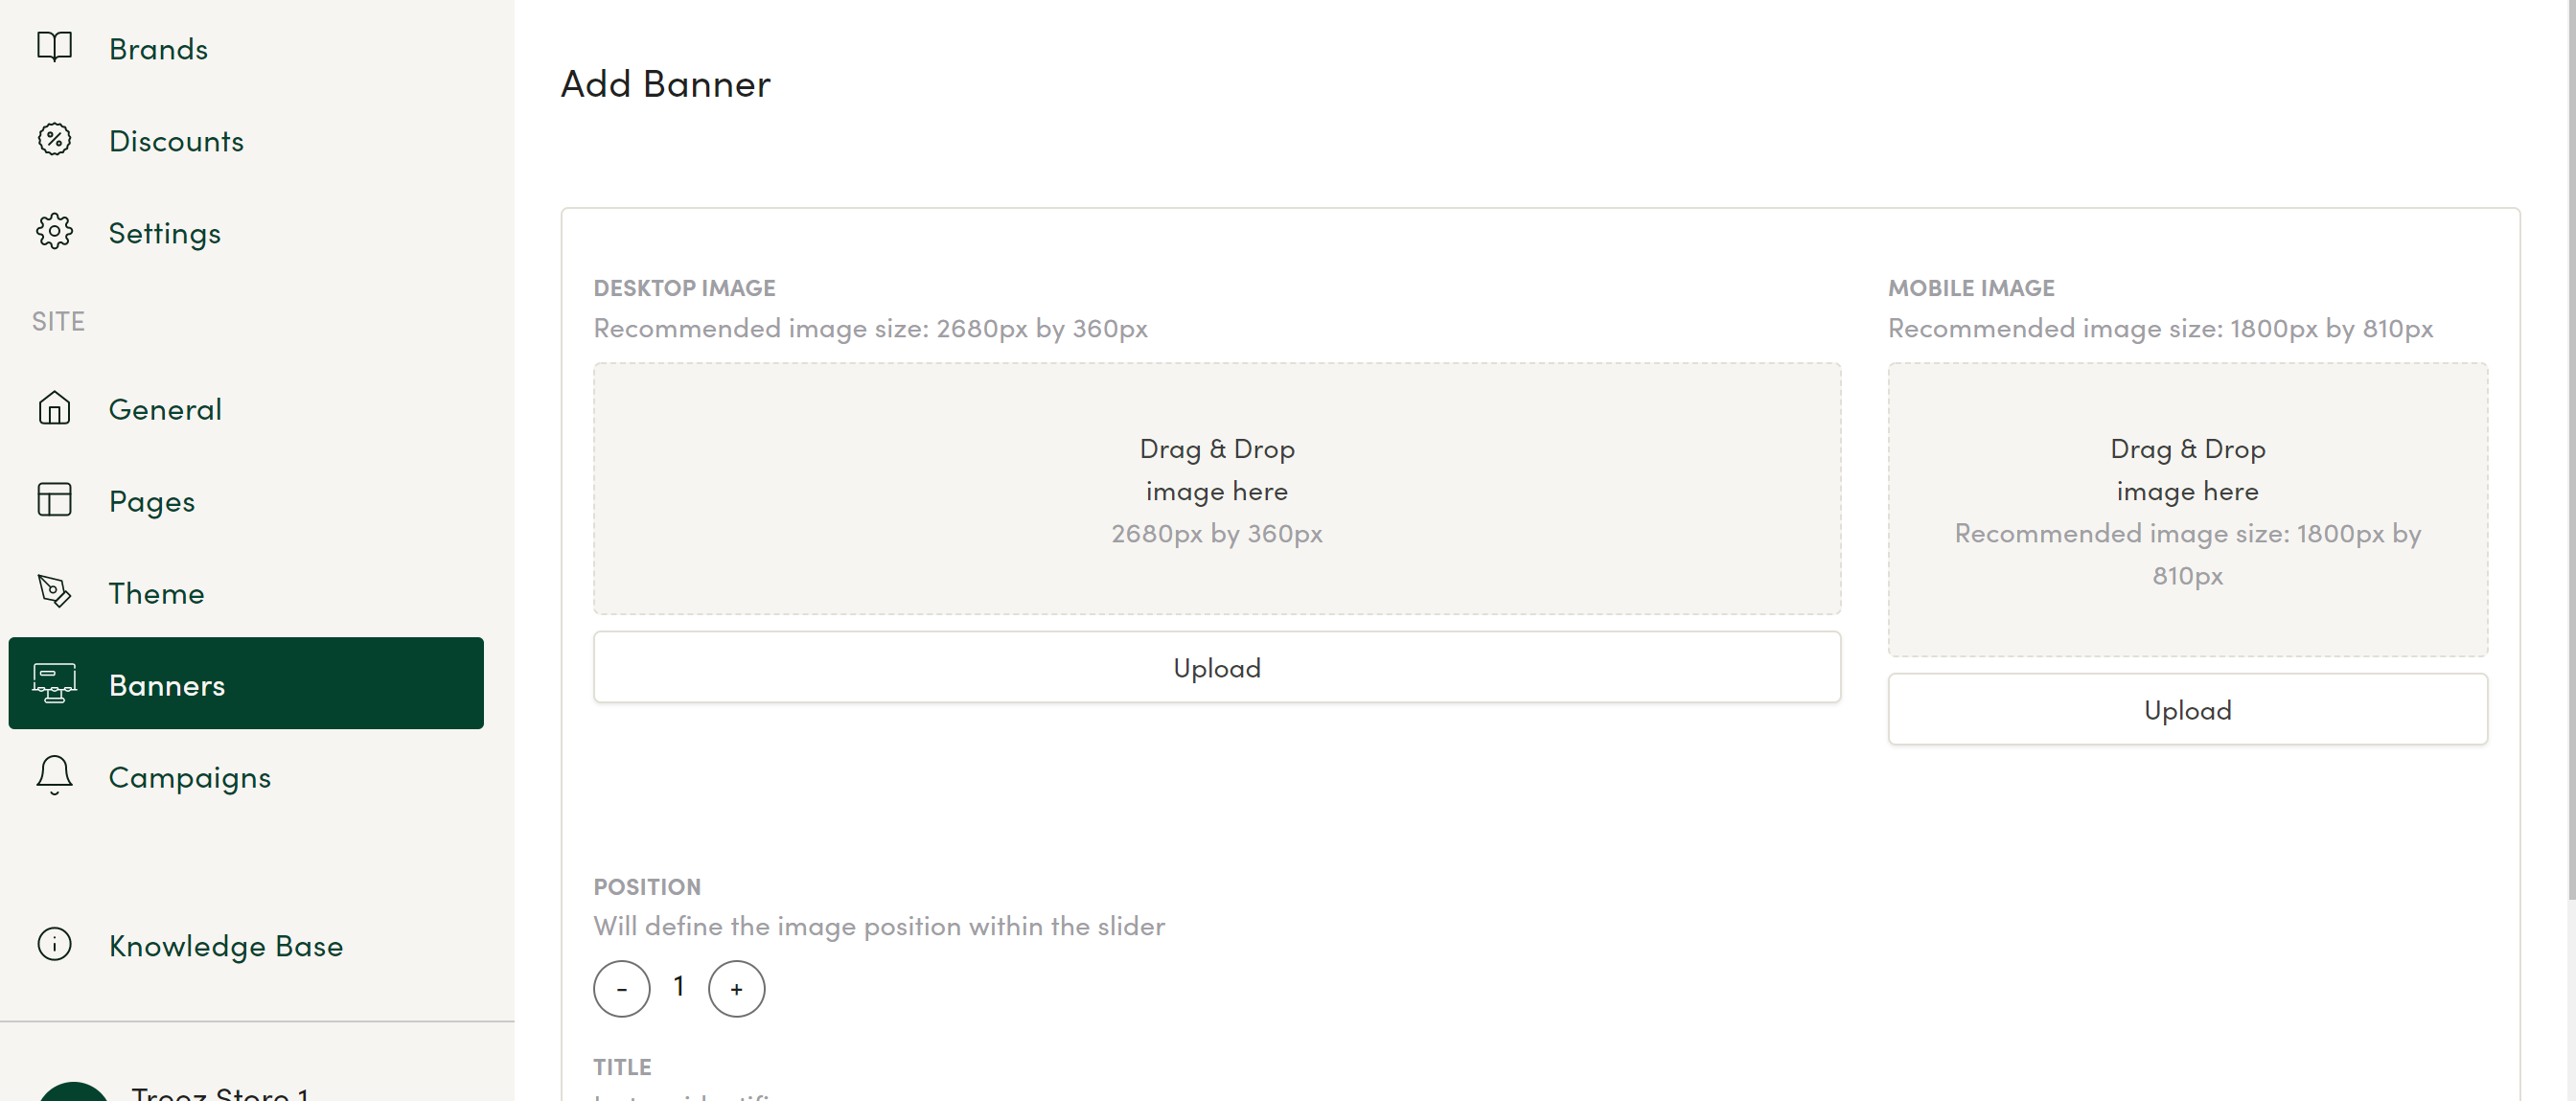
To upload a new banner, select "Add Banner" and this will bring you to a page that allows you to upload banners in two different sizes (2680 x 360 px for desktop display & 1800 x 810 px for mobile display.)
If possible, it is best to create a different graphic for each display size to ensure the highest quality image. You can create graphics in Adobe Illustrator or use online graphic design software such as Canva or Pic Monkey.

From here, upload the selected images, and fill out the order in which you'd wish the image to appear, title of the image (i.e. Summer Sale), the description, and URL if you want to link to another page.

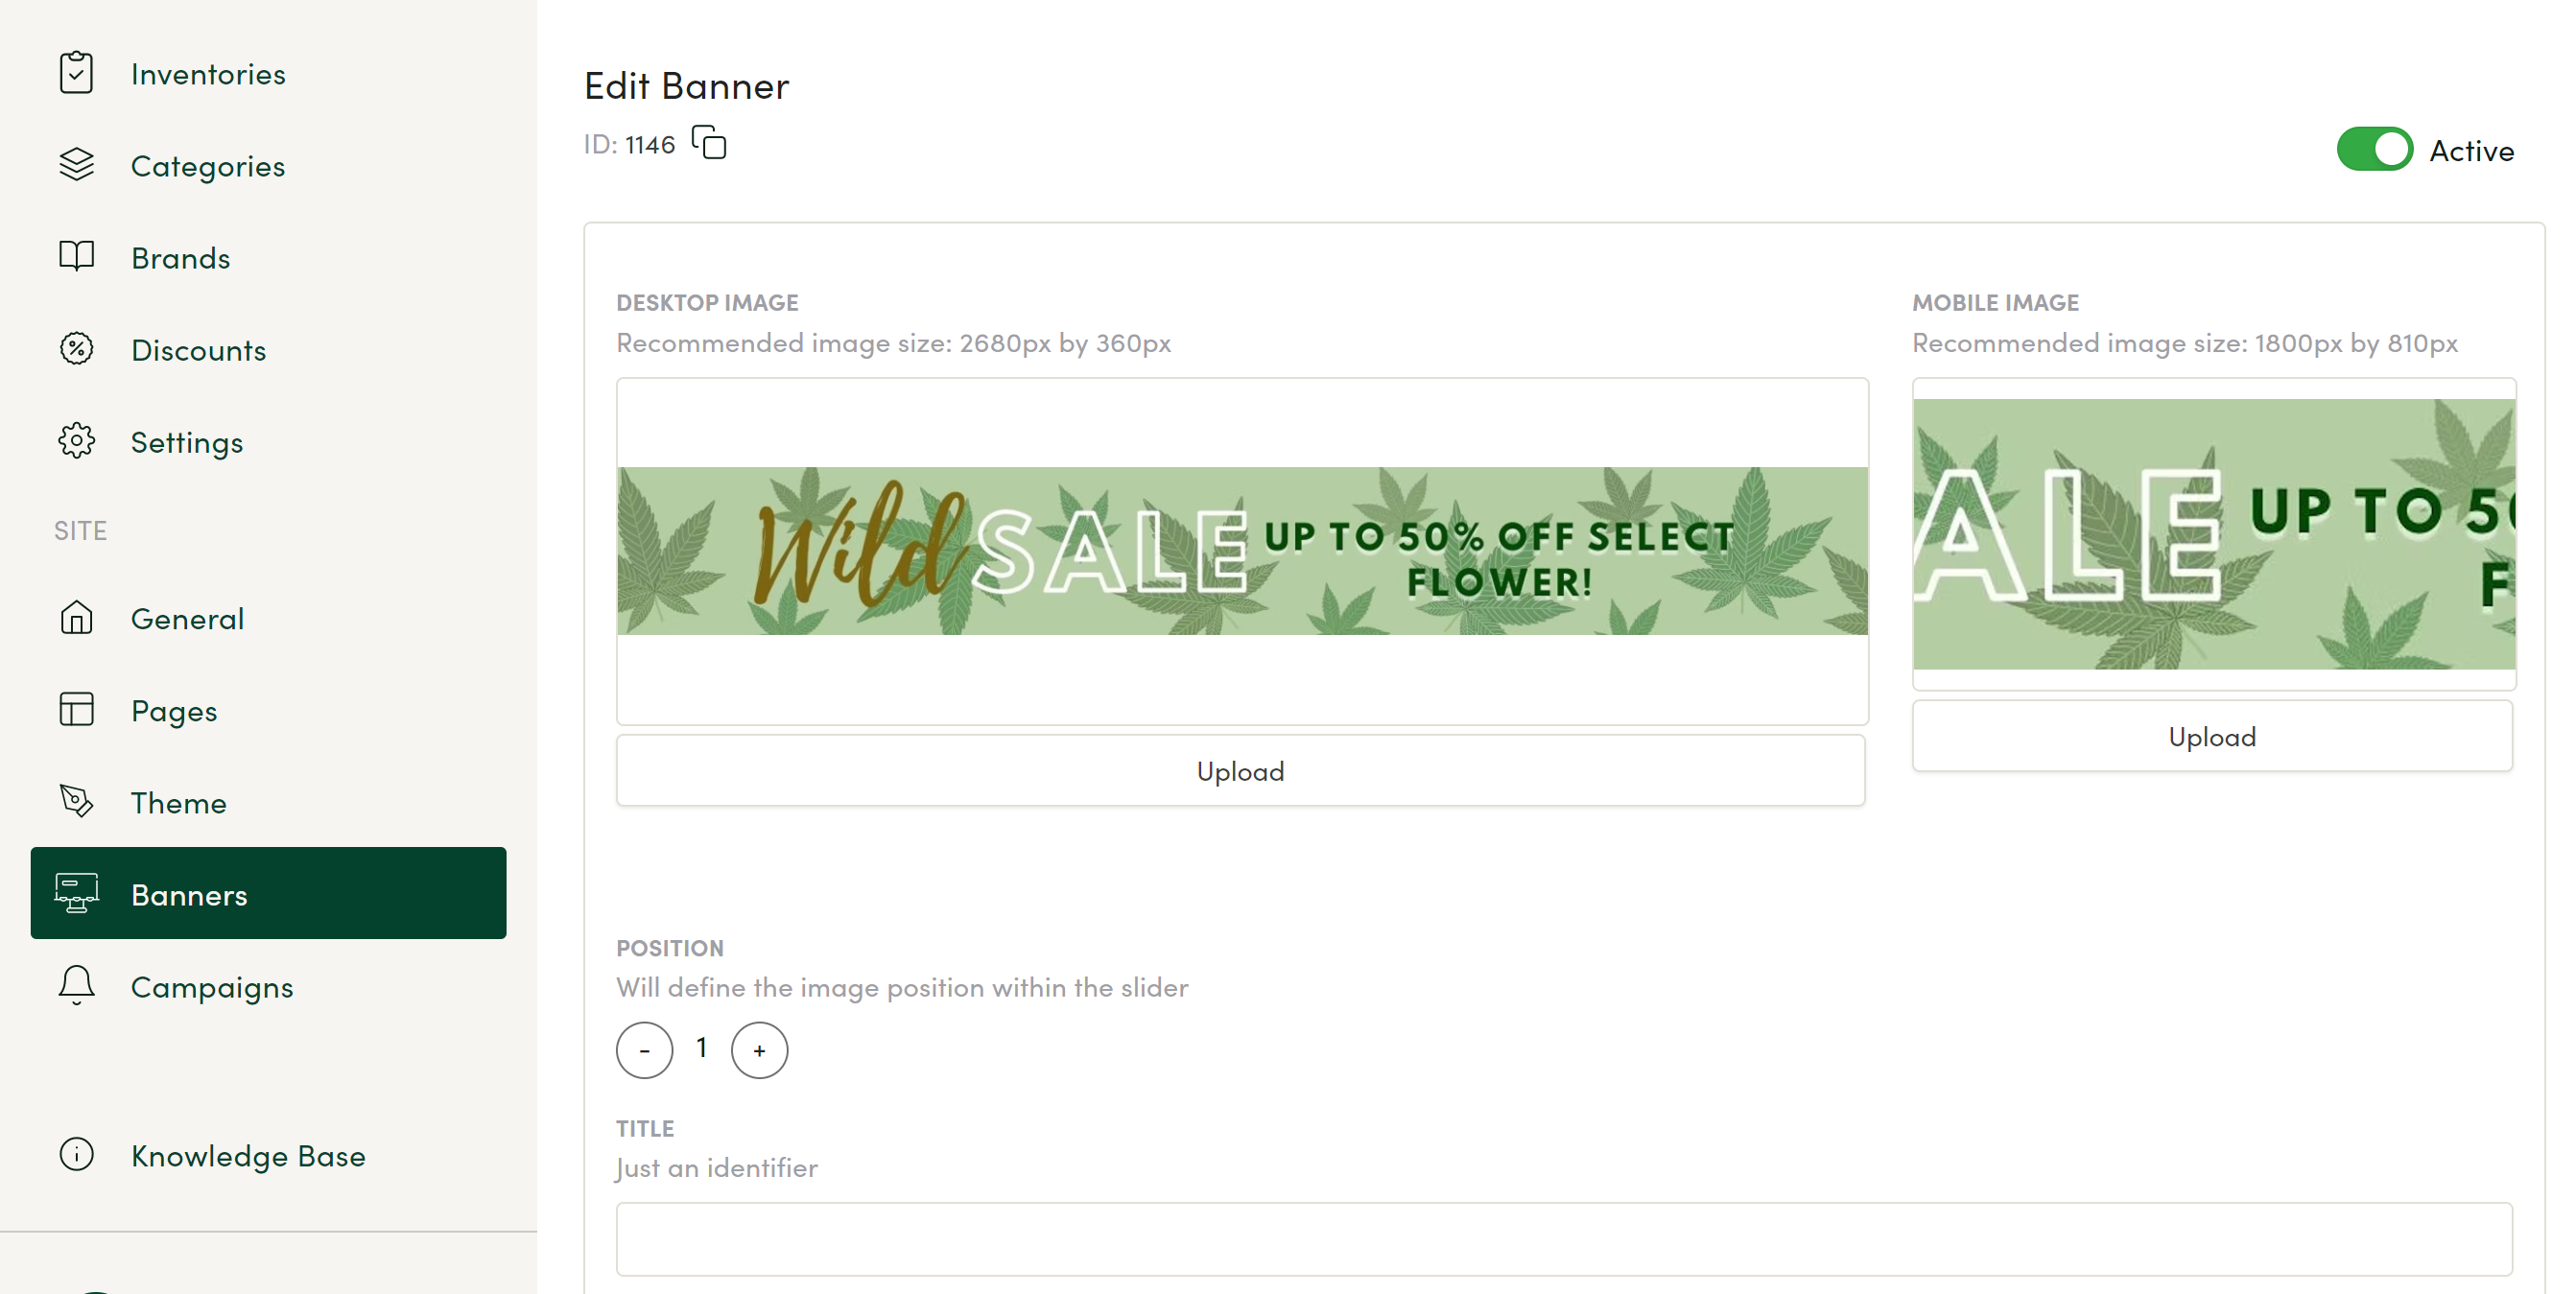
You can go in and edit all these fields for banners already uploaded in your menu as well! Editing options including changing the title, description, url, and banner images. You can also toggle the Activate button to deactivate the banner from showing up in the menu without deleting it entirely from your list.

This feature allows yet another way to personalize your menu and make the ecommerce experience offered to your customers entirely unique and one of a kind.

