This article will explain how to manually add a Sale banner to an active product in Mission Control.
💡Sale Badges are automatically added to a product if strikethrough pricing is enabled.
- Login to Mission Control and Click on the Products Tab.

- Use the search bar above the product list to find the product you would like to promote with a Sale banner.
- Click on the product and scroll down to the "On Sale" box. Select the option "Promote" from the dropdown menu and the relevant product will have a "Sale" banner added to it in the ECOM menu and a link to a "On Sale" filter will be established.

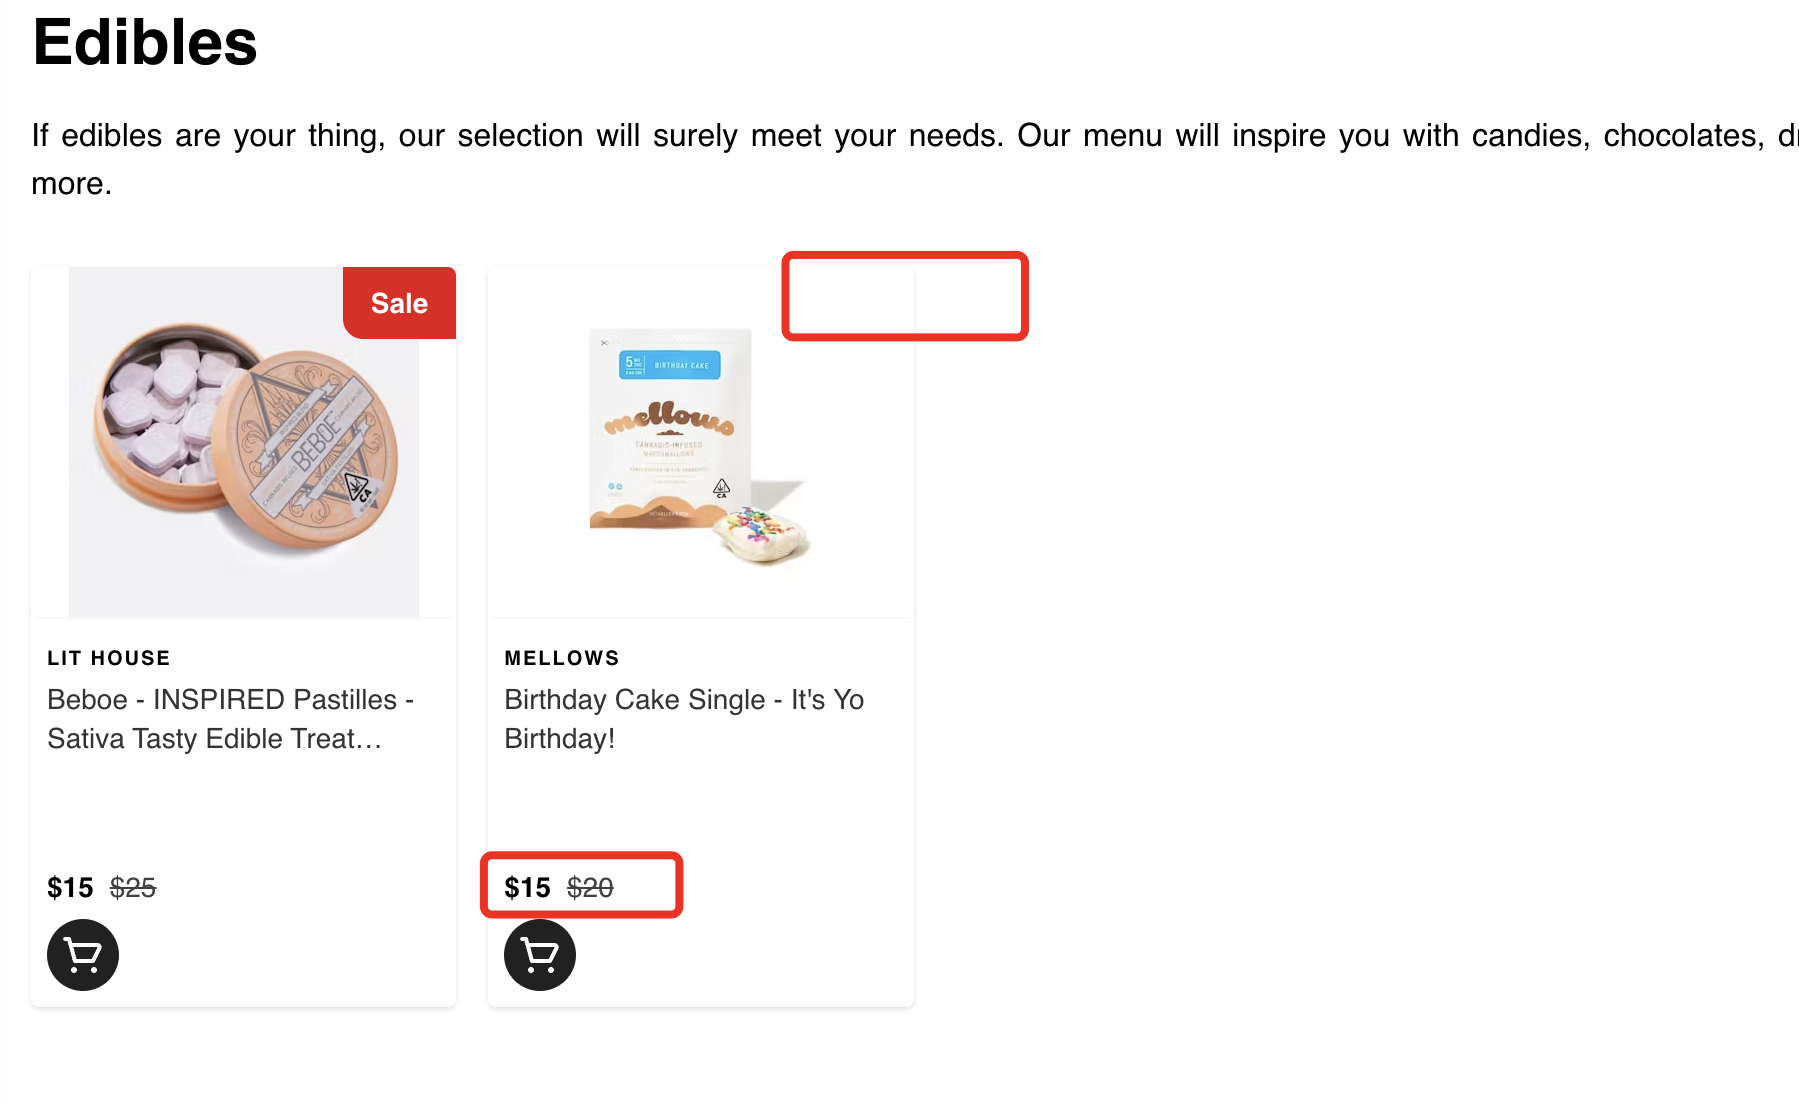
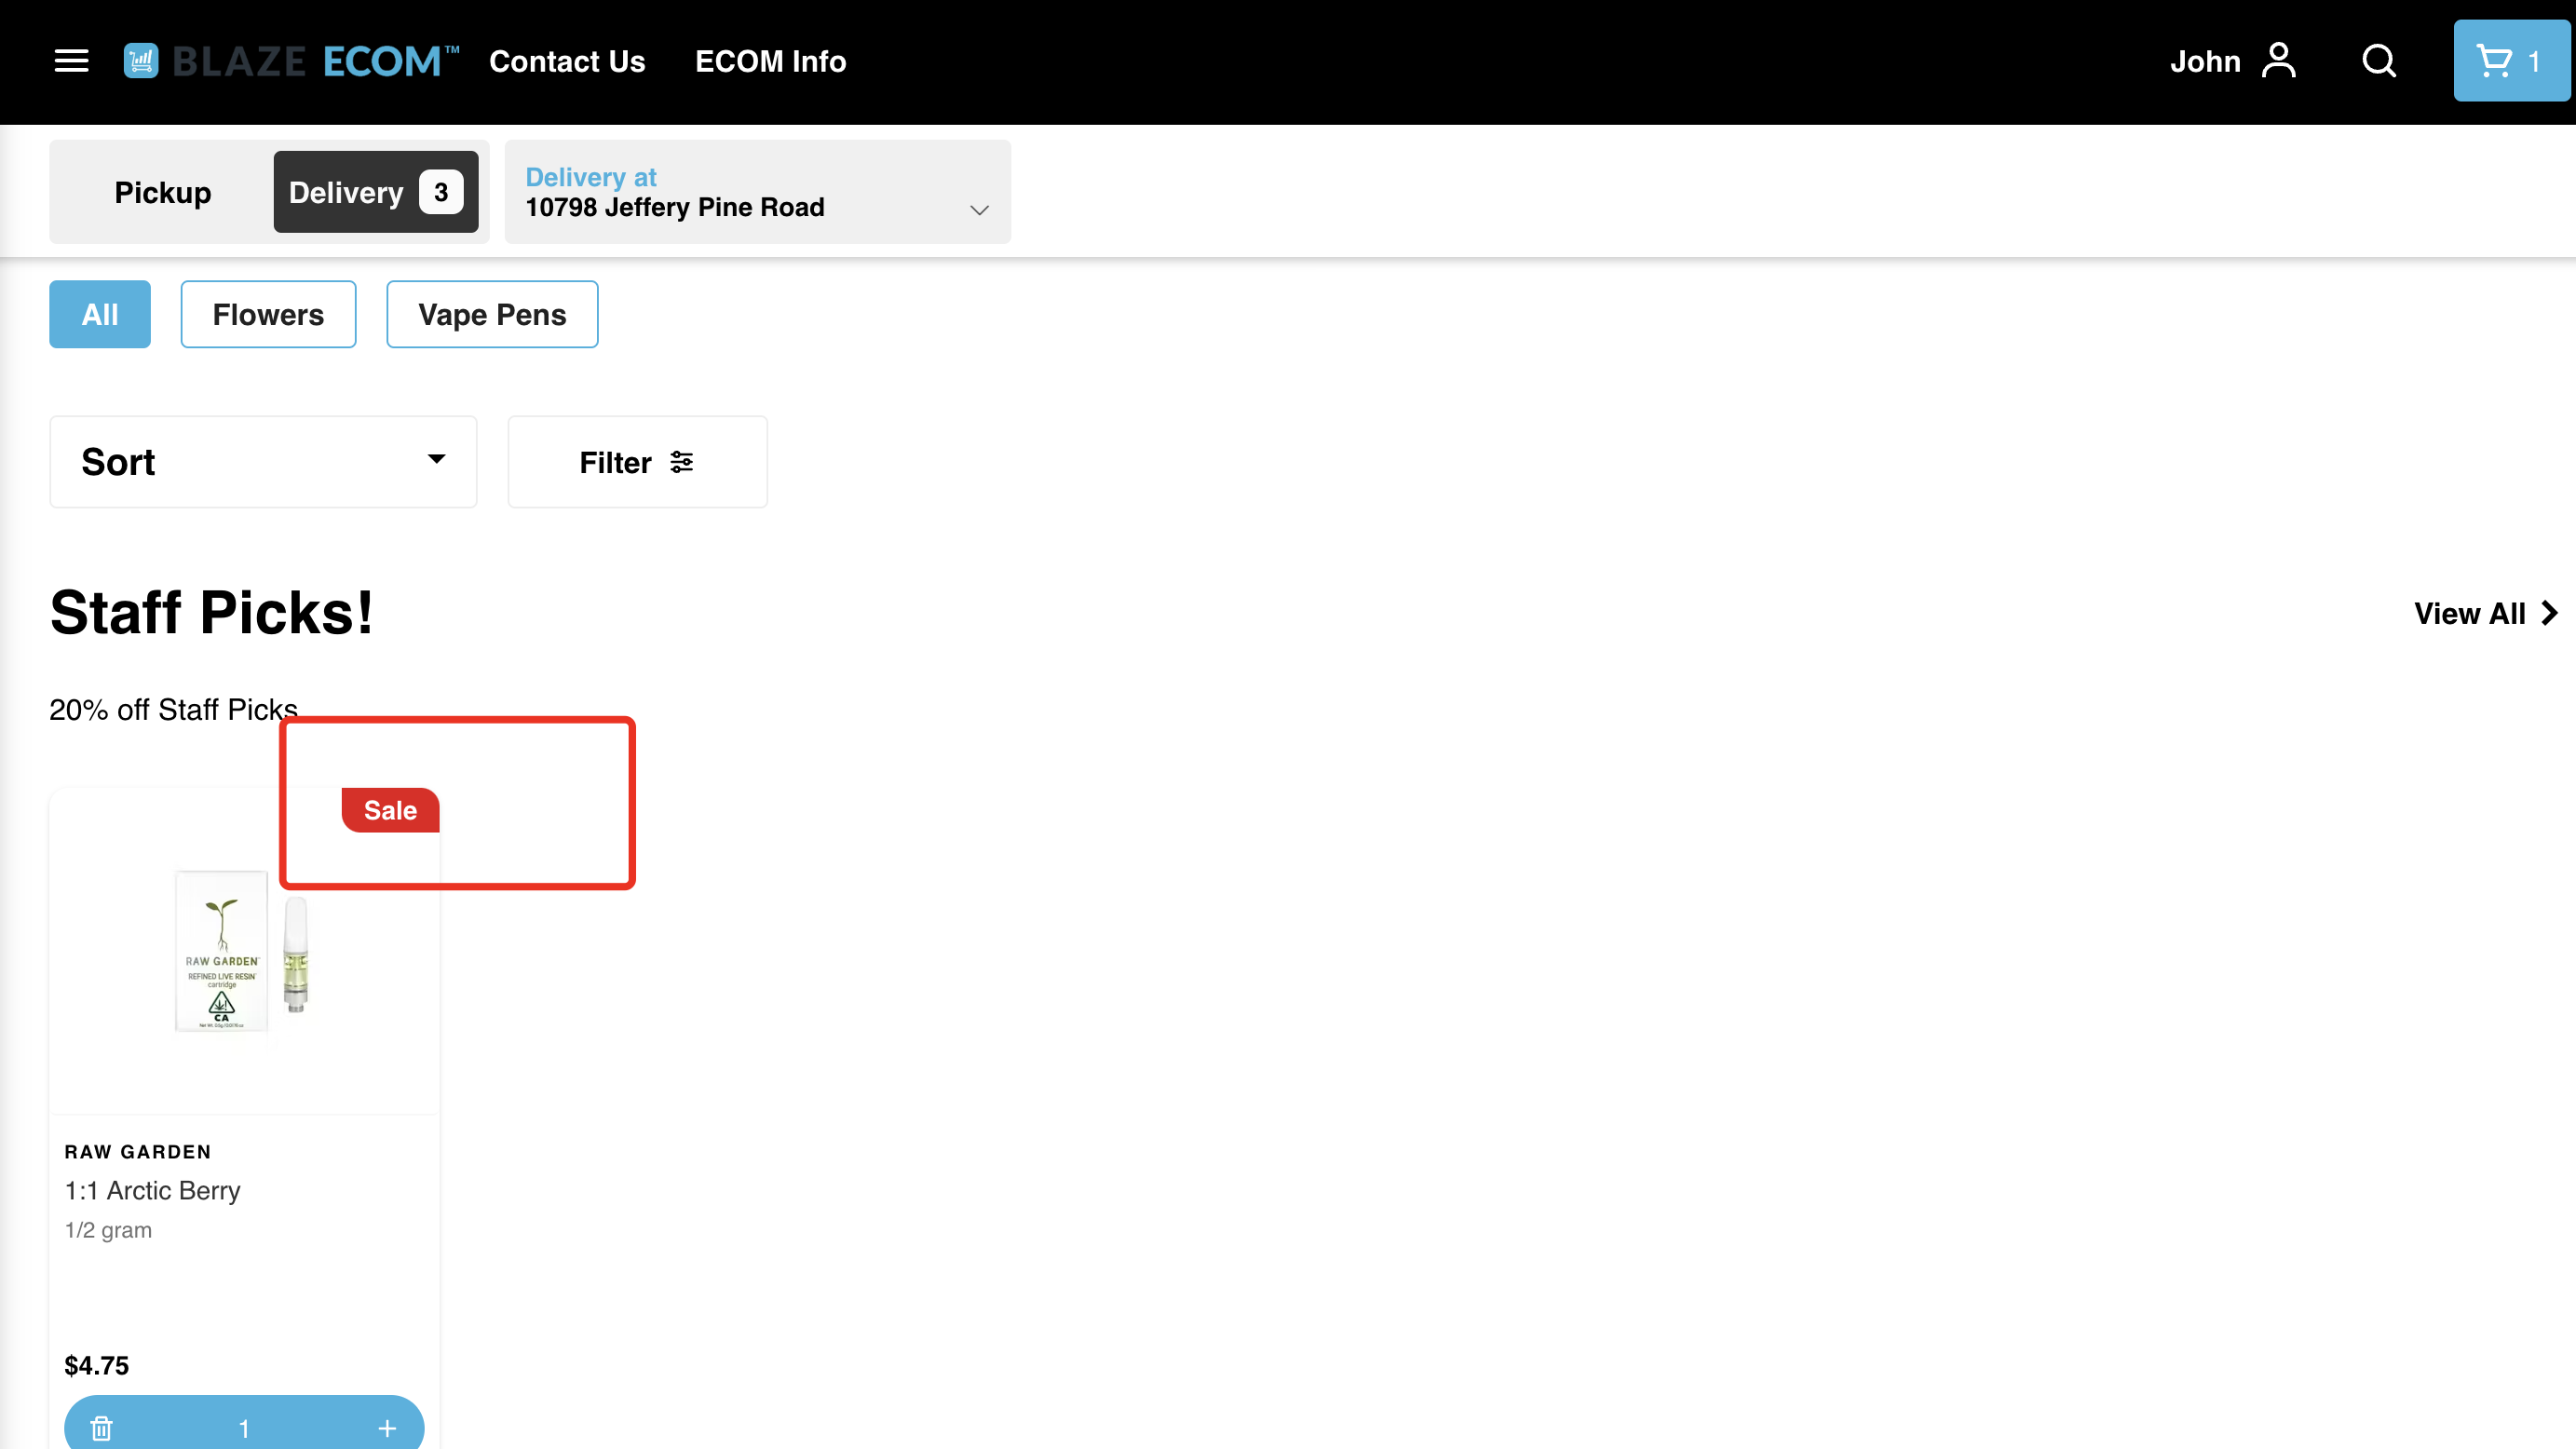
- On the Menu on the store front, the product will now be visible with a Sale banner.
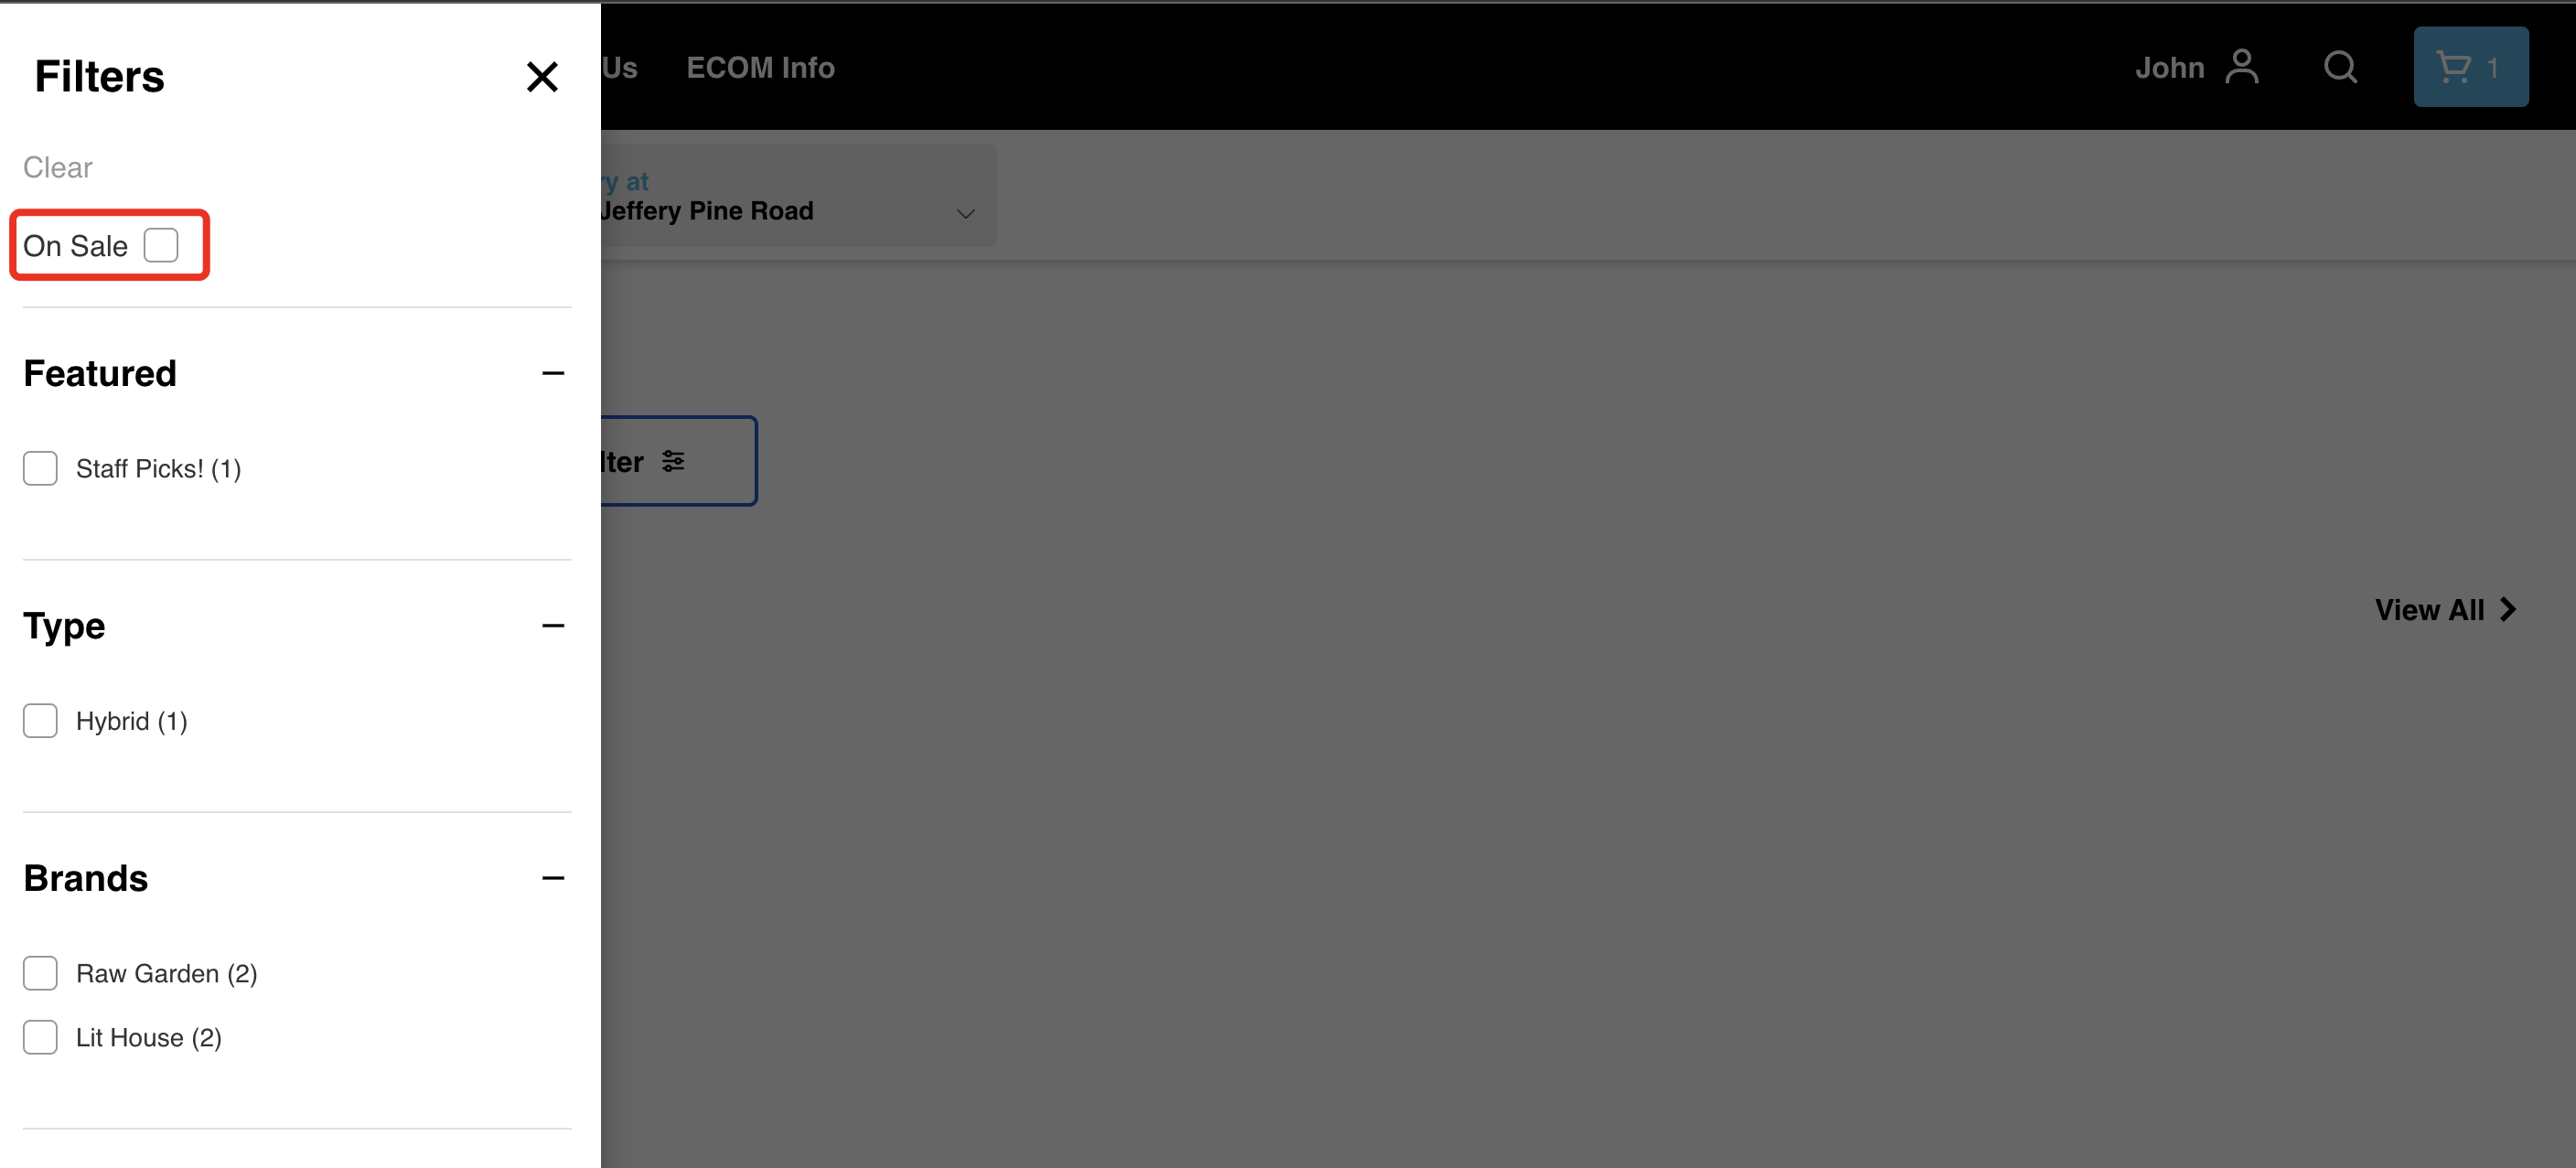
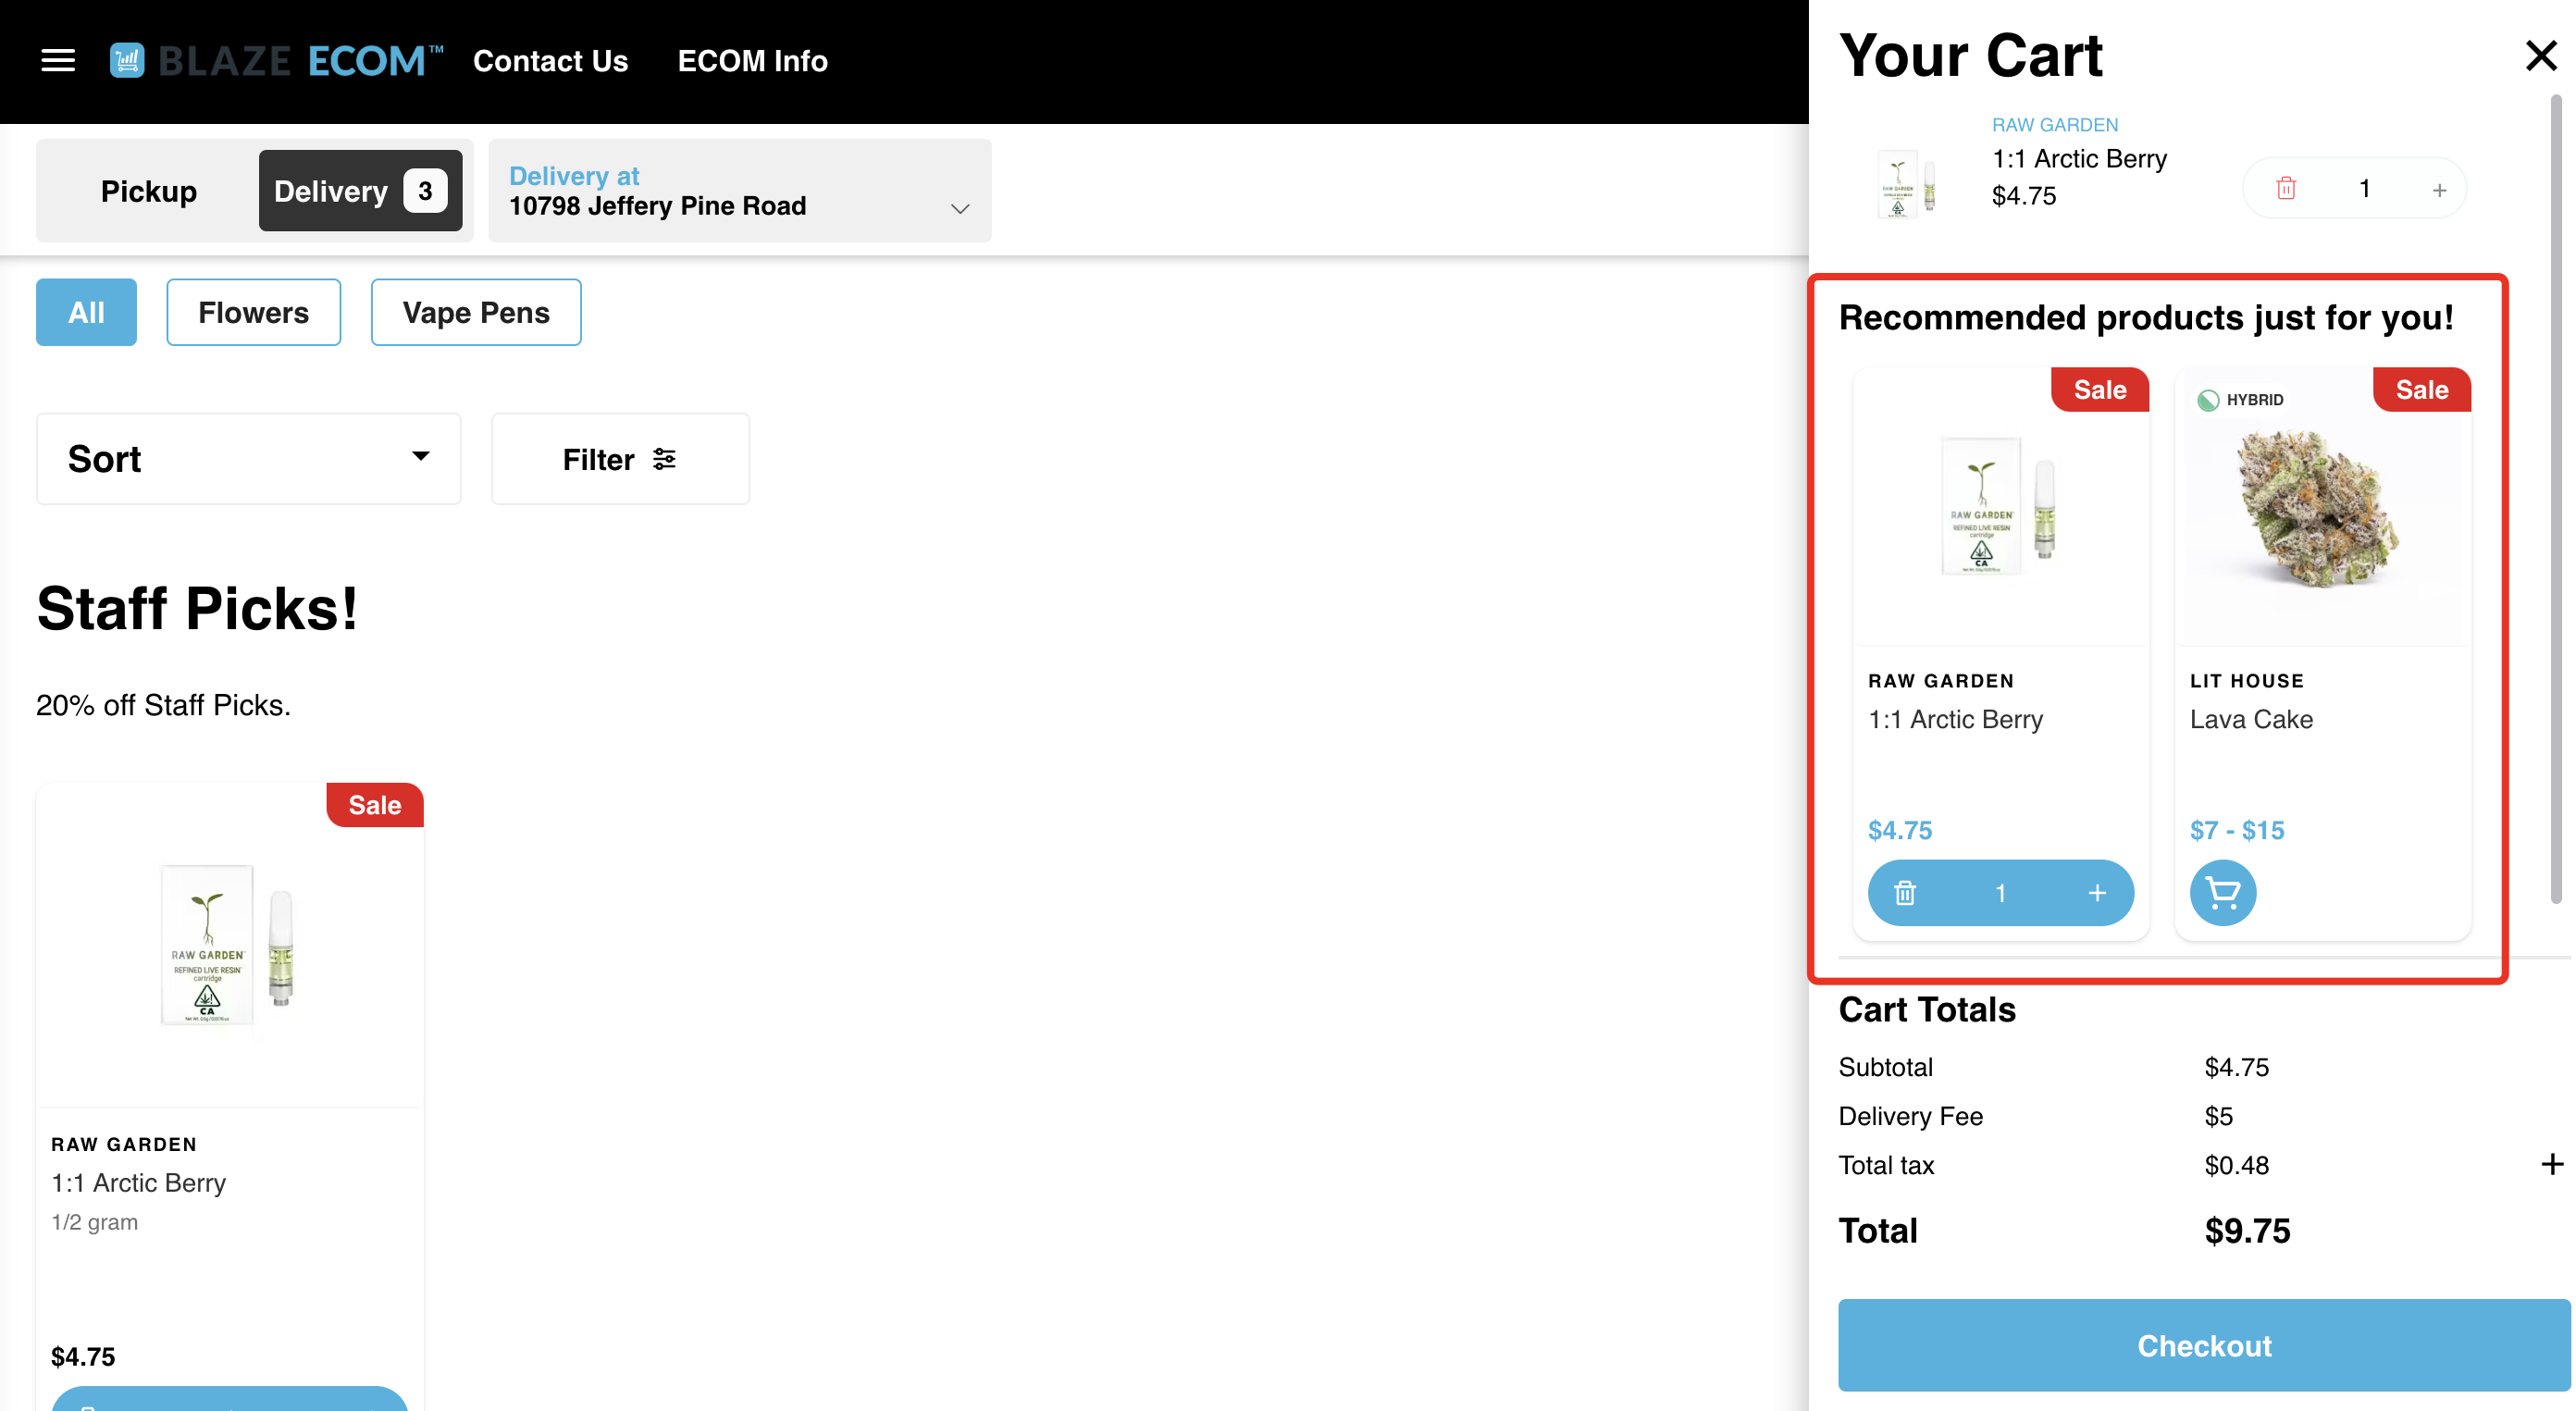
- Turning on the Promote feature for a product will also add an On Sale option in the Filters menu and add those products to the Recommended products in the cart. Clicking the box will allow customers to view only Sale promoted items in the store.
6. To remove the Sale banner from an On Sale product card, select Don't Promote, and the banner will be removed. Discounted price and strikethrough will still show on the product card.